Last semester six objects from the Bryn Mawr College Art and Artifact collections were sent to The Conservation Center of the Institute of Fine Arts, New York University for conservation treatment. Over the course of the fall semester, students in the conservation program researched, cleaned, and repaired these objects. The objects were in need of varying treatments including re-treatment where old repair methods were causing new damage and repair to broken elements that were not structurally stable.
Several of the items were constructed of fragile or organic materials that had naturally begun to deteriorate or change over time, such as the fragile cotton and wool threads used in a pair of North American Ojibwe Beaded Garters.
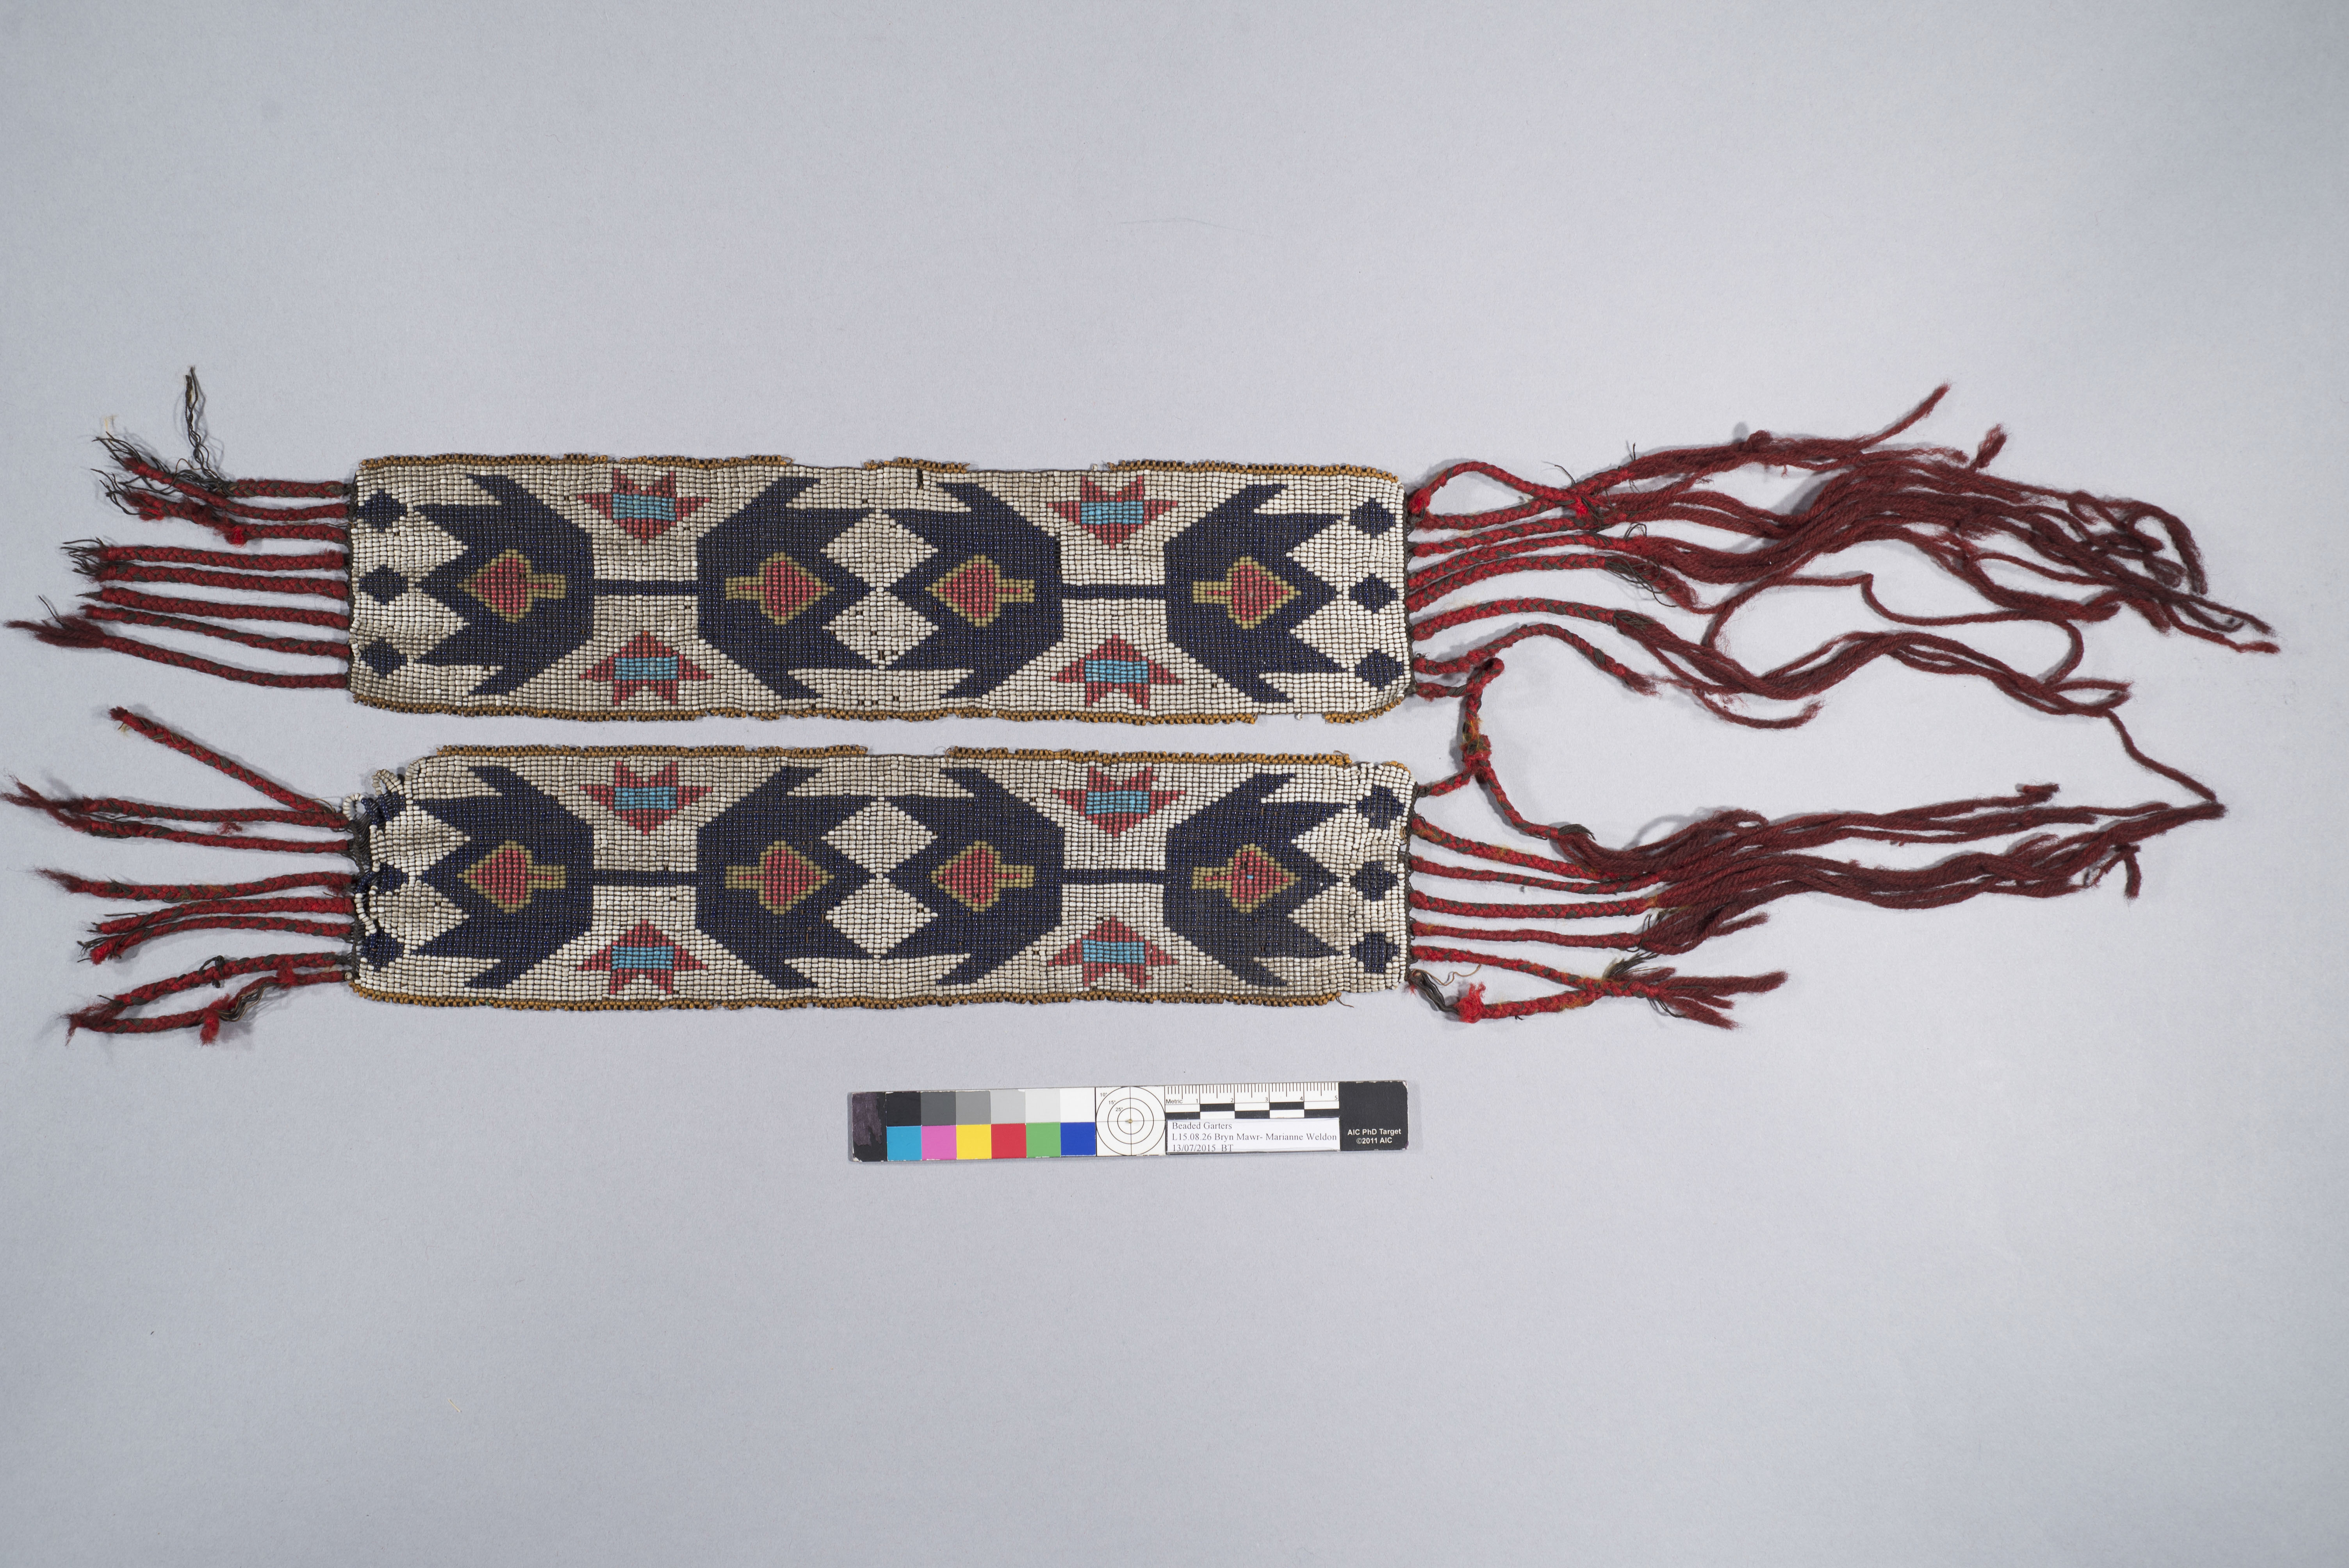
Before Treatment

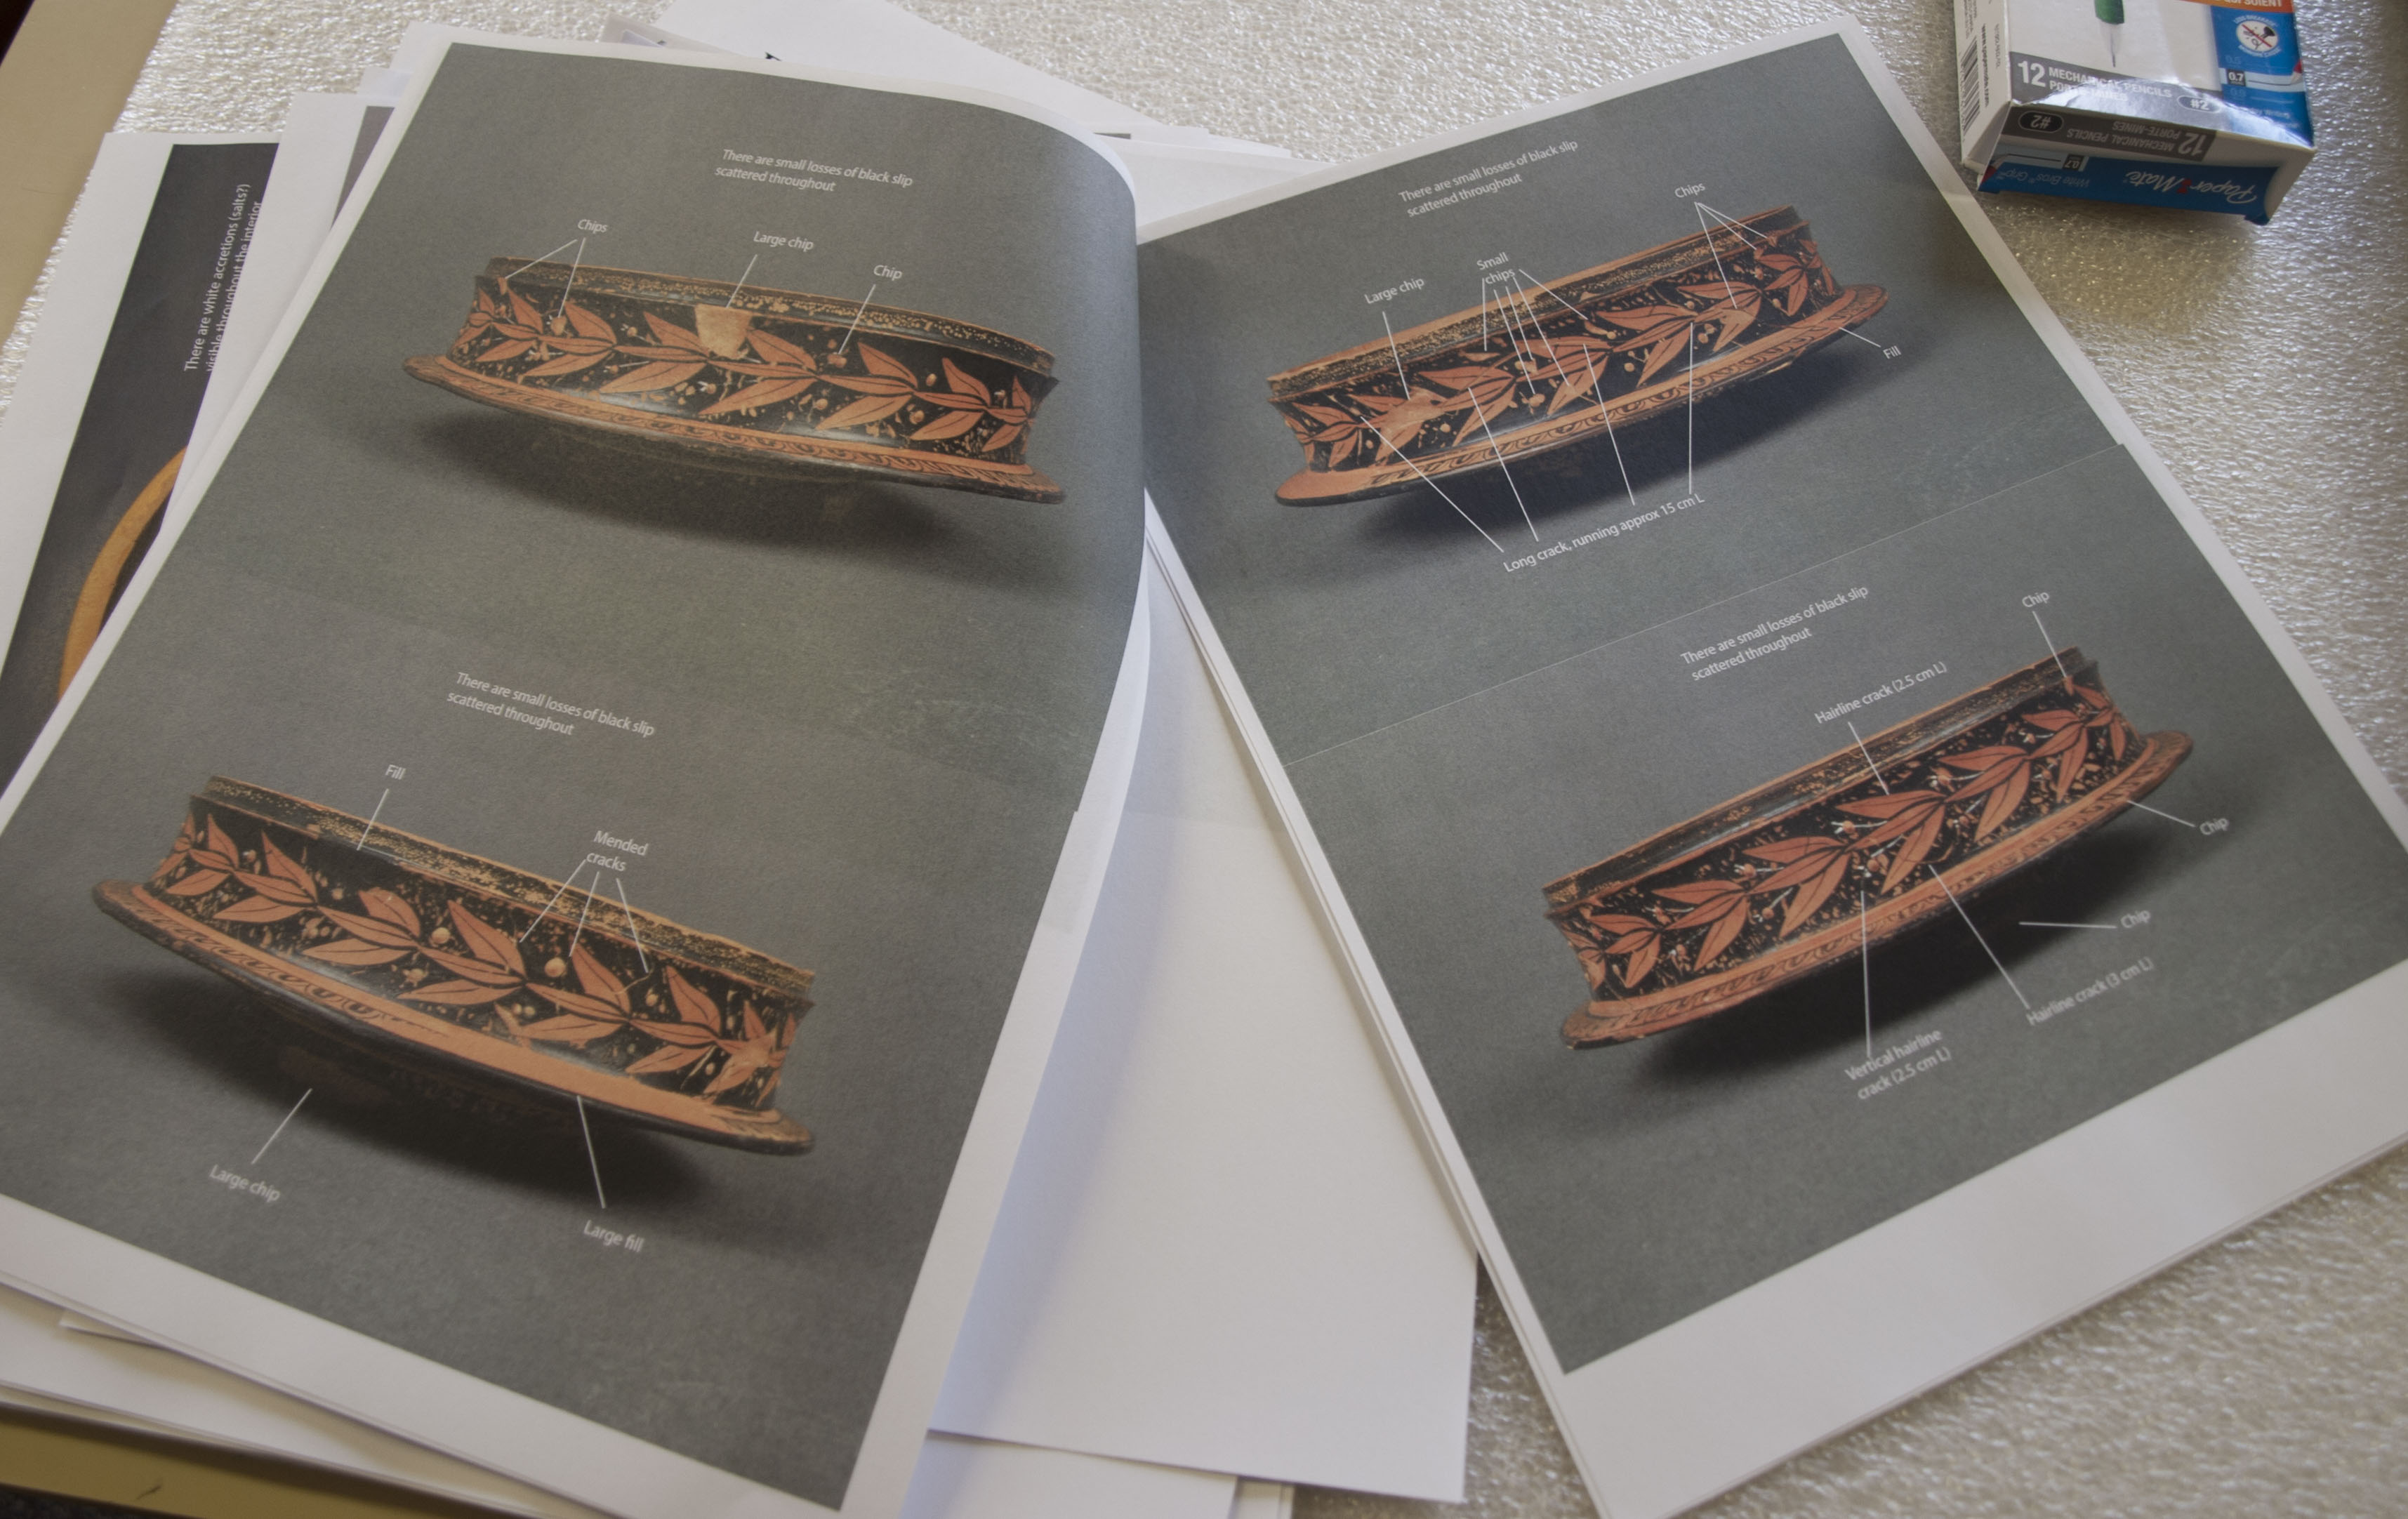
Documentation indicating areas of damage.
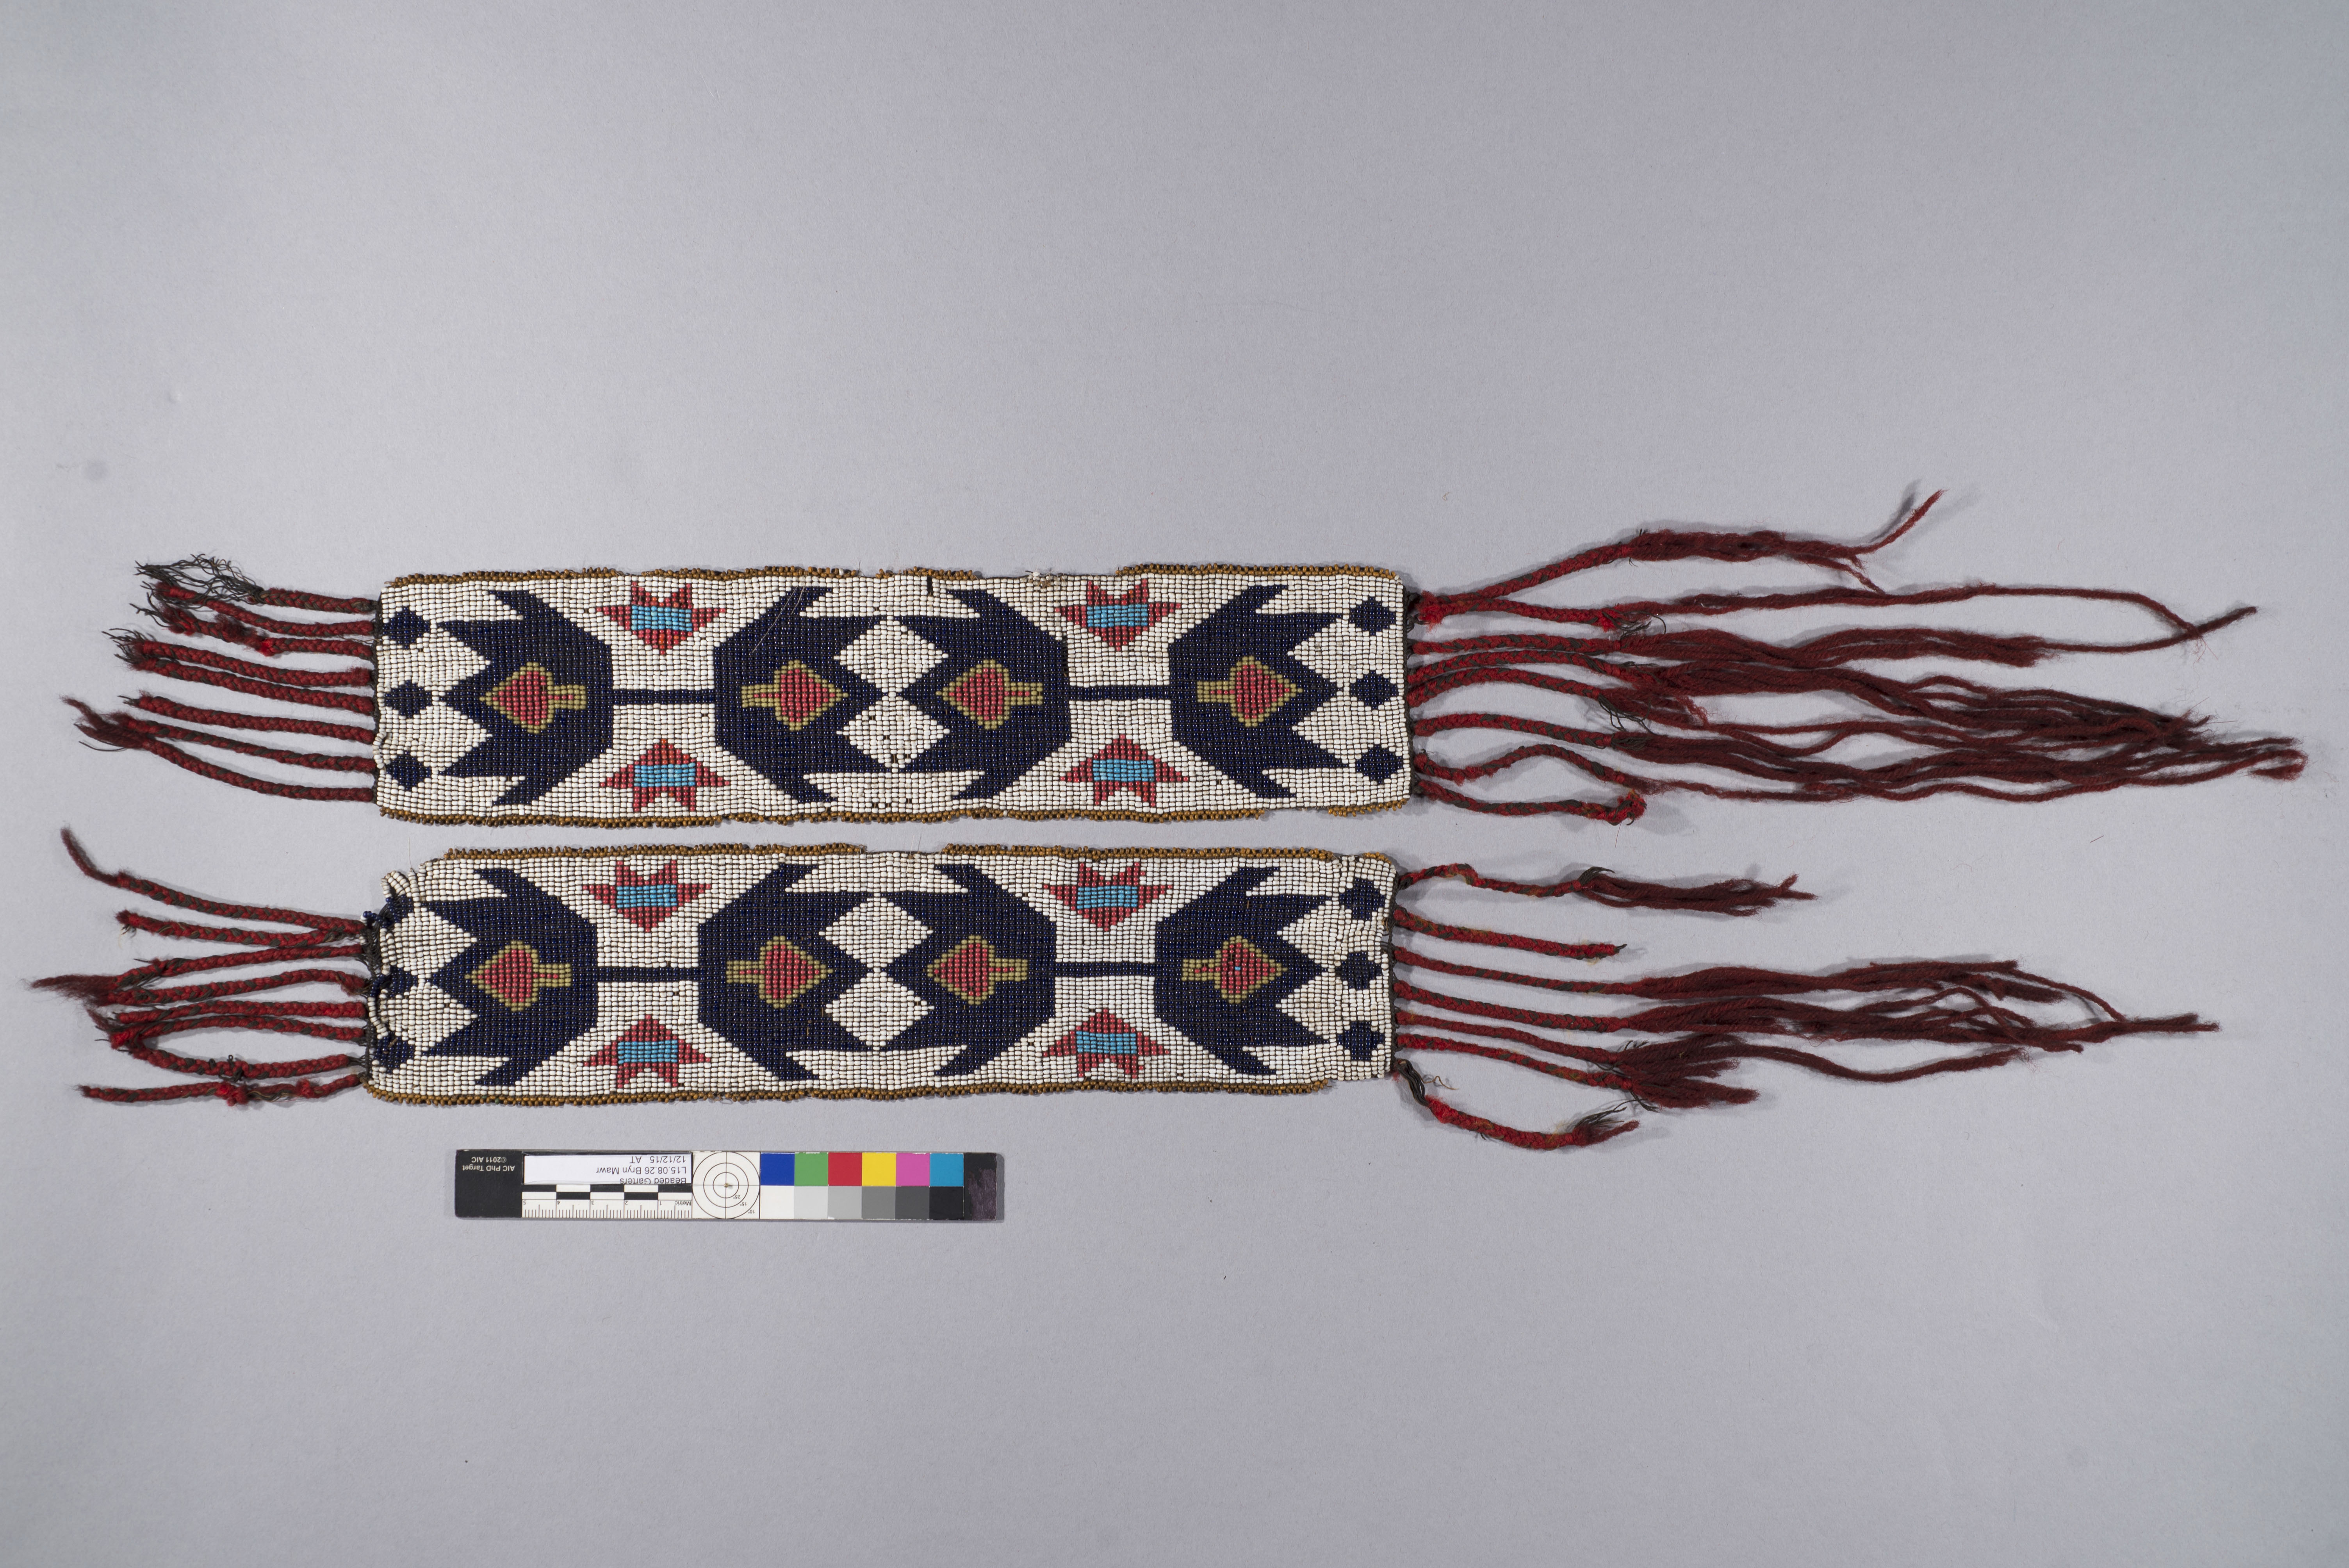
After Treatment
The deterioration of the threads was causing the garter to unravel and resulting in bead loss. The conservator reinforced the garter by weaving polyester threads into the unstable sections and reattaching the loose beads and surface cleaned the beadwork.
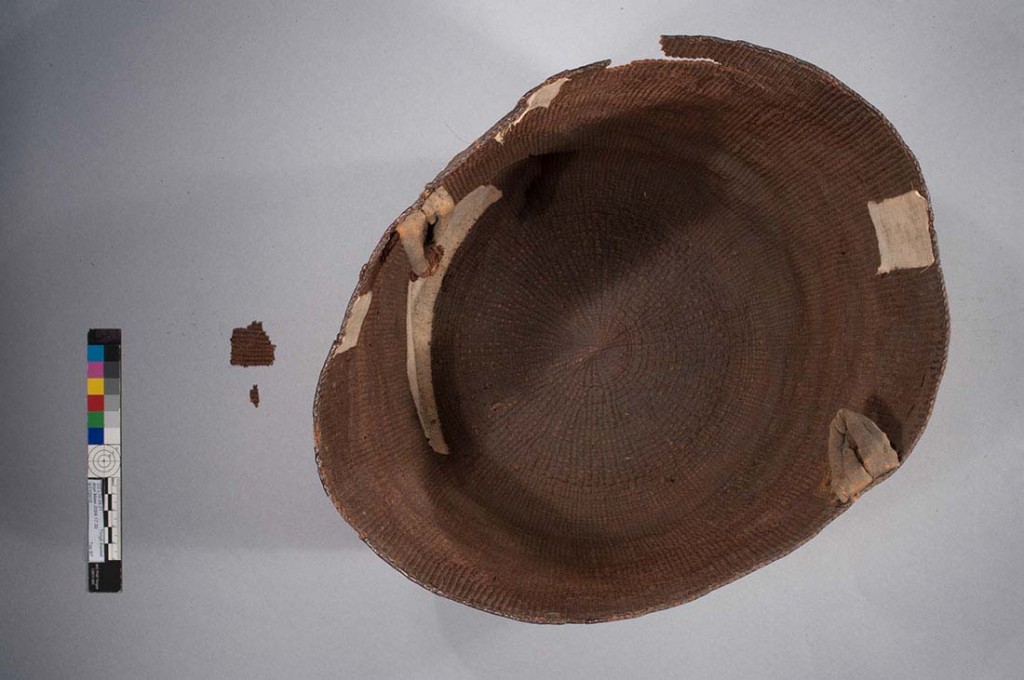
Basket Interior Before Treatment
The plant fibers that were woven to create a North American Tlingit berrying basket had also become brittle and broken in several places. In addition, the basket had several older repairs that were contributing to the damage.
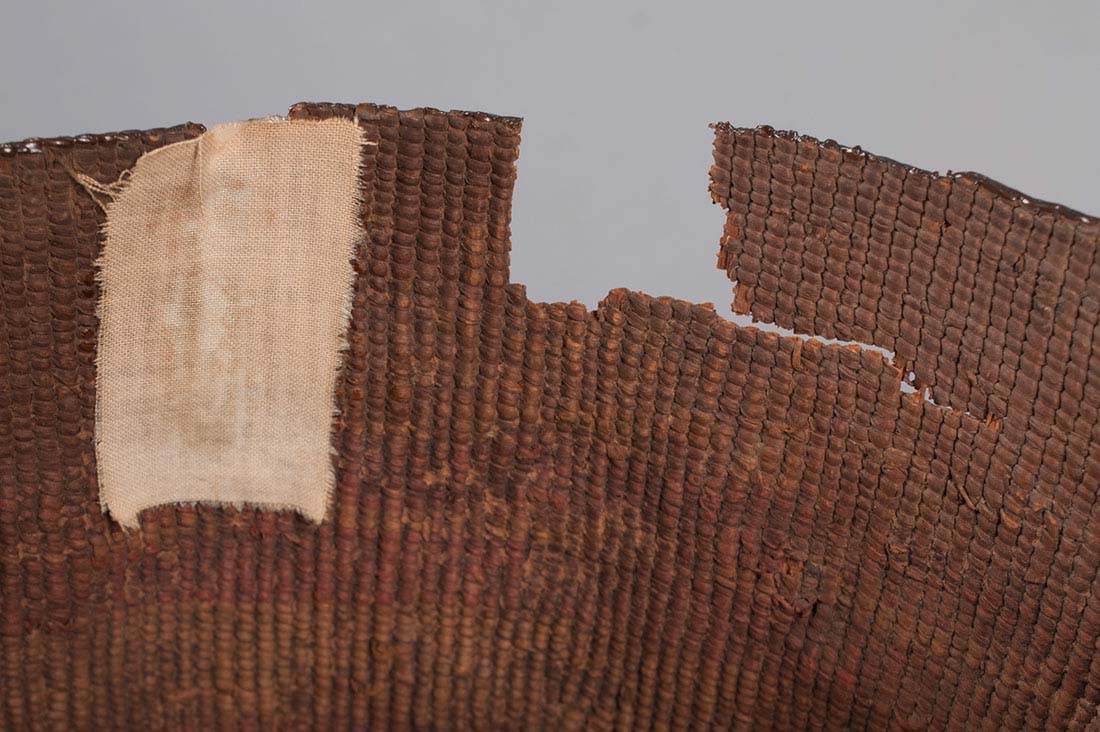
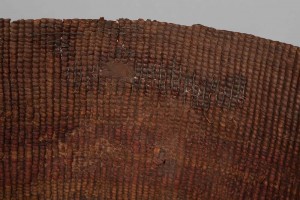
Before Treatment Detail
After Treatment Detail
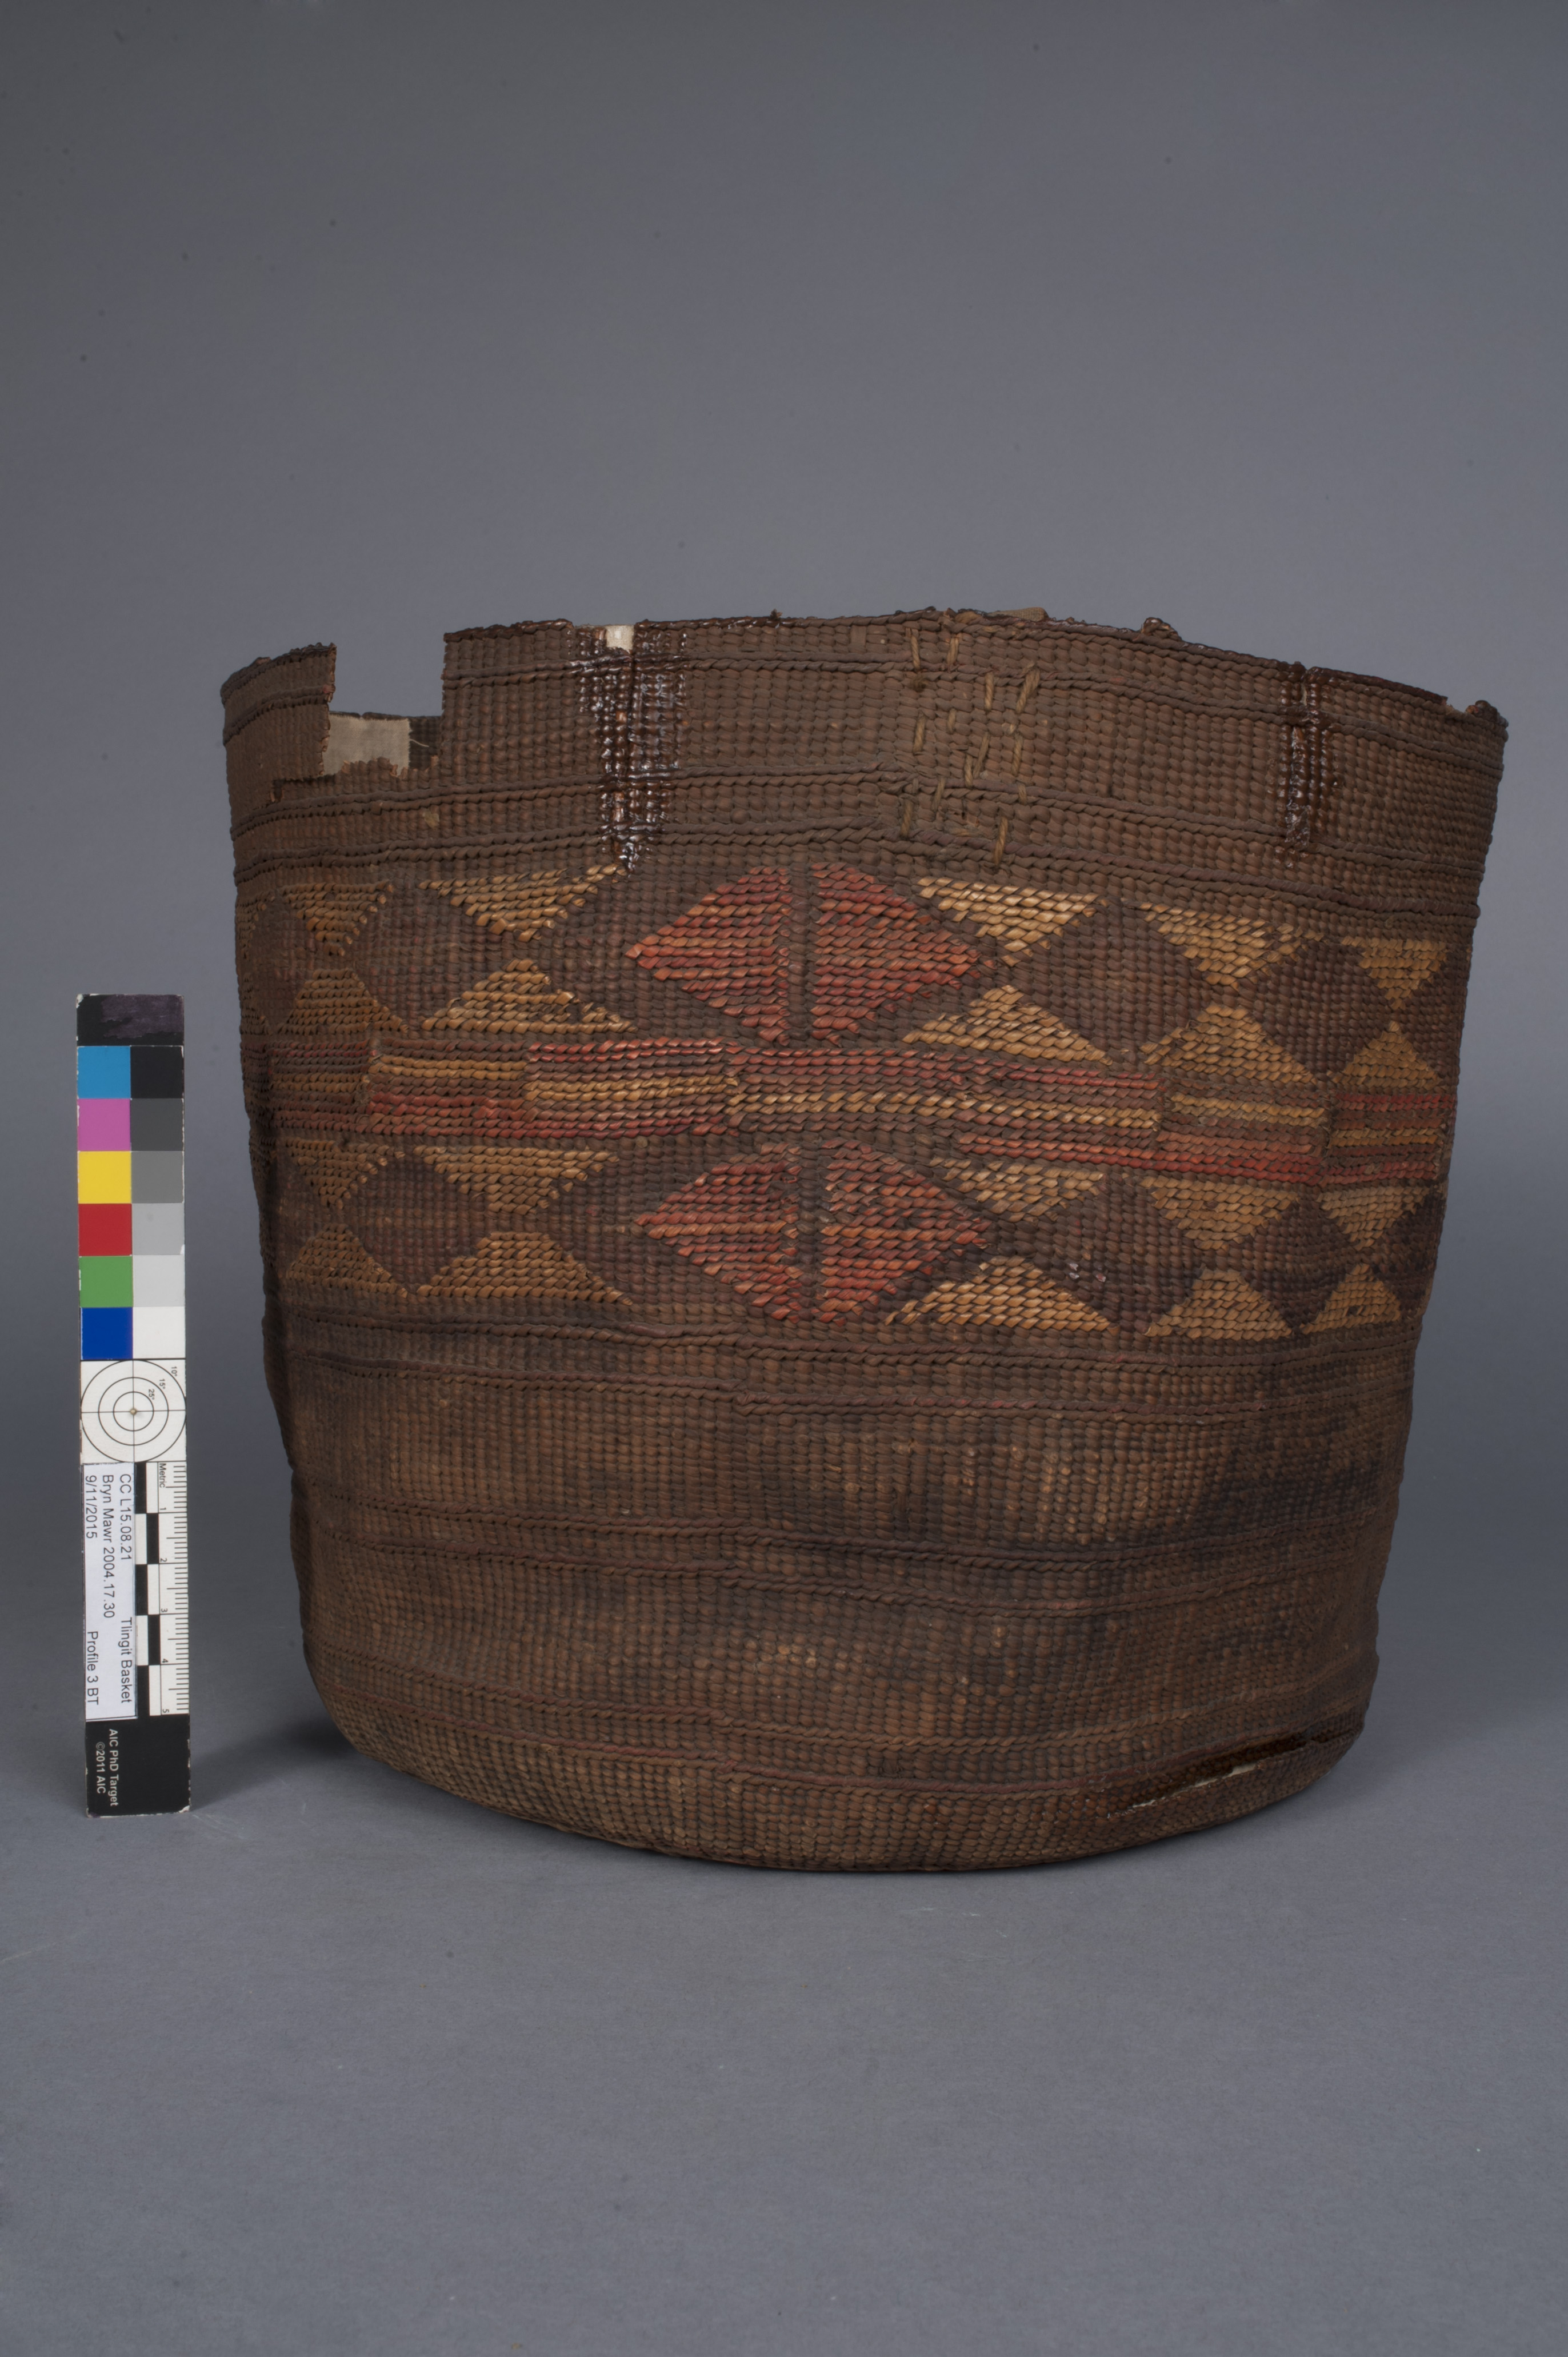
Before Treatment

After Treatment
As the older repairs were deteriorating, distorting the shape of the basket, and visually distracting, they were removed and the basket was surface cleaned. The conservator was able to fill in the gaps and fix small splits to replace the older repairs and ensure that the basket would be more structurally sound.
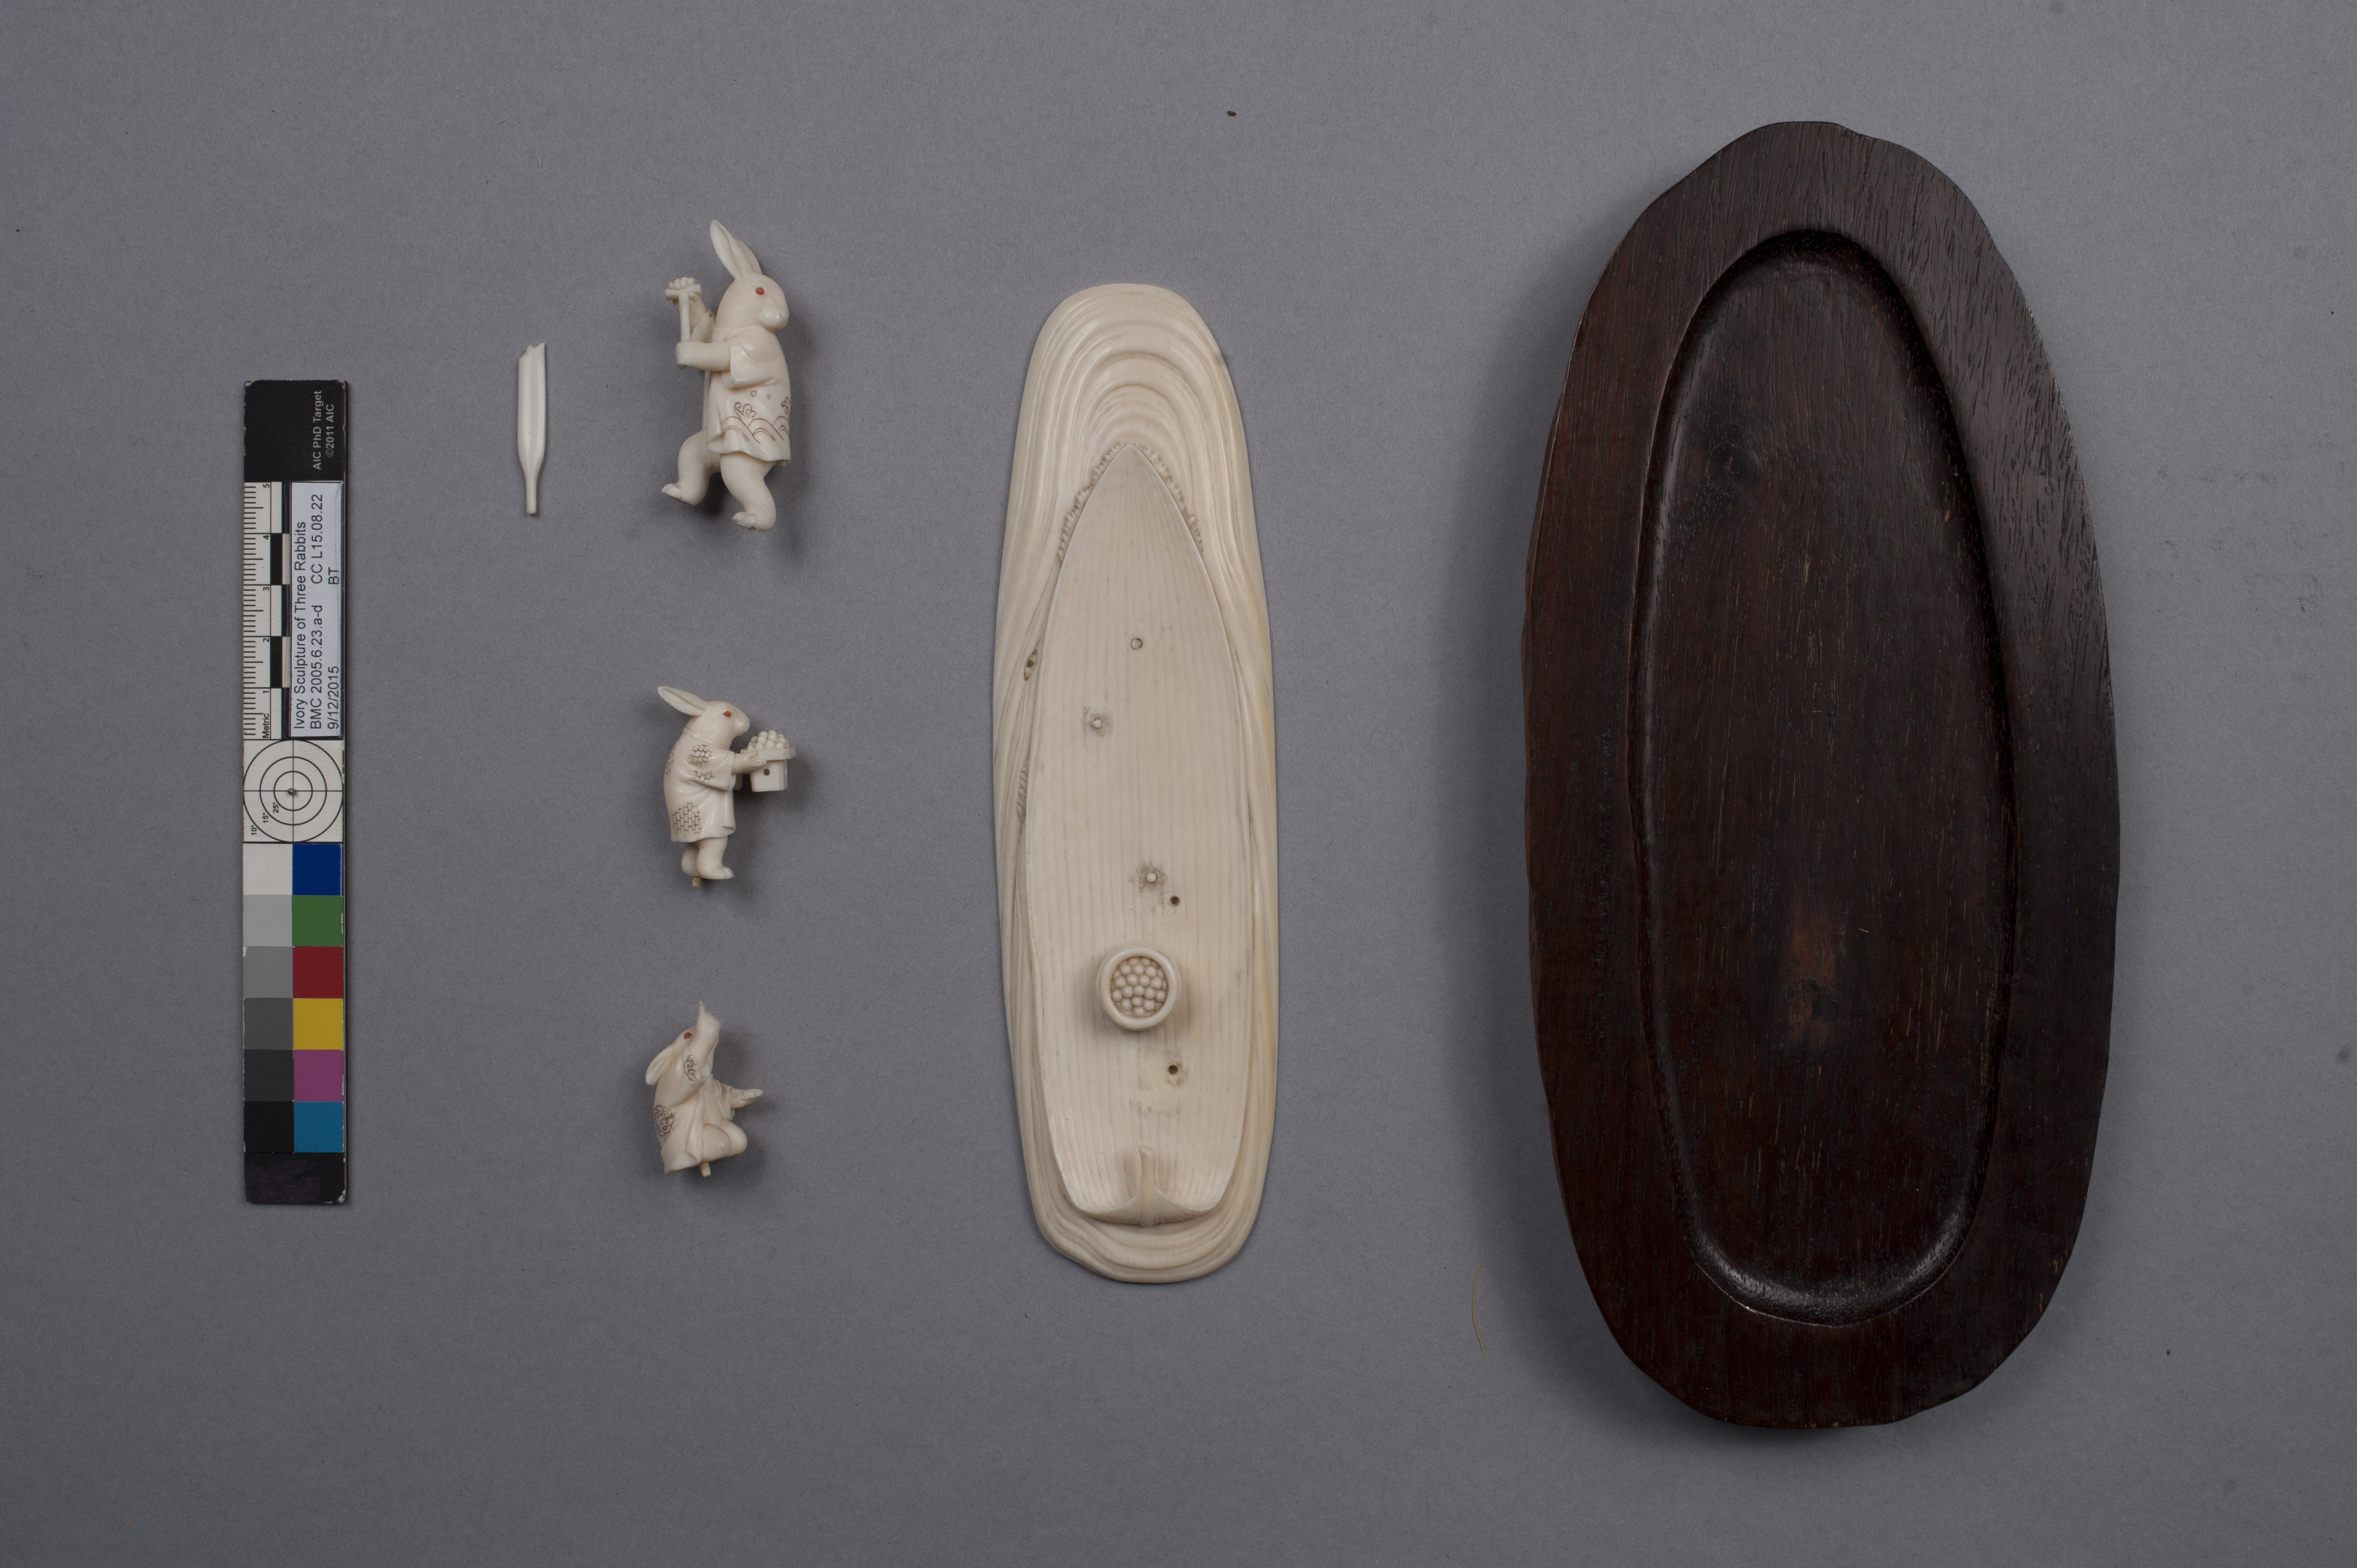
Before Treatment
Repairs to the fragile pieces of a small ivory sculpture depicting rabbits bringing rice dumplings to the rabbit in the moon also needed to be replaced. An older repair had left a visually distracting residue and was no longer stable. Thus, the conservator removed the older adhesive, surface cleaned the entire sculpture and reattached the rabbits and oar with a less obtrusive and more effective material.

After Treatment
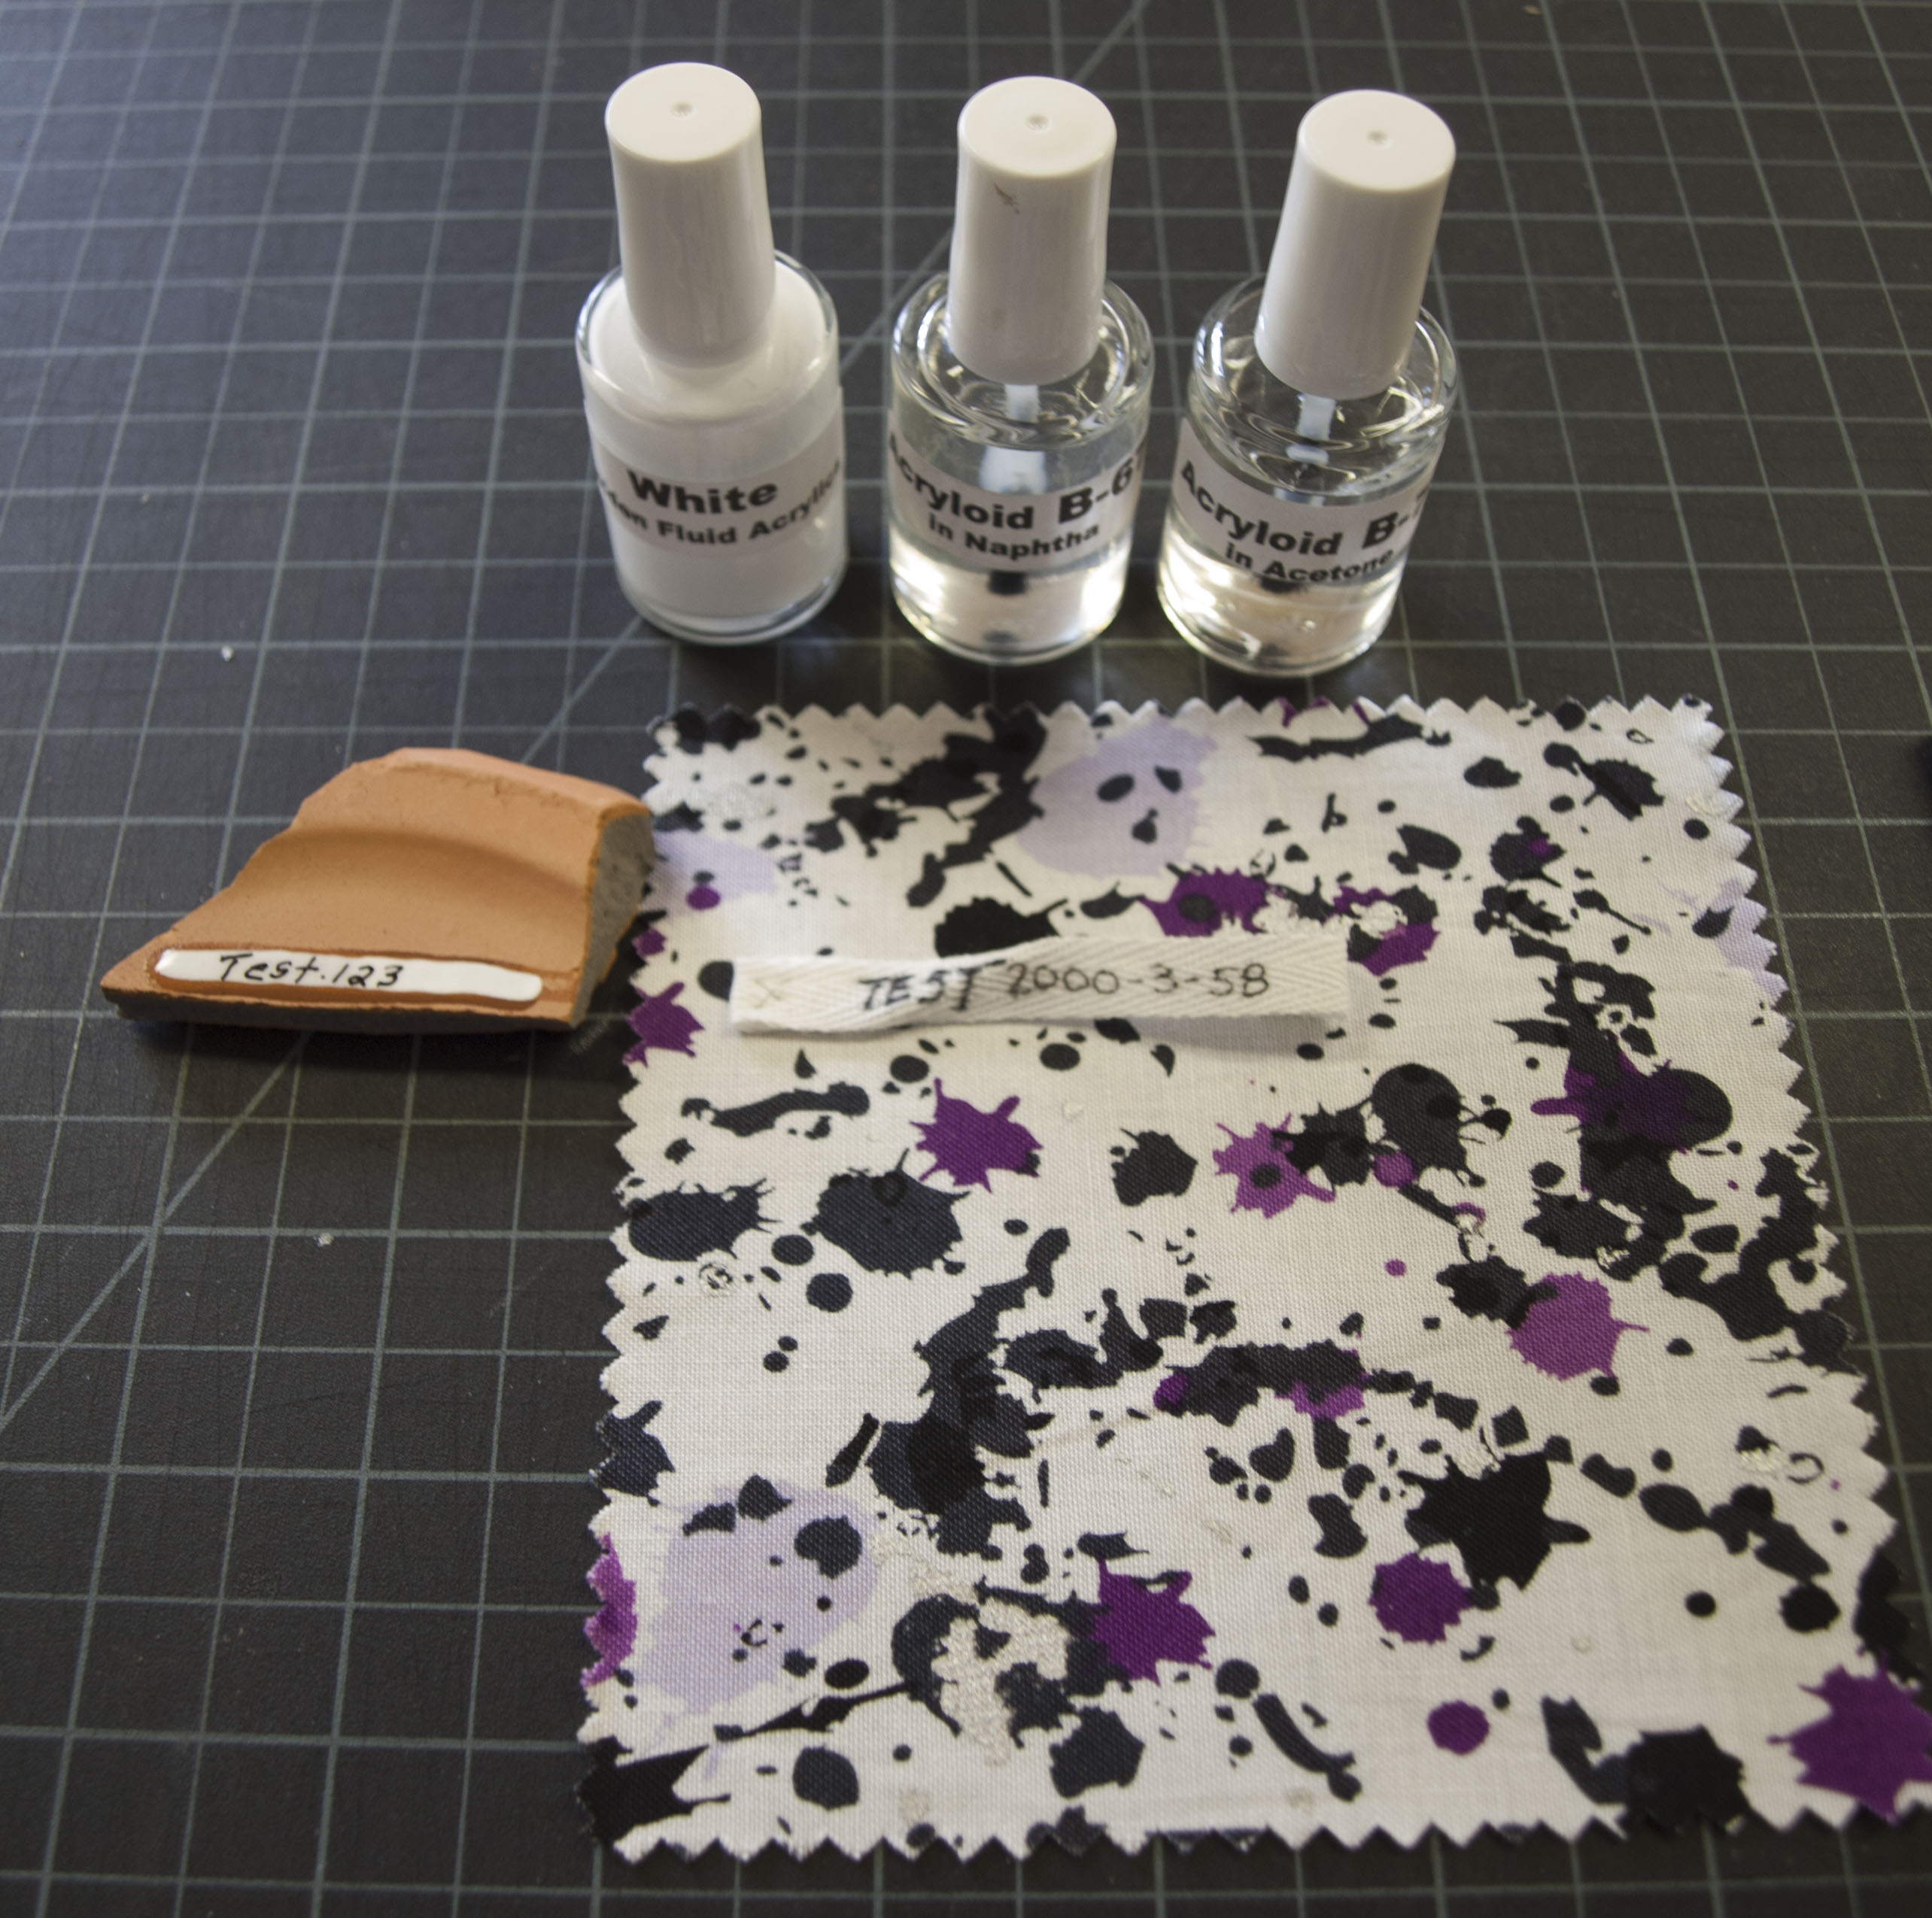
Several of the objects bore evidence of use and were in need of repair. The gourd and wood structure of a Japanese gourd-shaped box had cracked in several places, which caused the lacquer and gold sheet inlay decoration to flake off. These damages may be explained by use and possibly an incident resulting in impact. Animal hide glue, acrylic resins, and balsa wood were used to repair cracks and losses in the gourd and wooden structure. The conservator then used a variety of acrylic resins, copolymers, and putties to stabilize the lacquer surface.
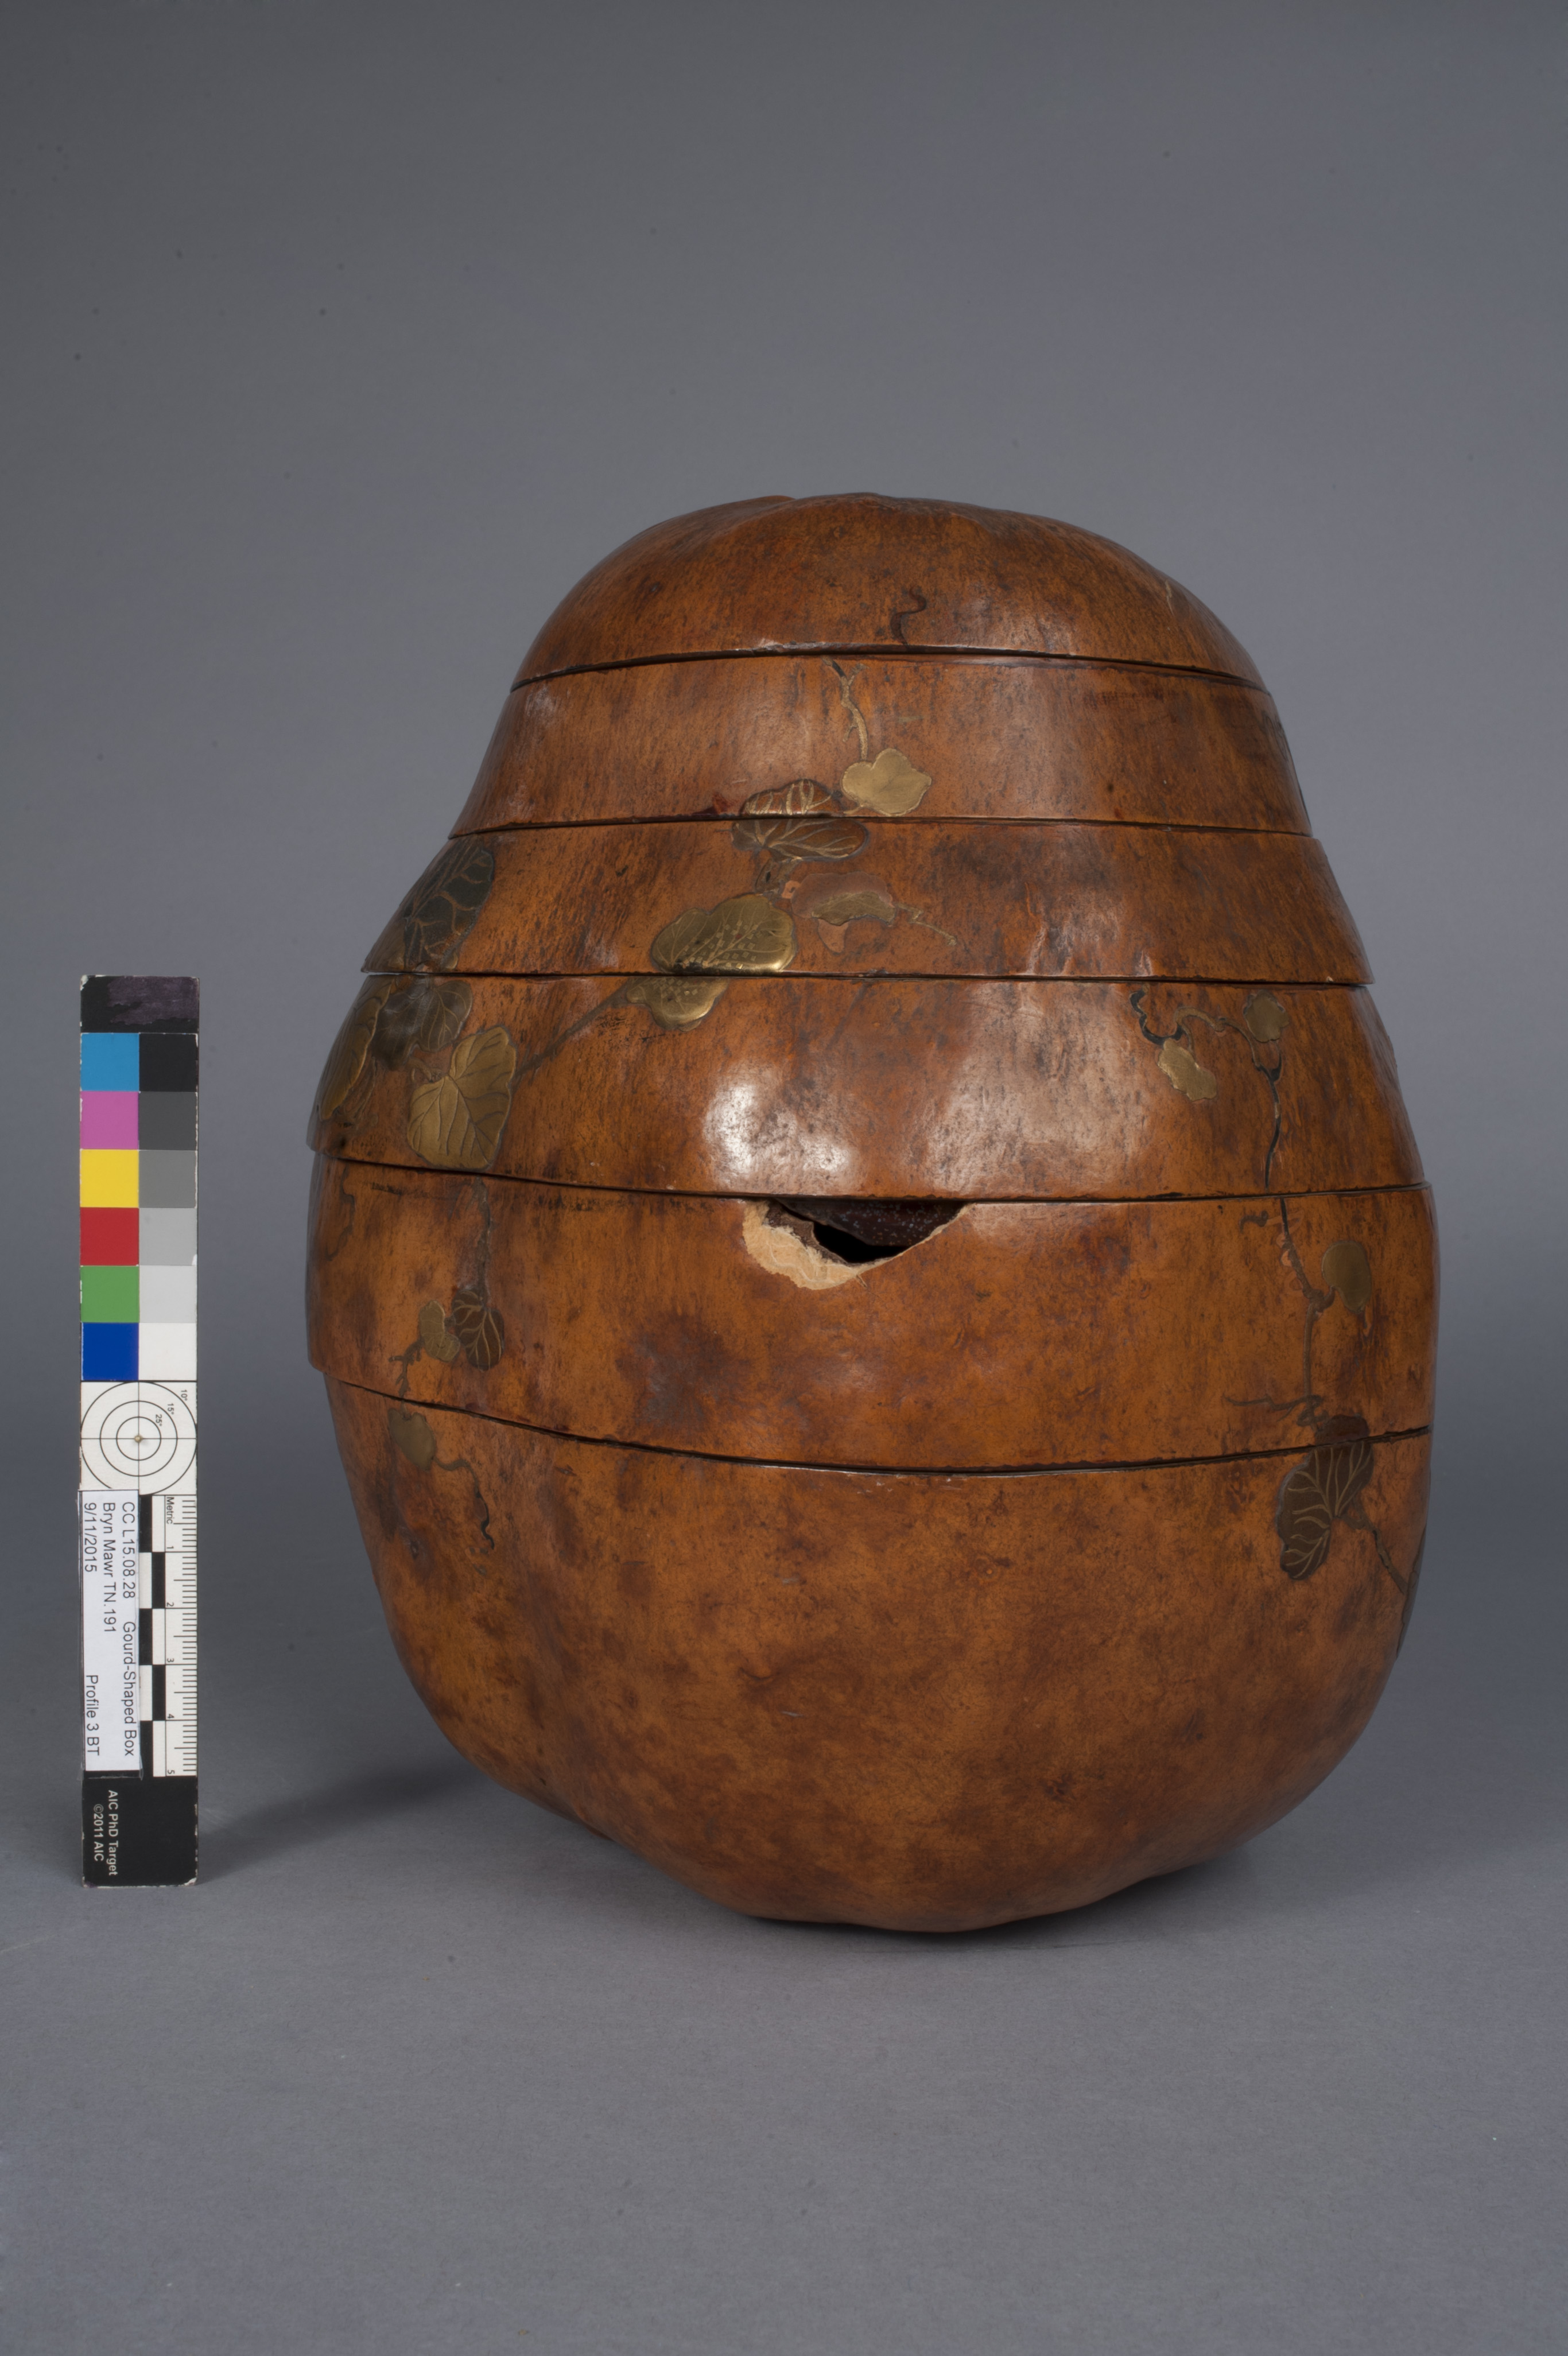
Before Treatment
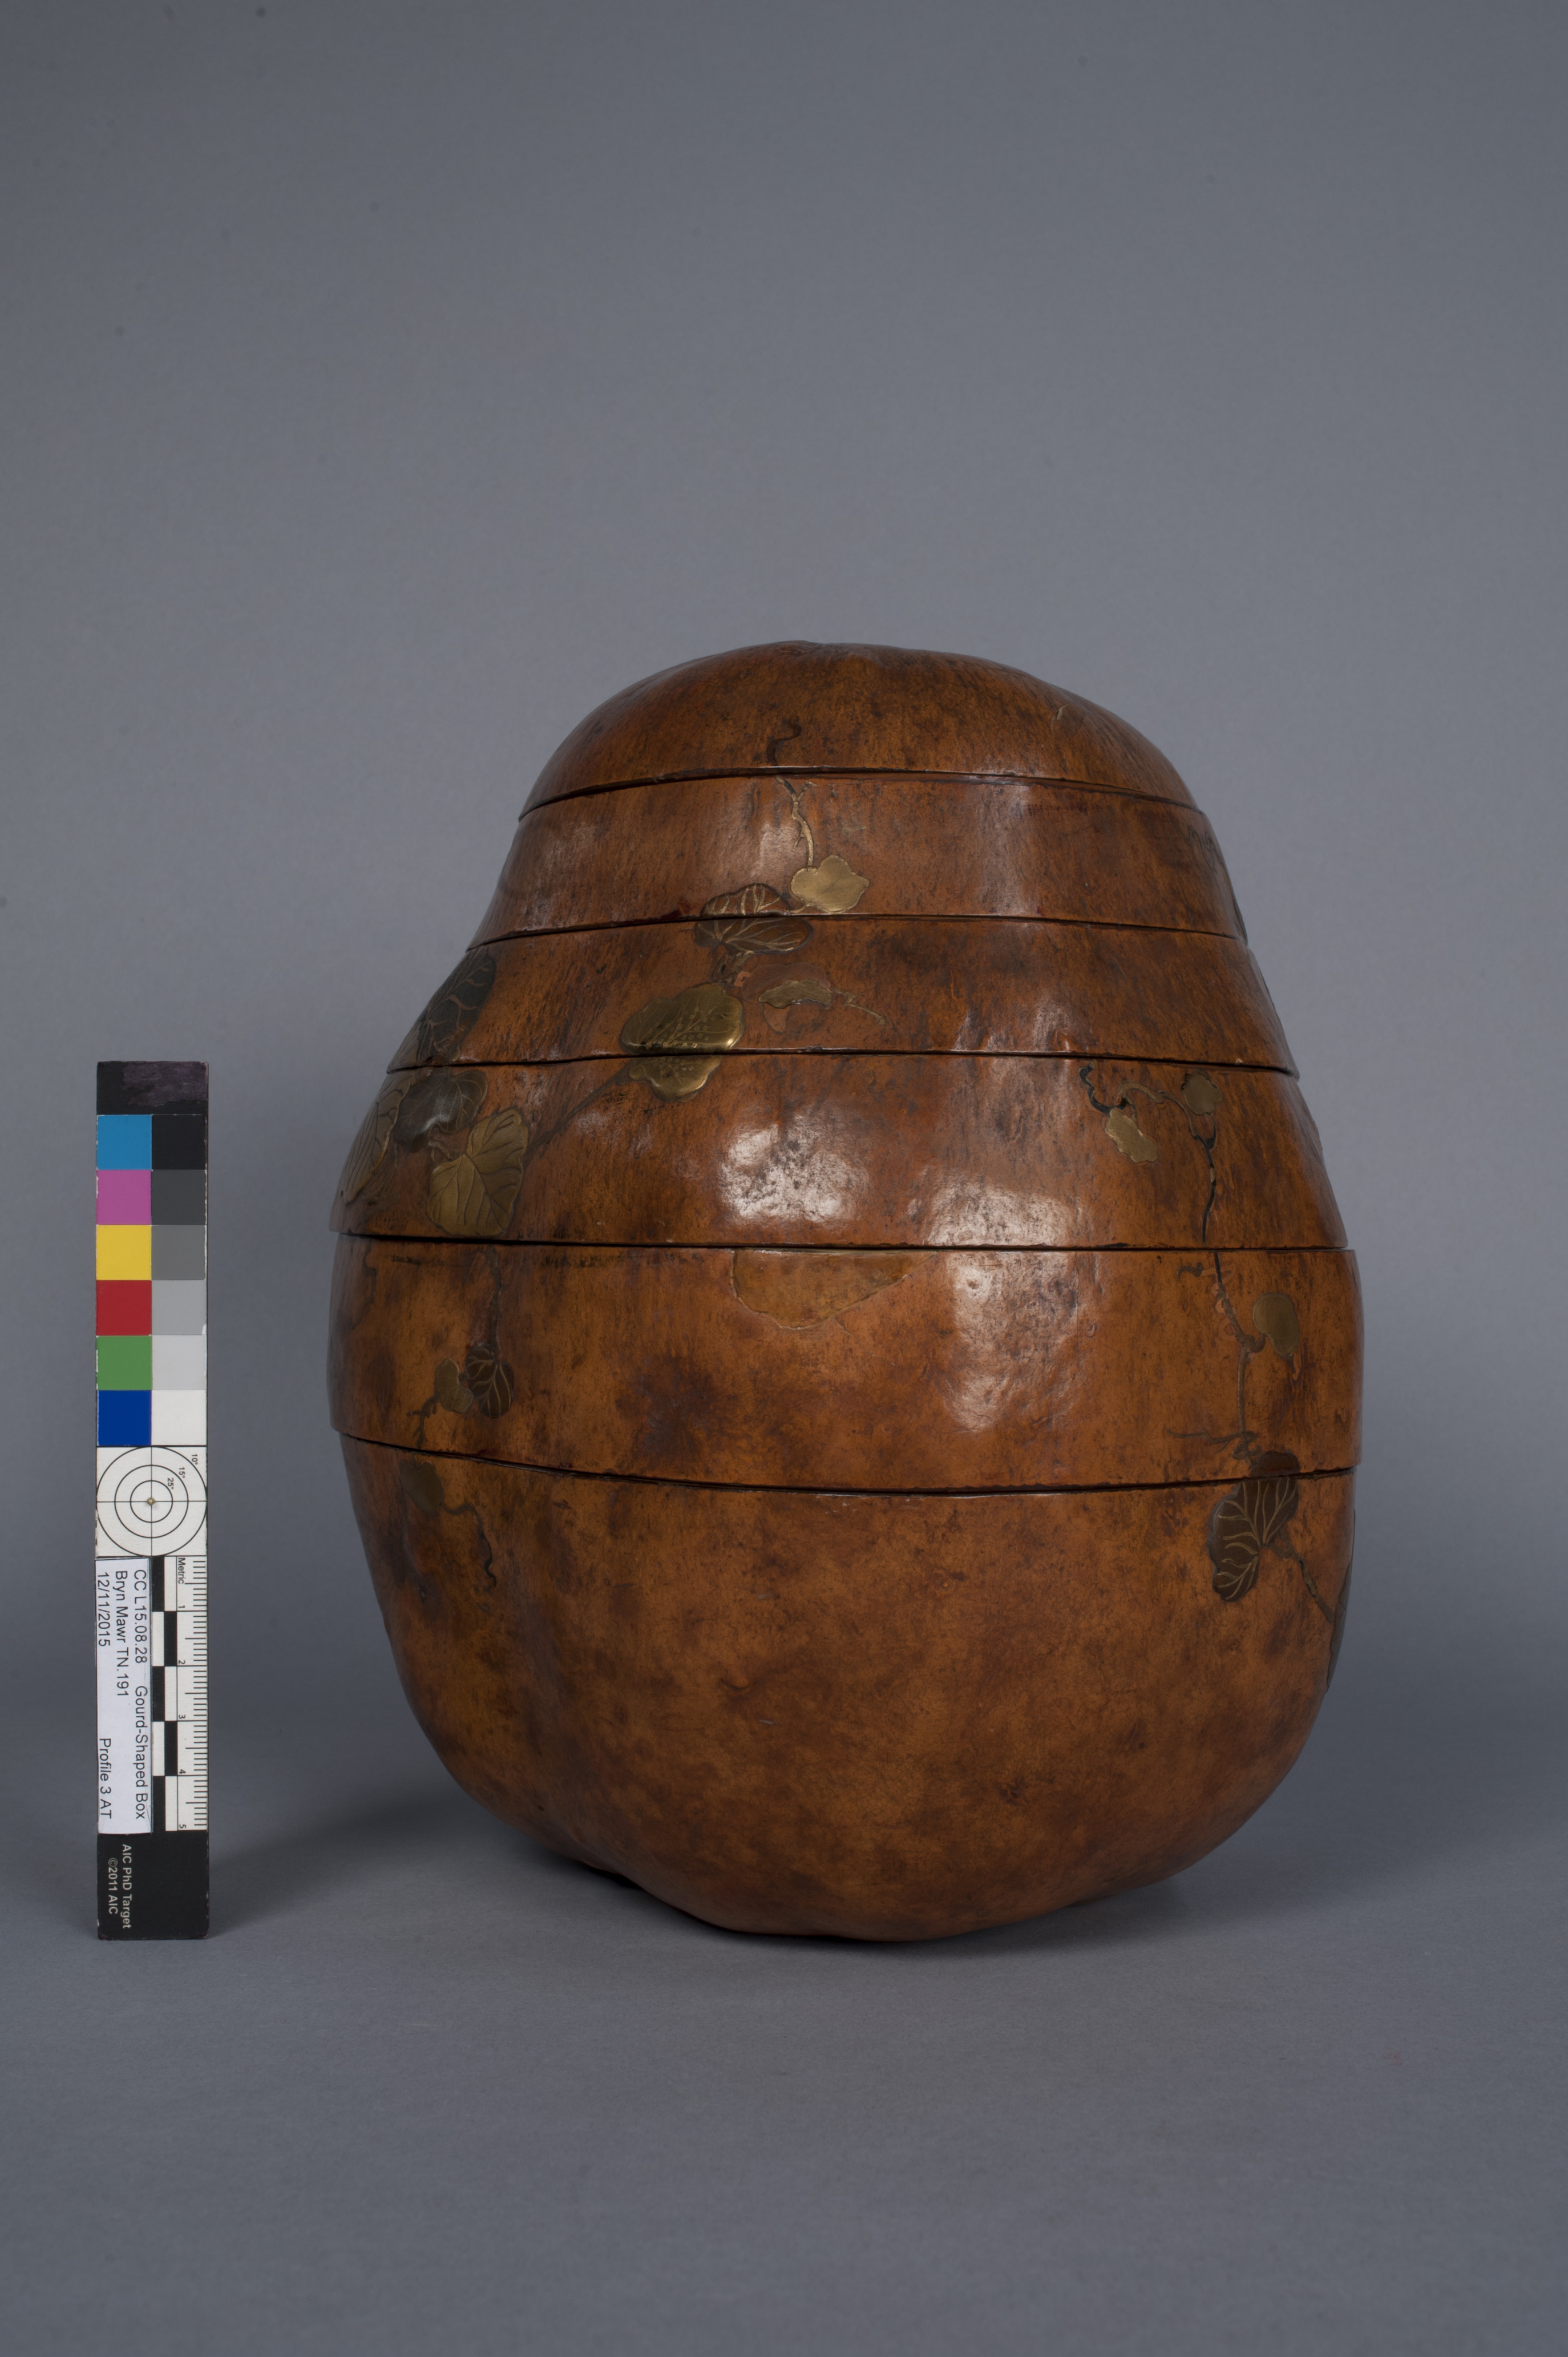
After Treatment
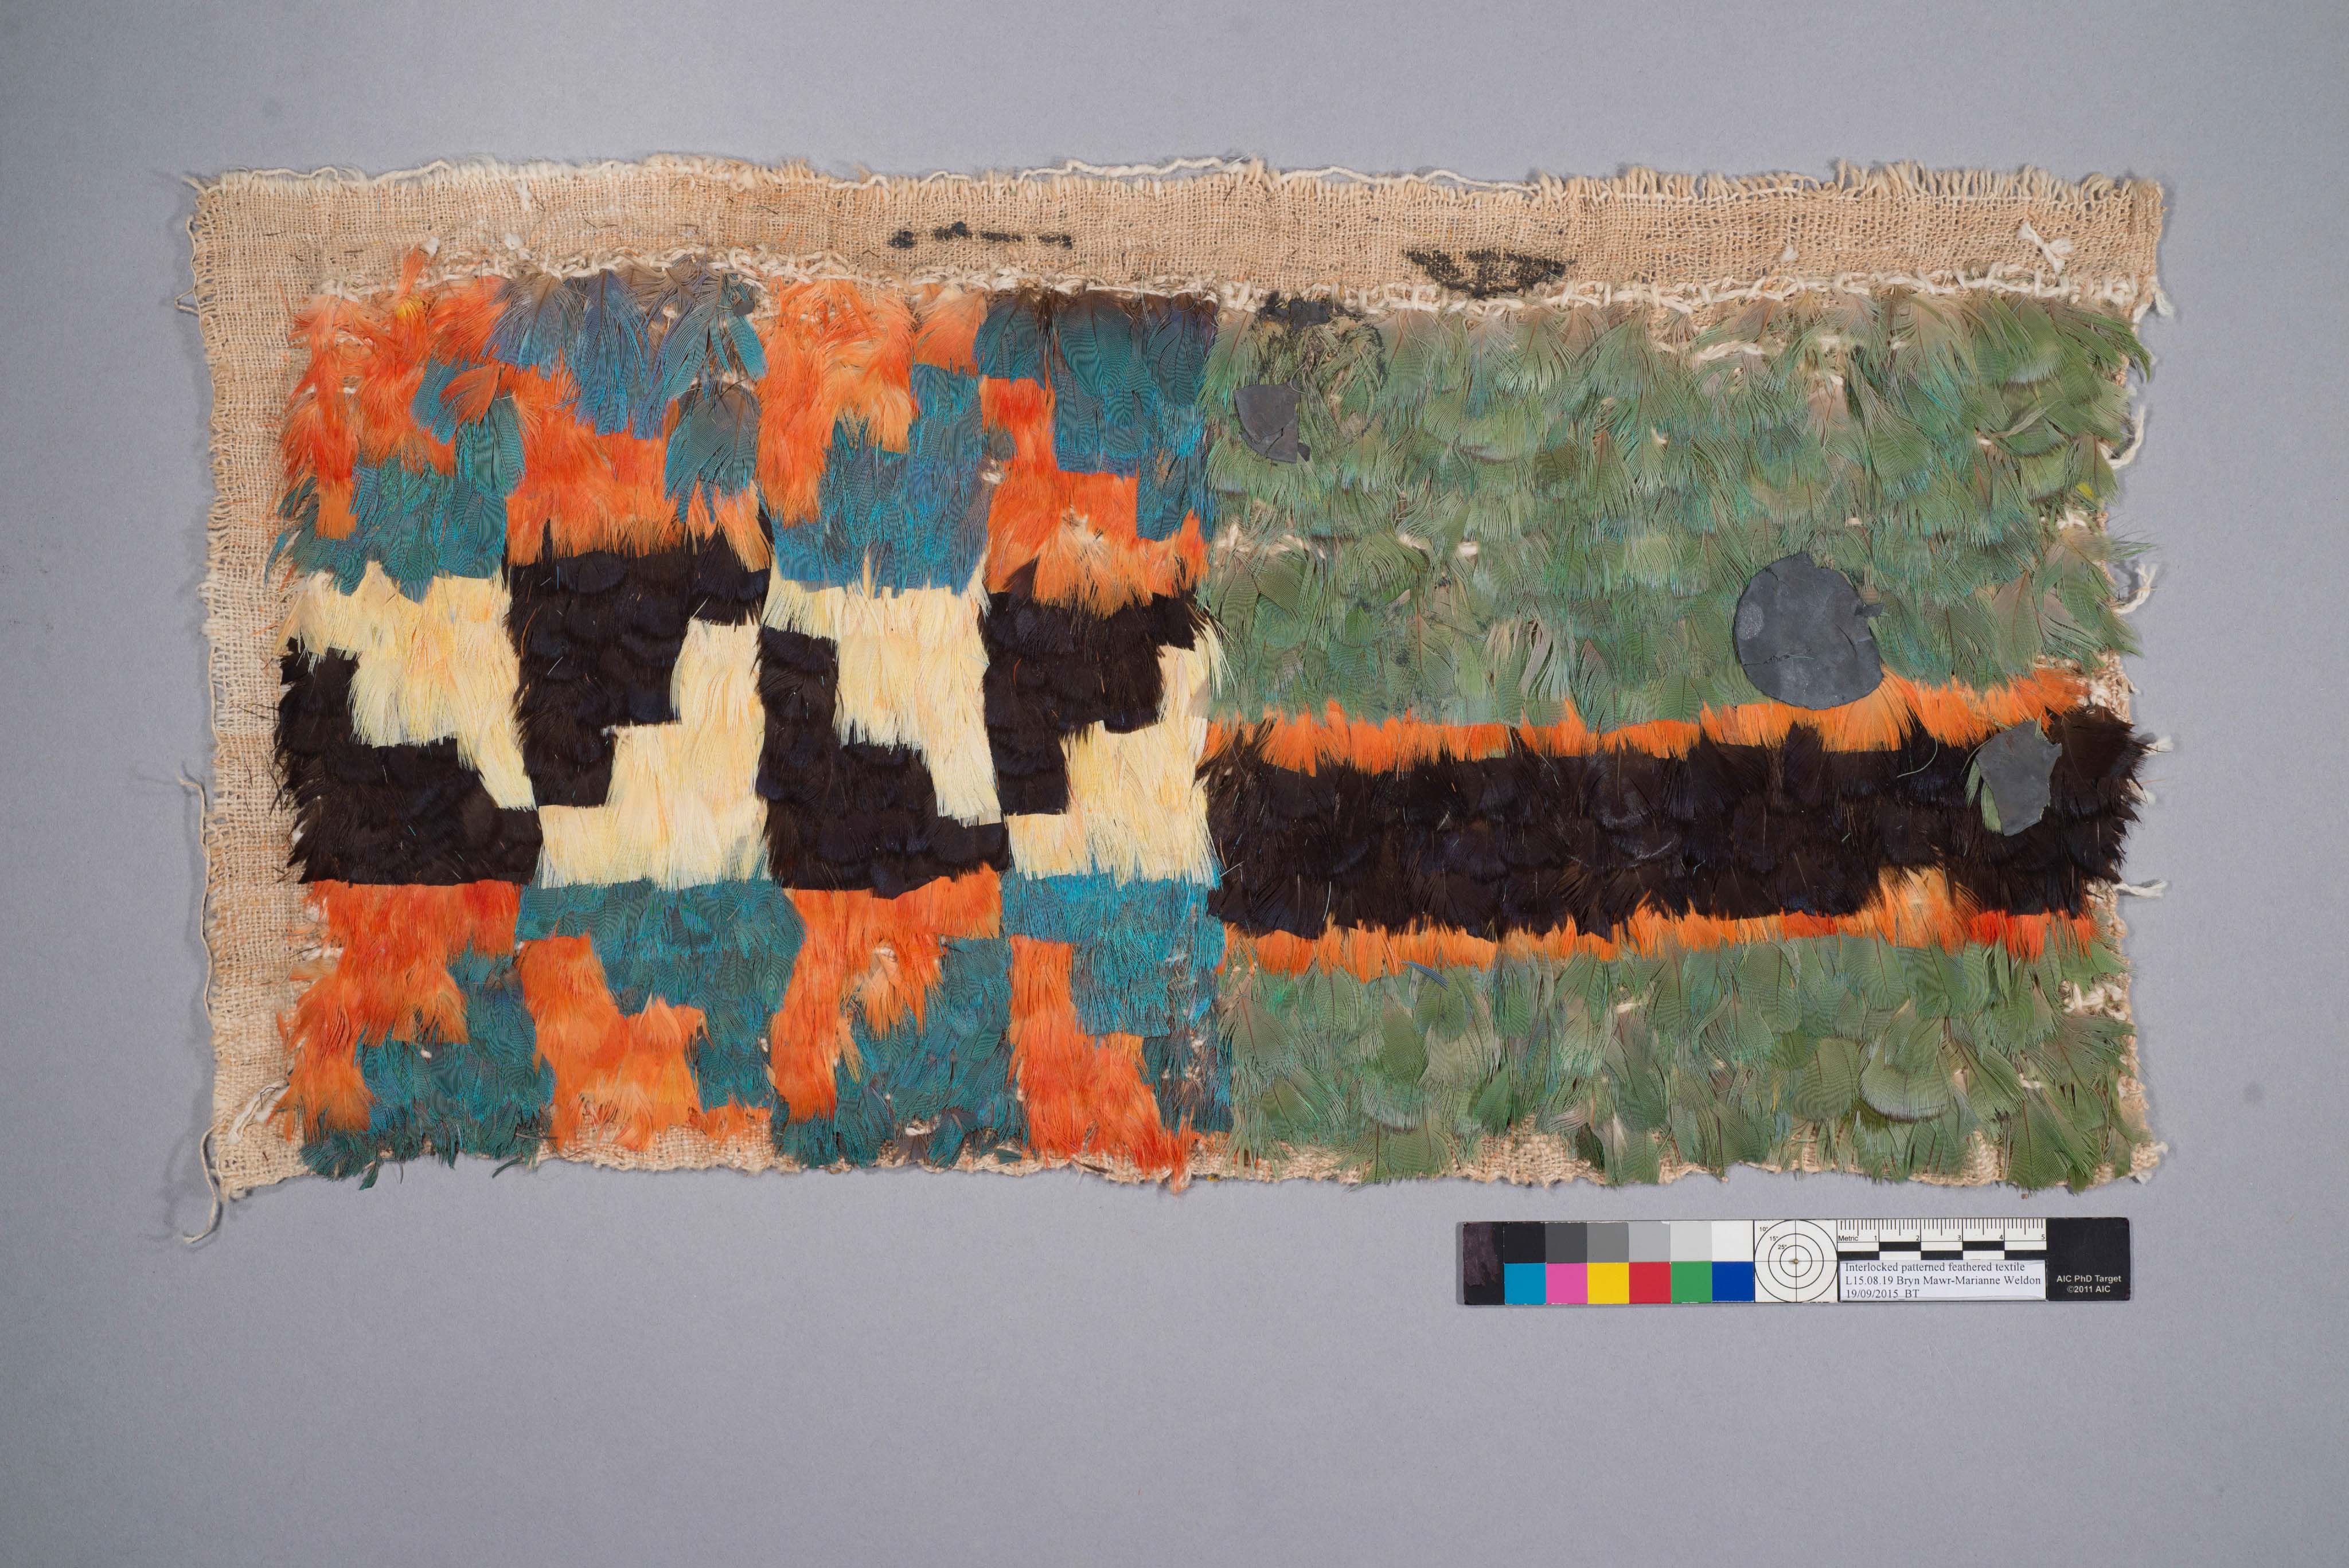
A Peruvian (possibly Ica) feathered mosaic miniature dress fragment bore evidence of its deposition circumstances. The fabric was buried alongside another fabric piece with silver medallions, and several medallions transferred during that contact. In addition, the delicate nature of the feathers that constitute the decoration of the garment also necessitated treatment. Although the silver medallions were not part of the original garment, they are important evidence of the context, history and use of the artifact. Thus they were stabilized and retained. The feathers were brushed into alignment and loose feathers were reattached.
After Treatment
A North American Inupiaq drawstring bag made of fish skin was very brittle and fragile from age and had been flattened in storage, losing its original shape, in addition to having many, tears, and losses. The bag was carefully reshaped using gentle humidification and slowly expanding it into its original shape. Before and during this process the bag was also surface cleaned.
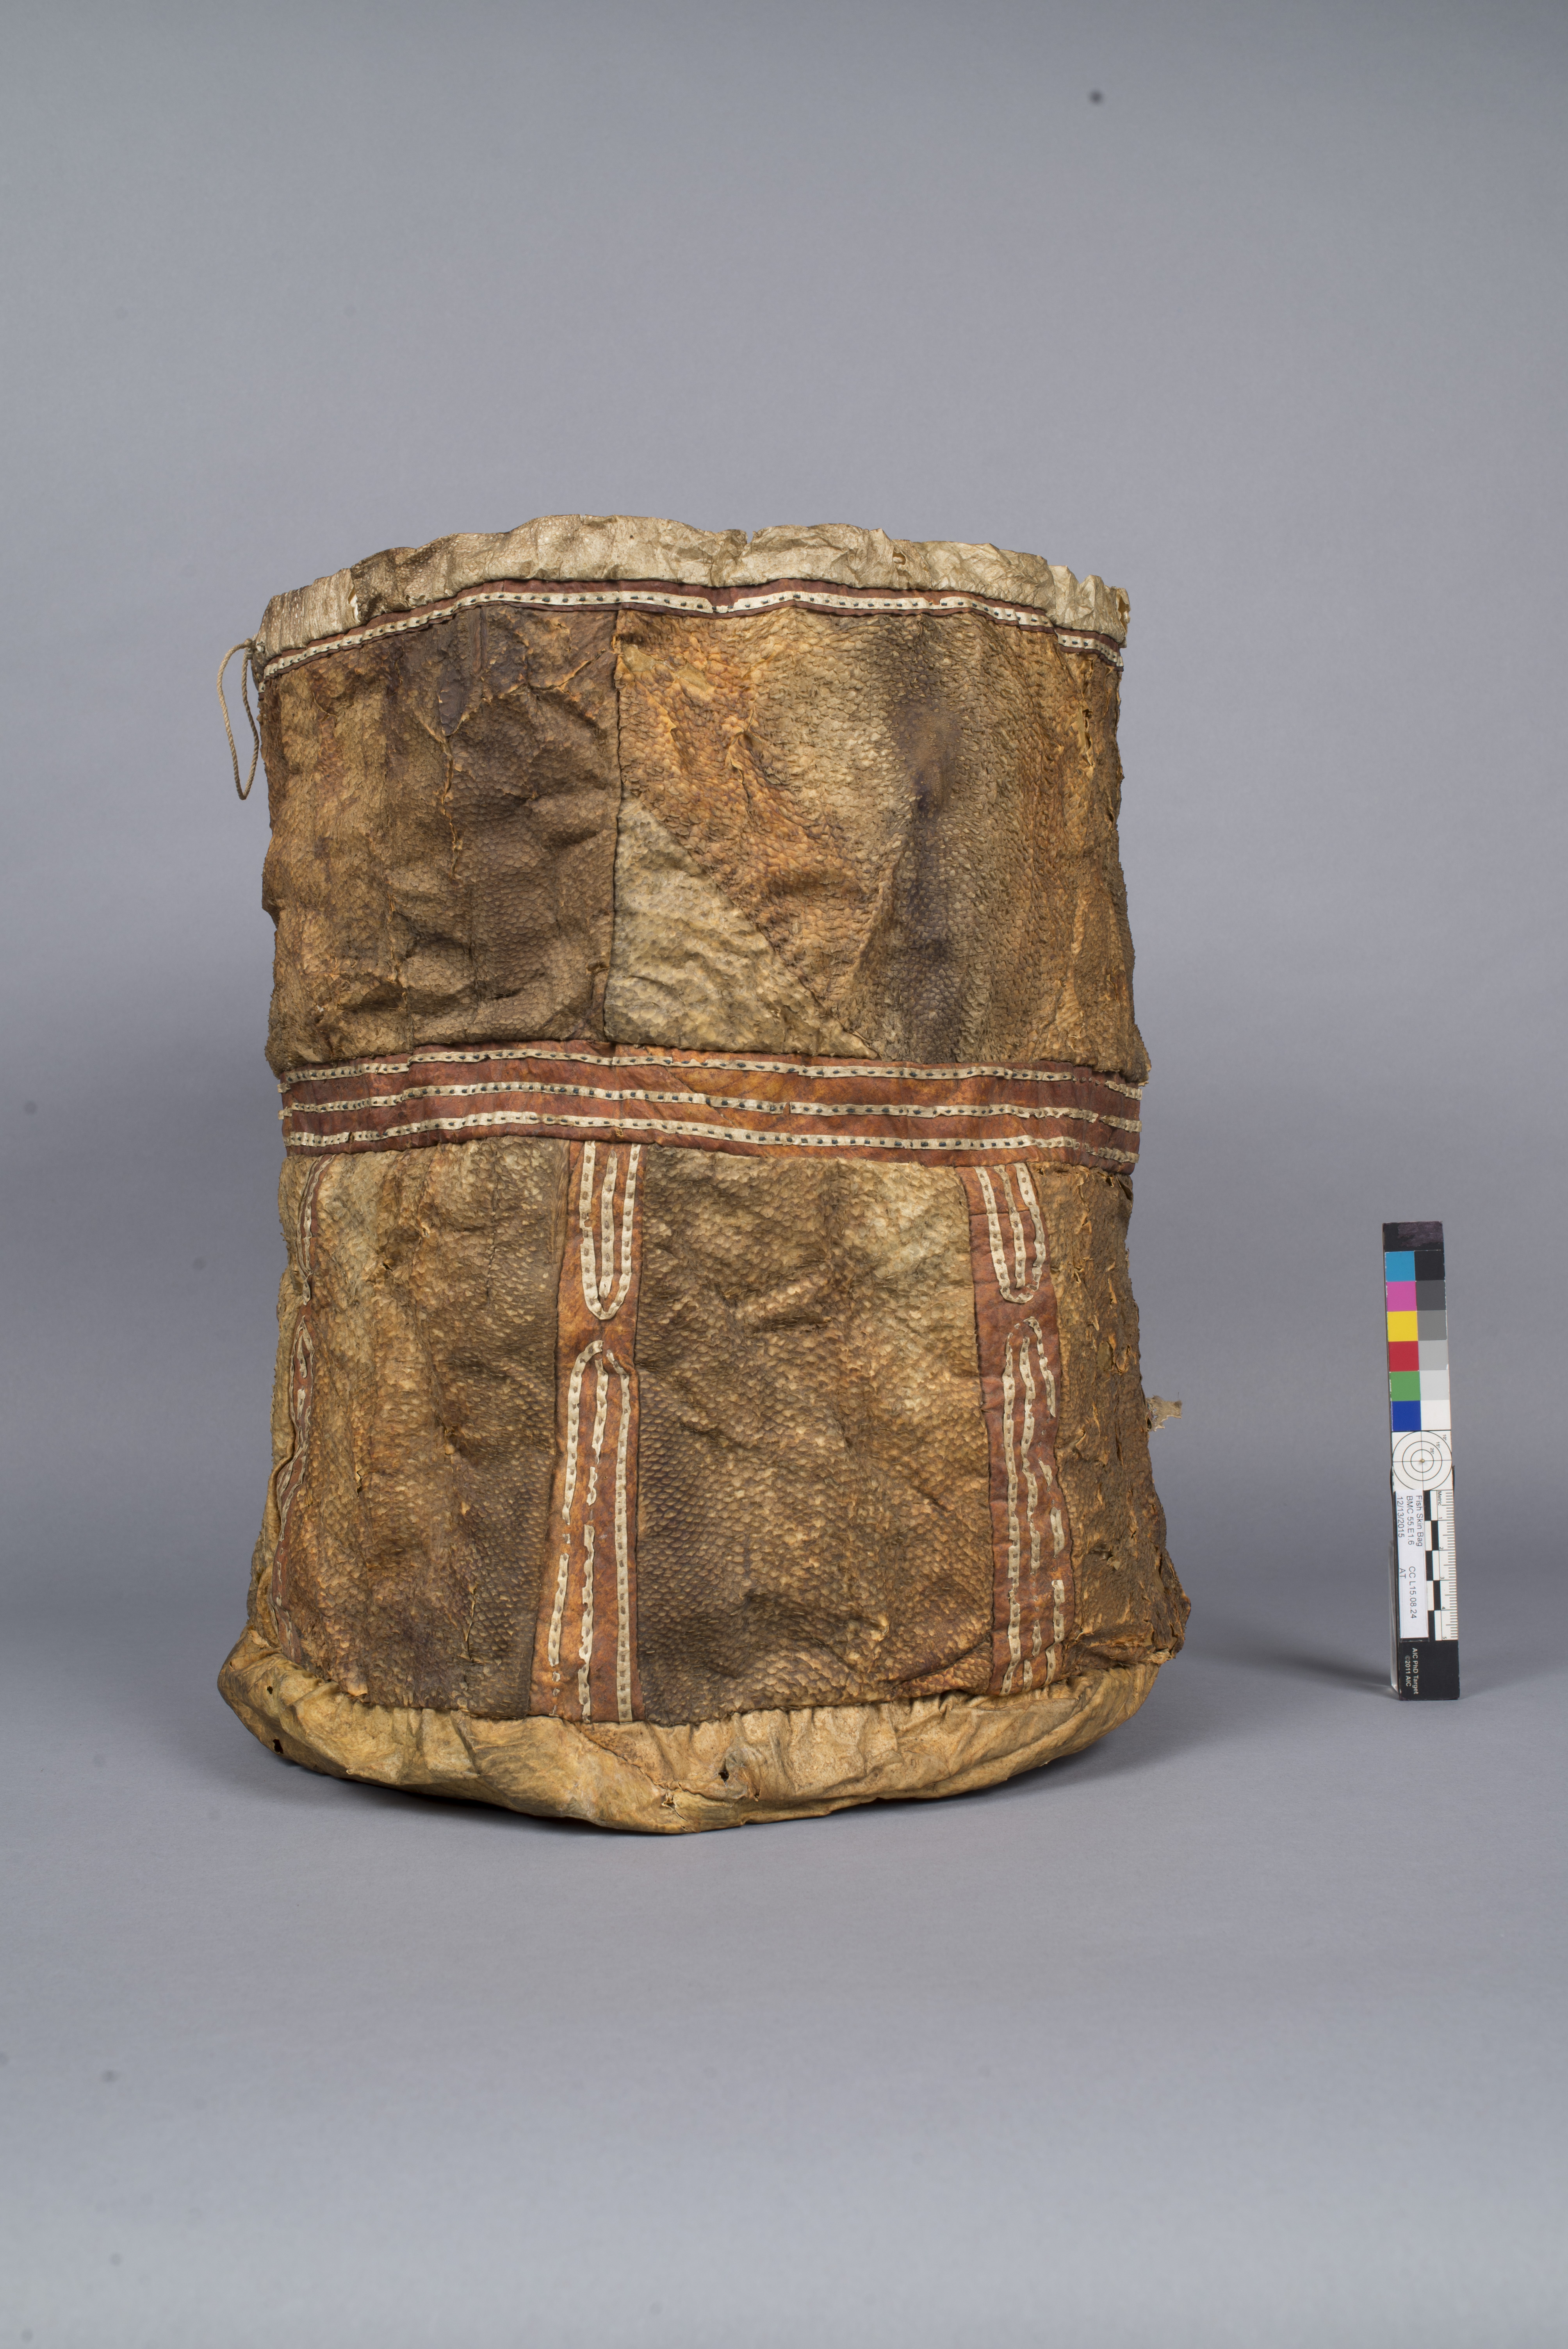
After Treatment
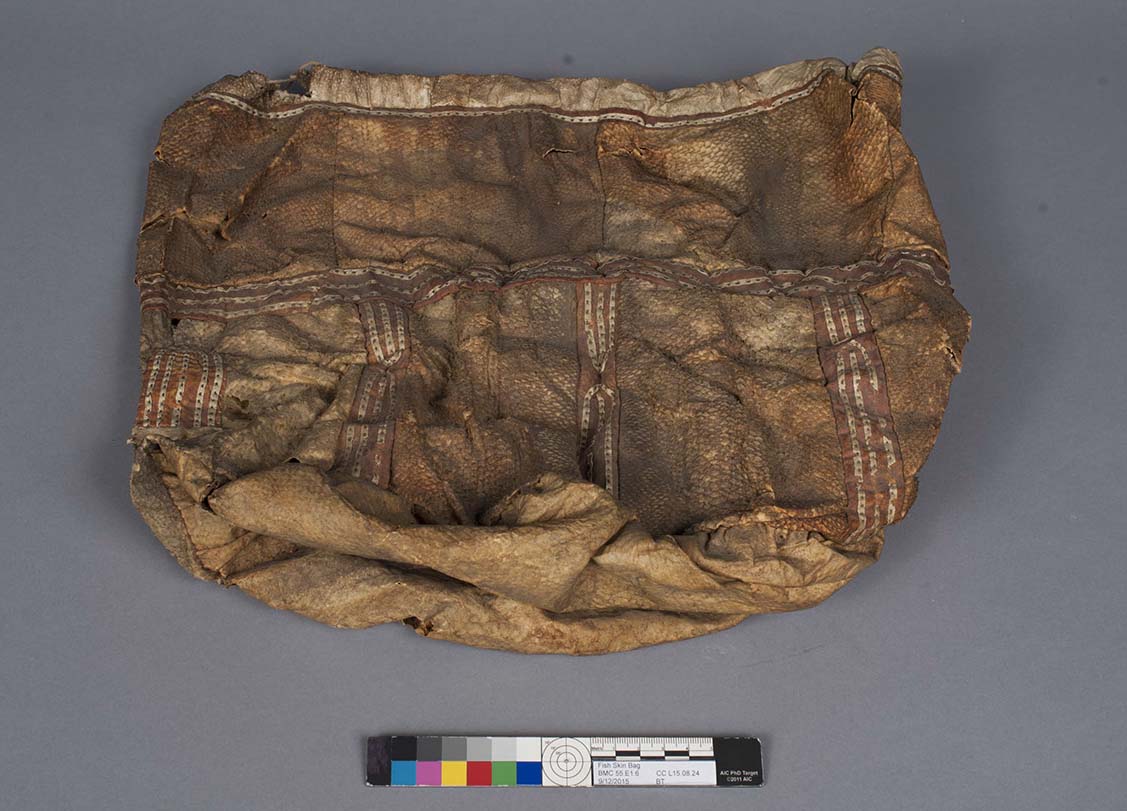
Before Treatment
The conservator treating this bag created a time-lapse video of her repair work: (see link below)
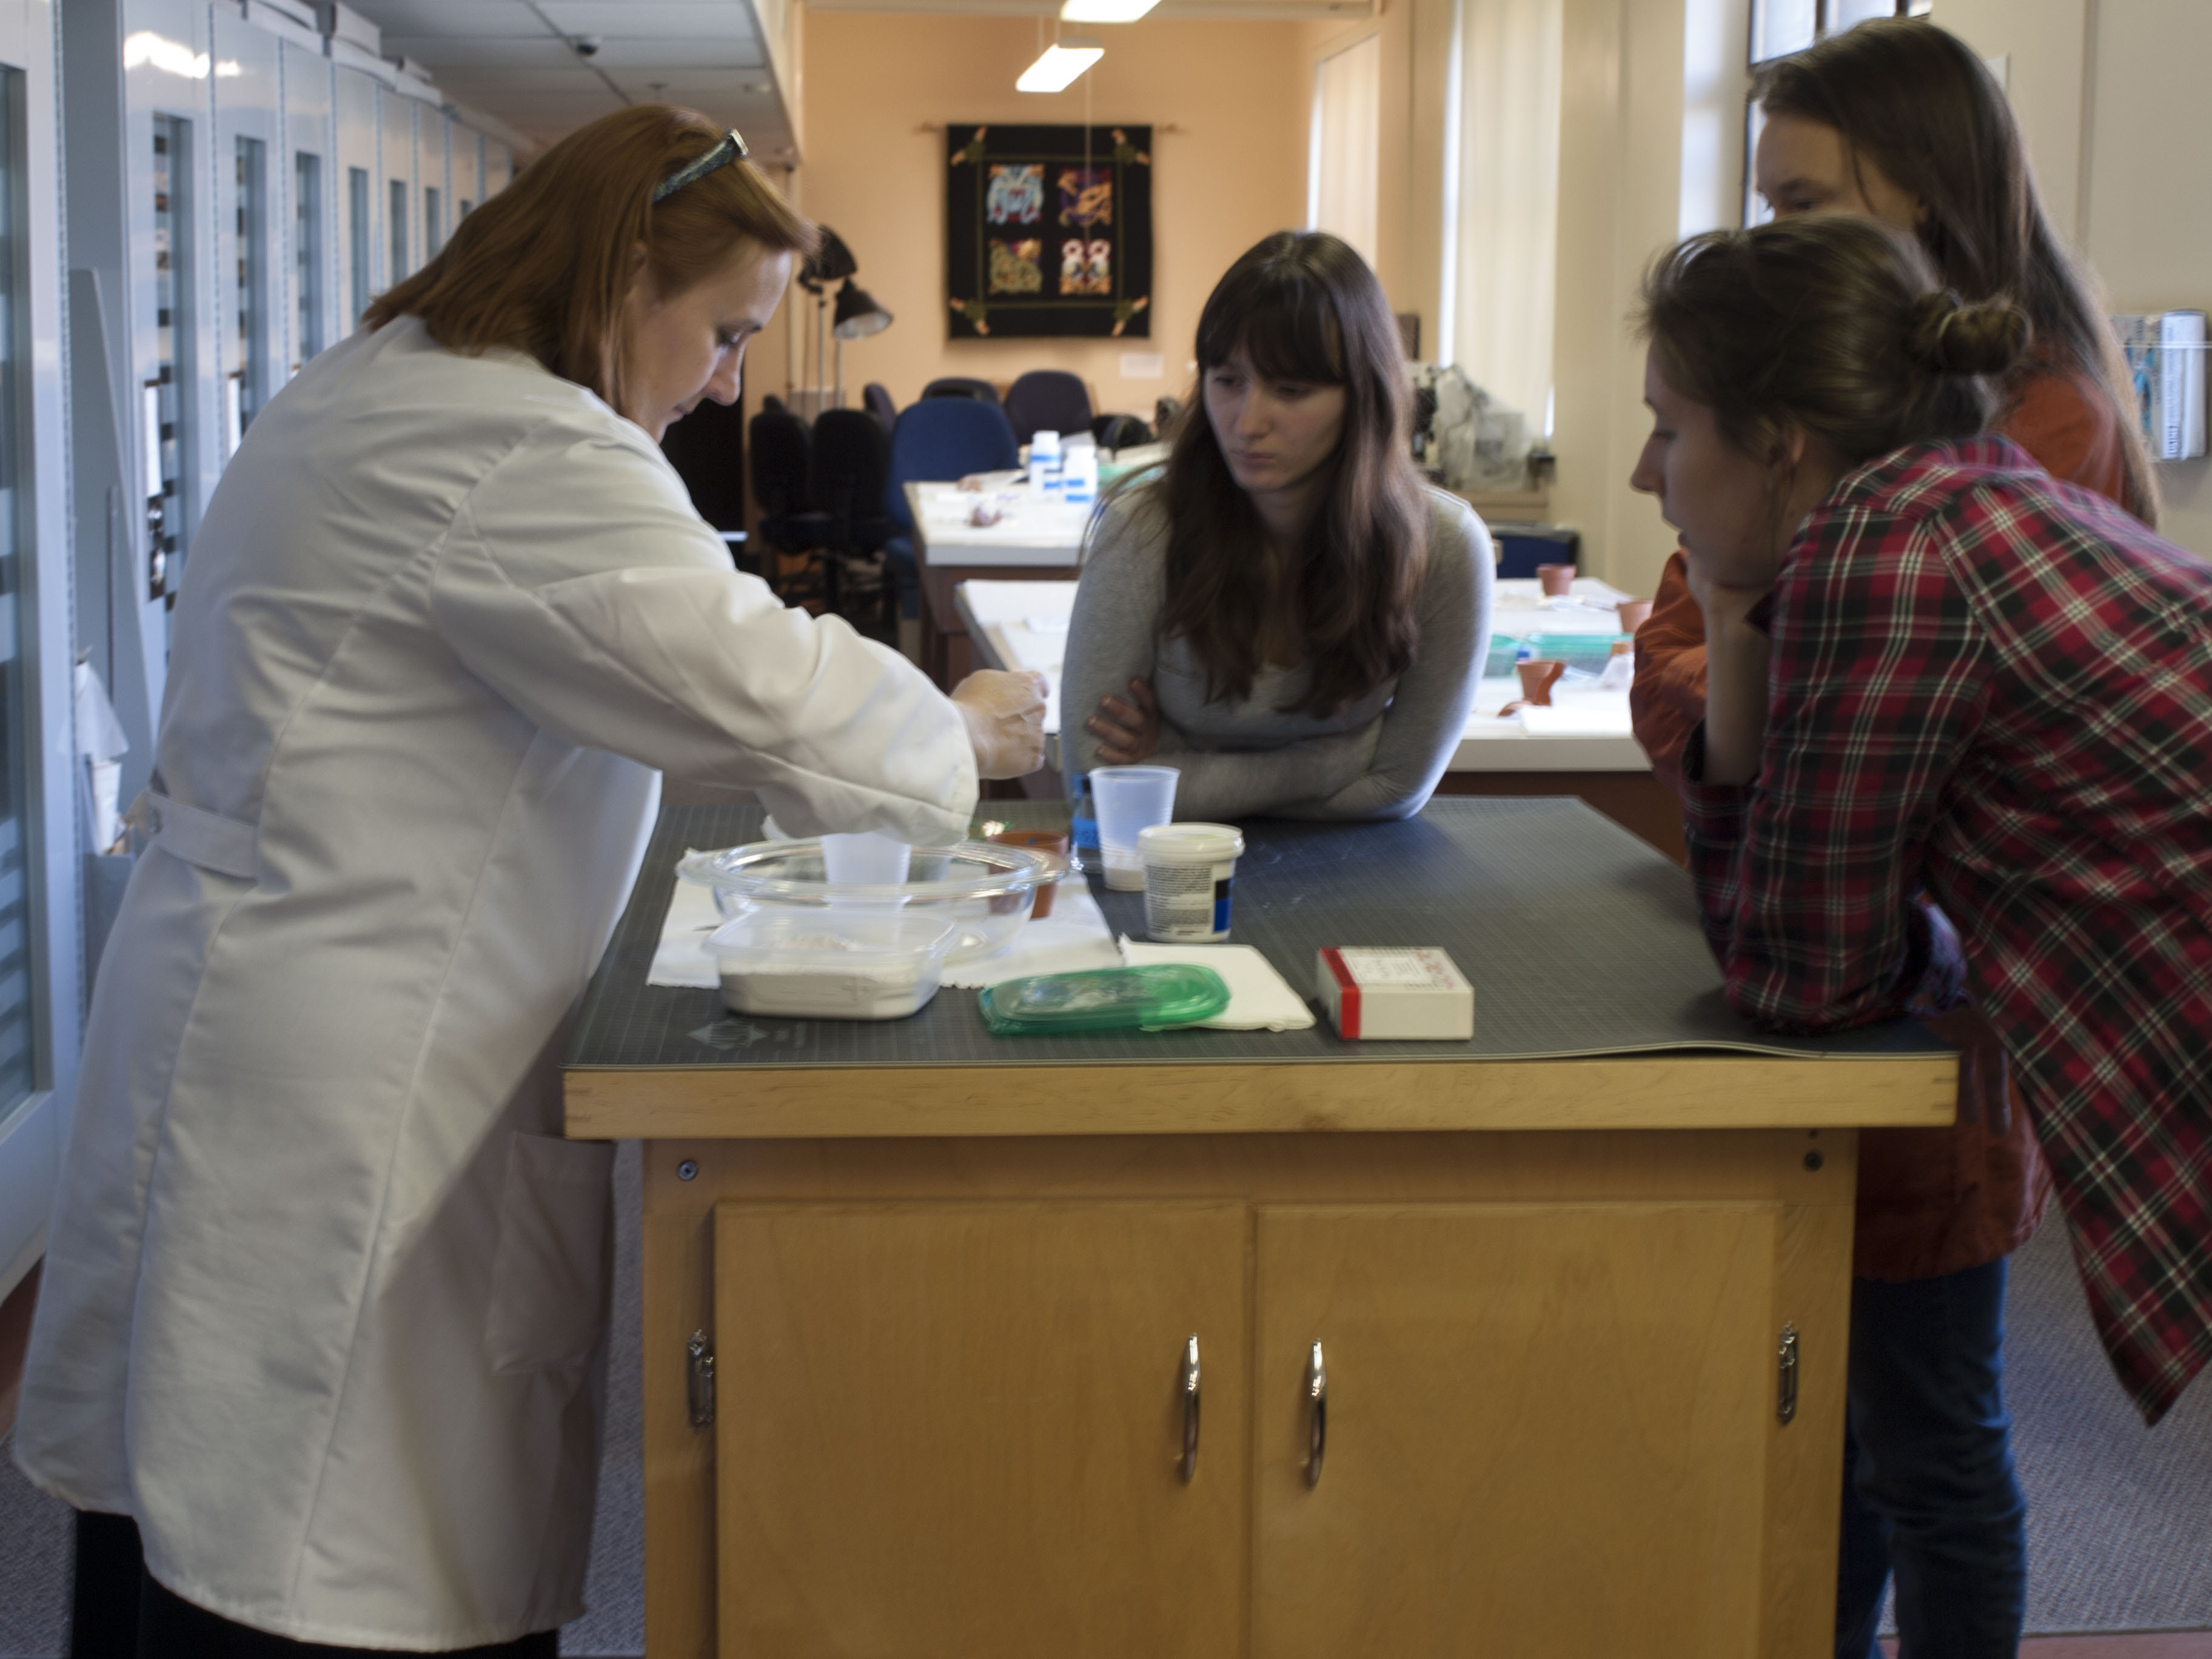
We wish to thank the graduate conservation students at The Conservation Center of the Institute of Fine Arts, New York University, Emily Frank, Rebecca Gridley, and Bermet Nishanova, as well as their professor, conservator Samantha Alderson, and Manager, Laboratories and Study Collection Catherine A. Lukaszewski for working on these artifacts to help preserve them for future generations.