The third lab focused on the art of mending pottery and glass.
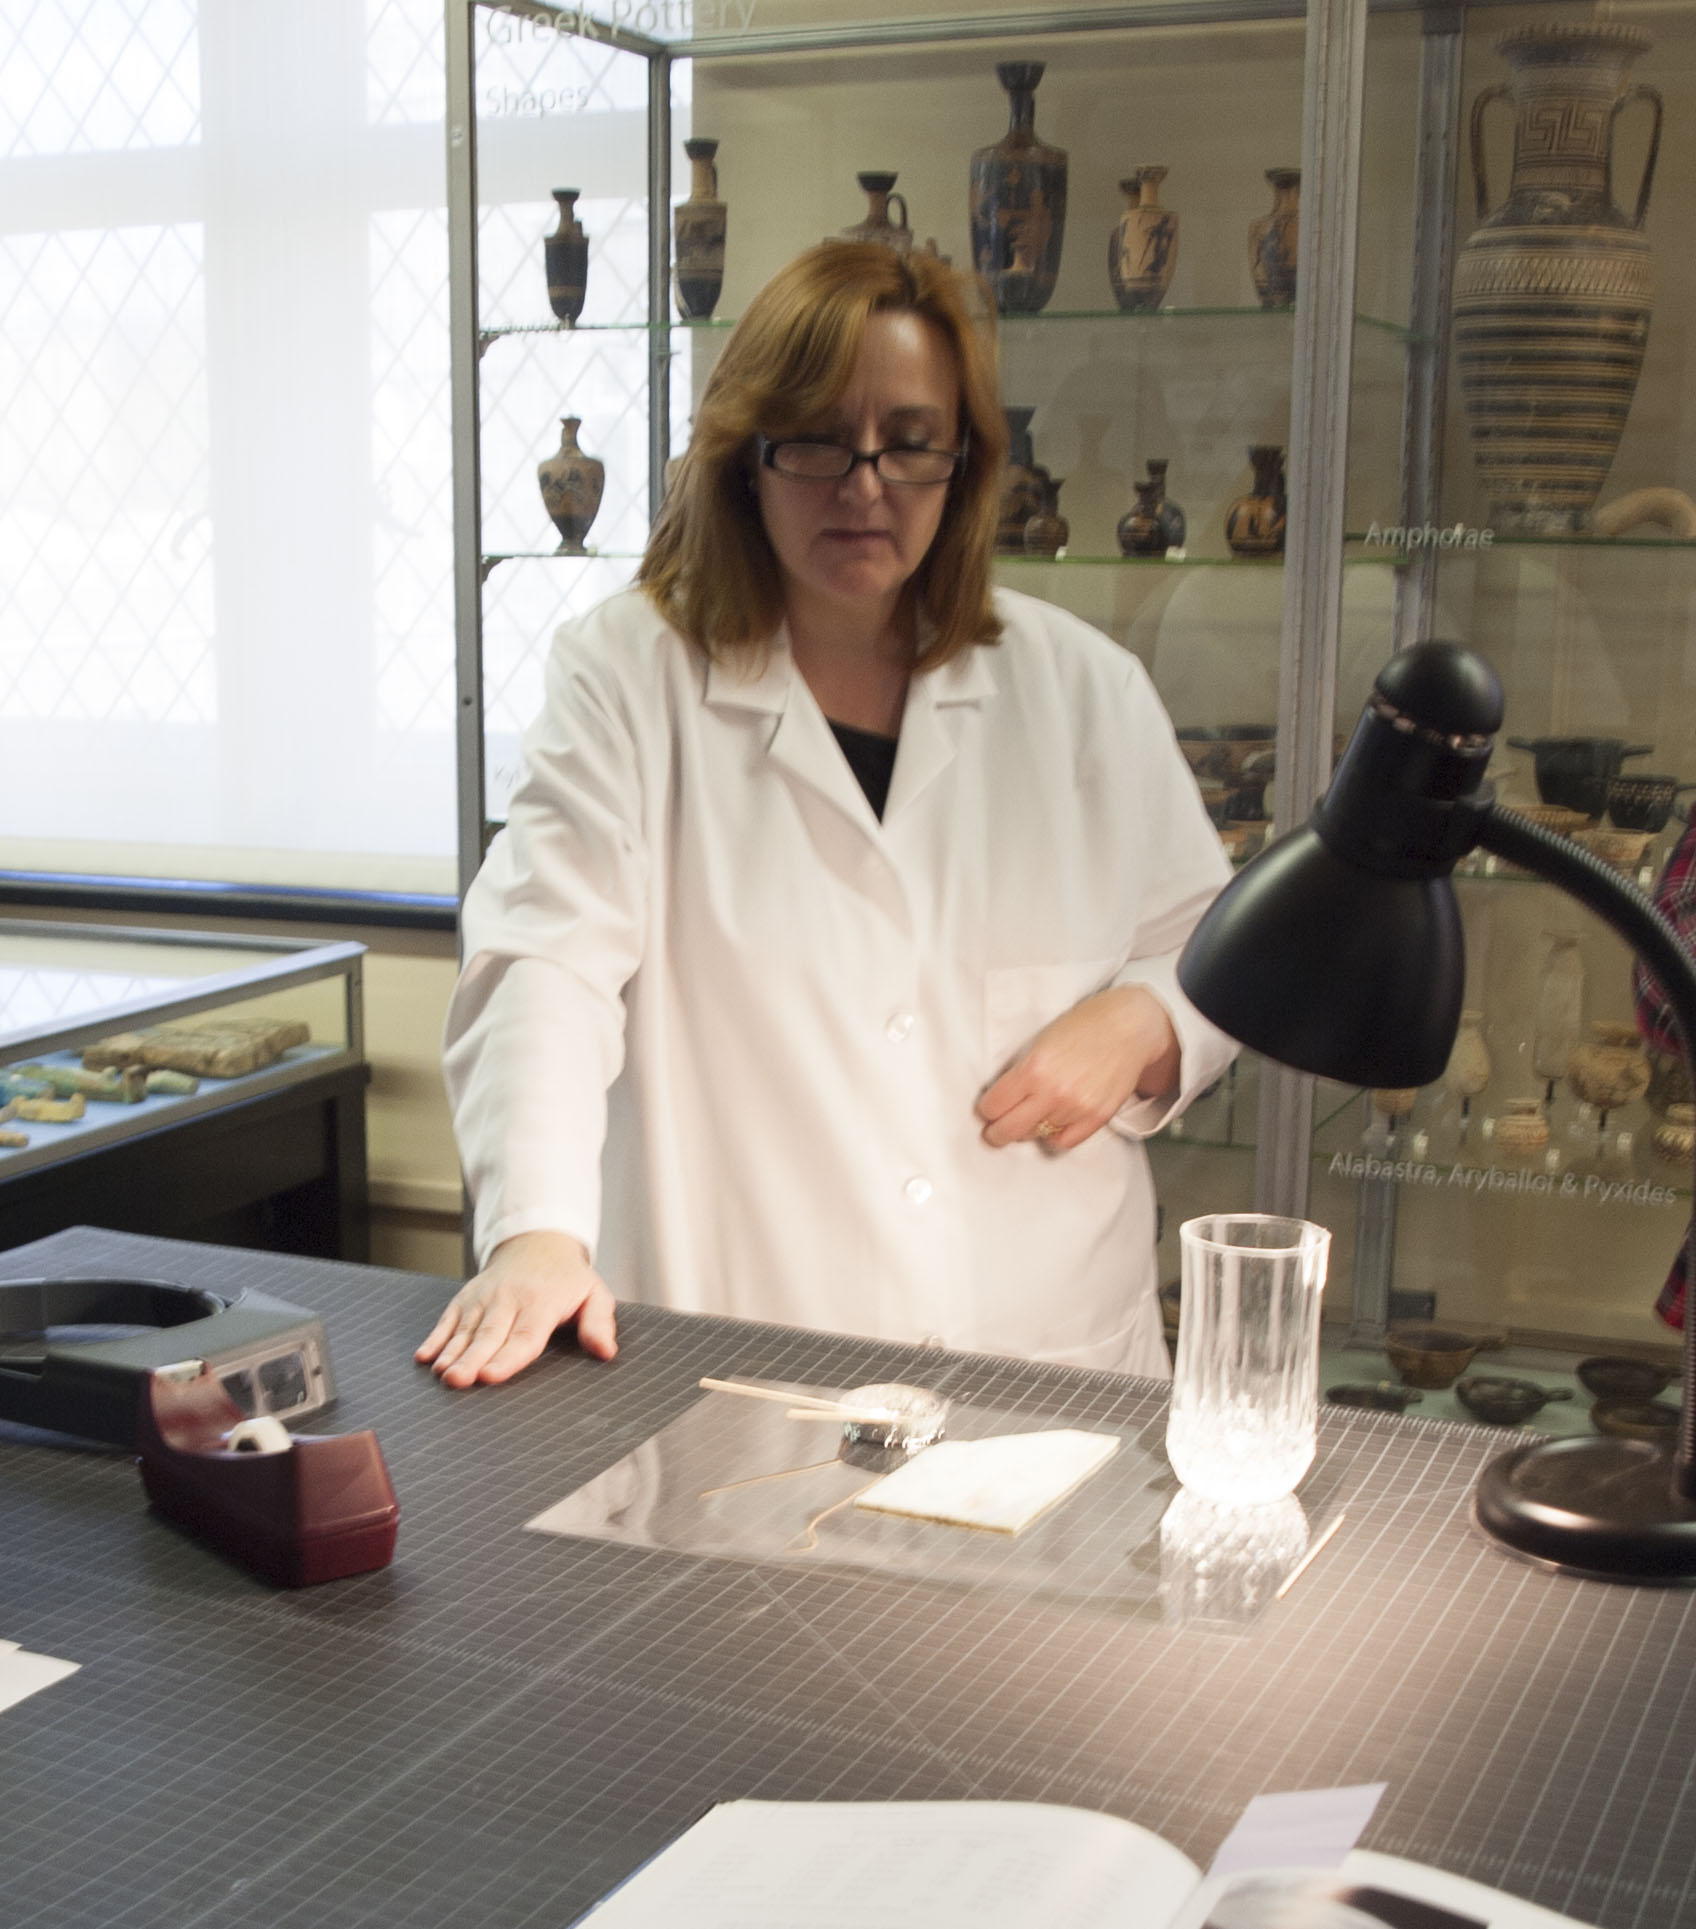
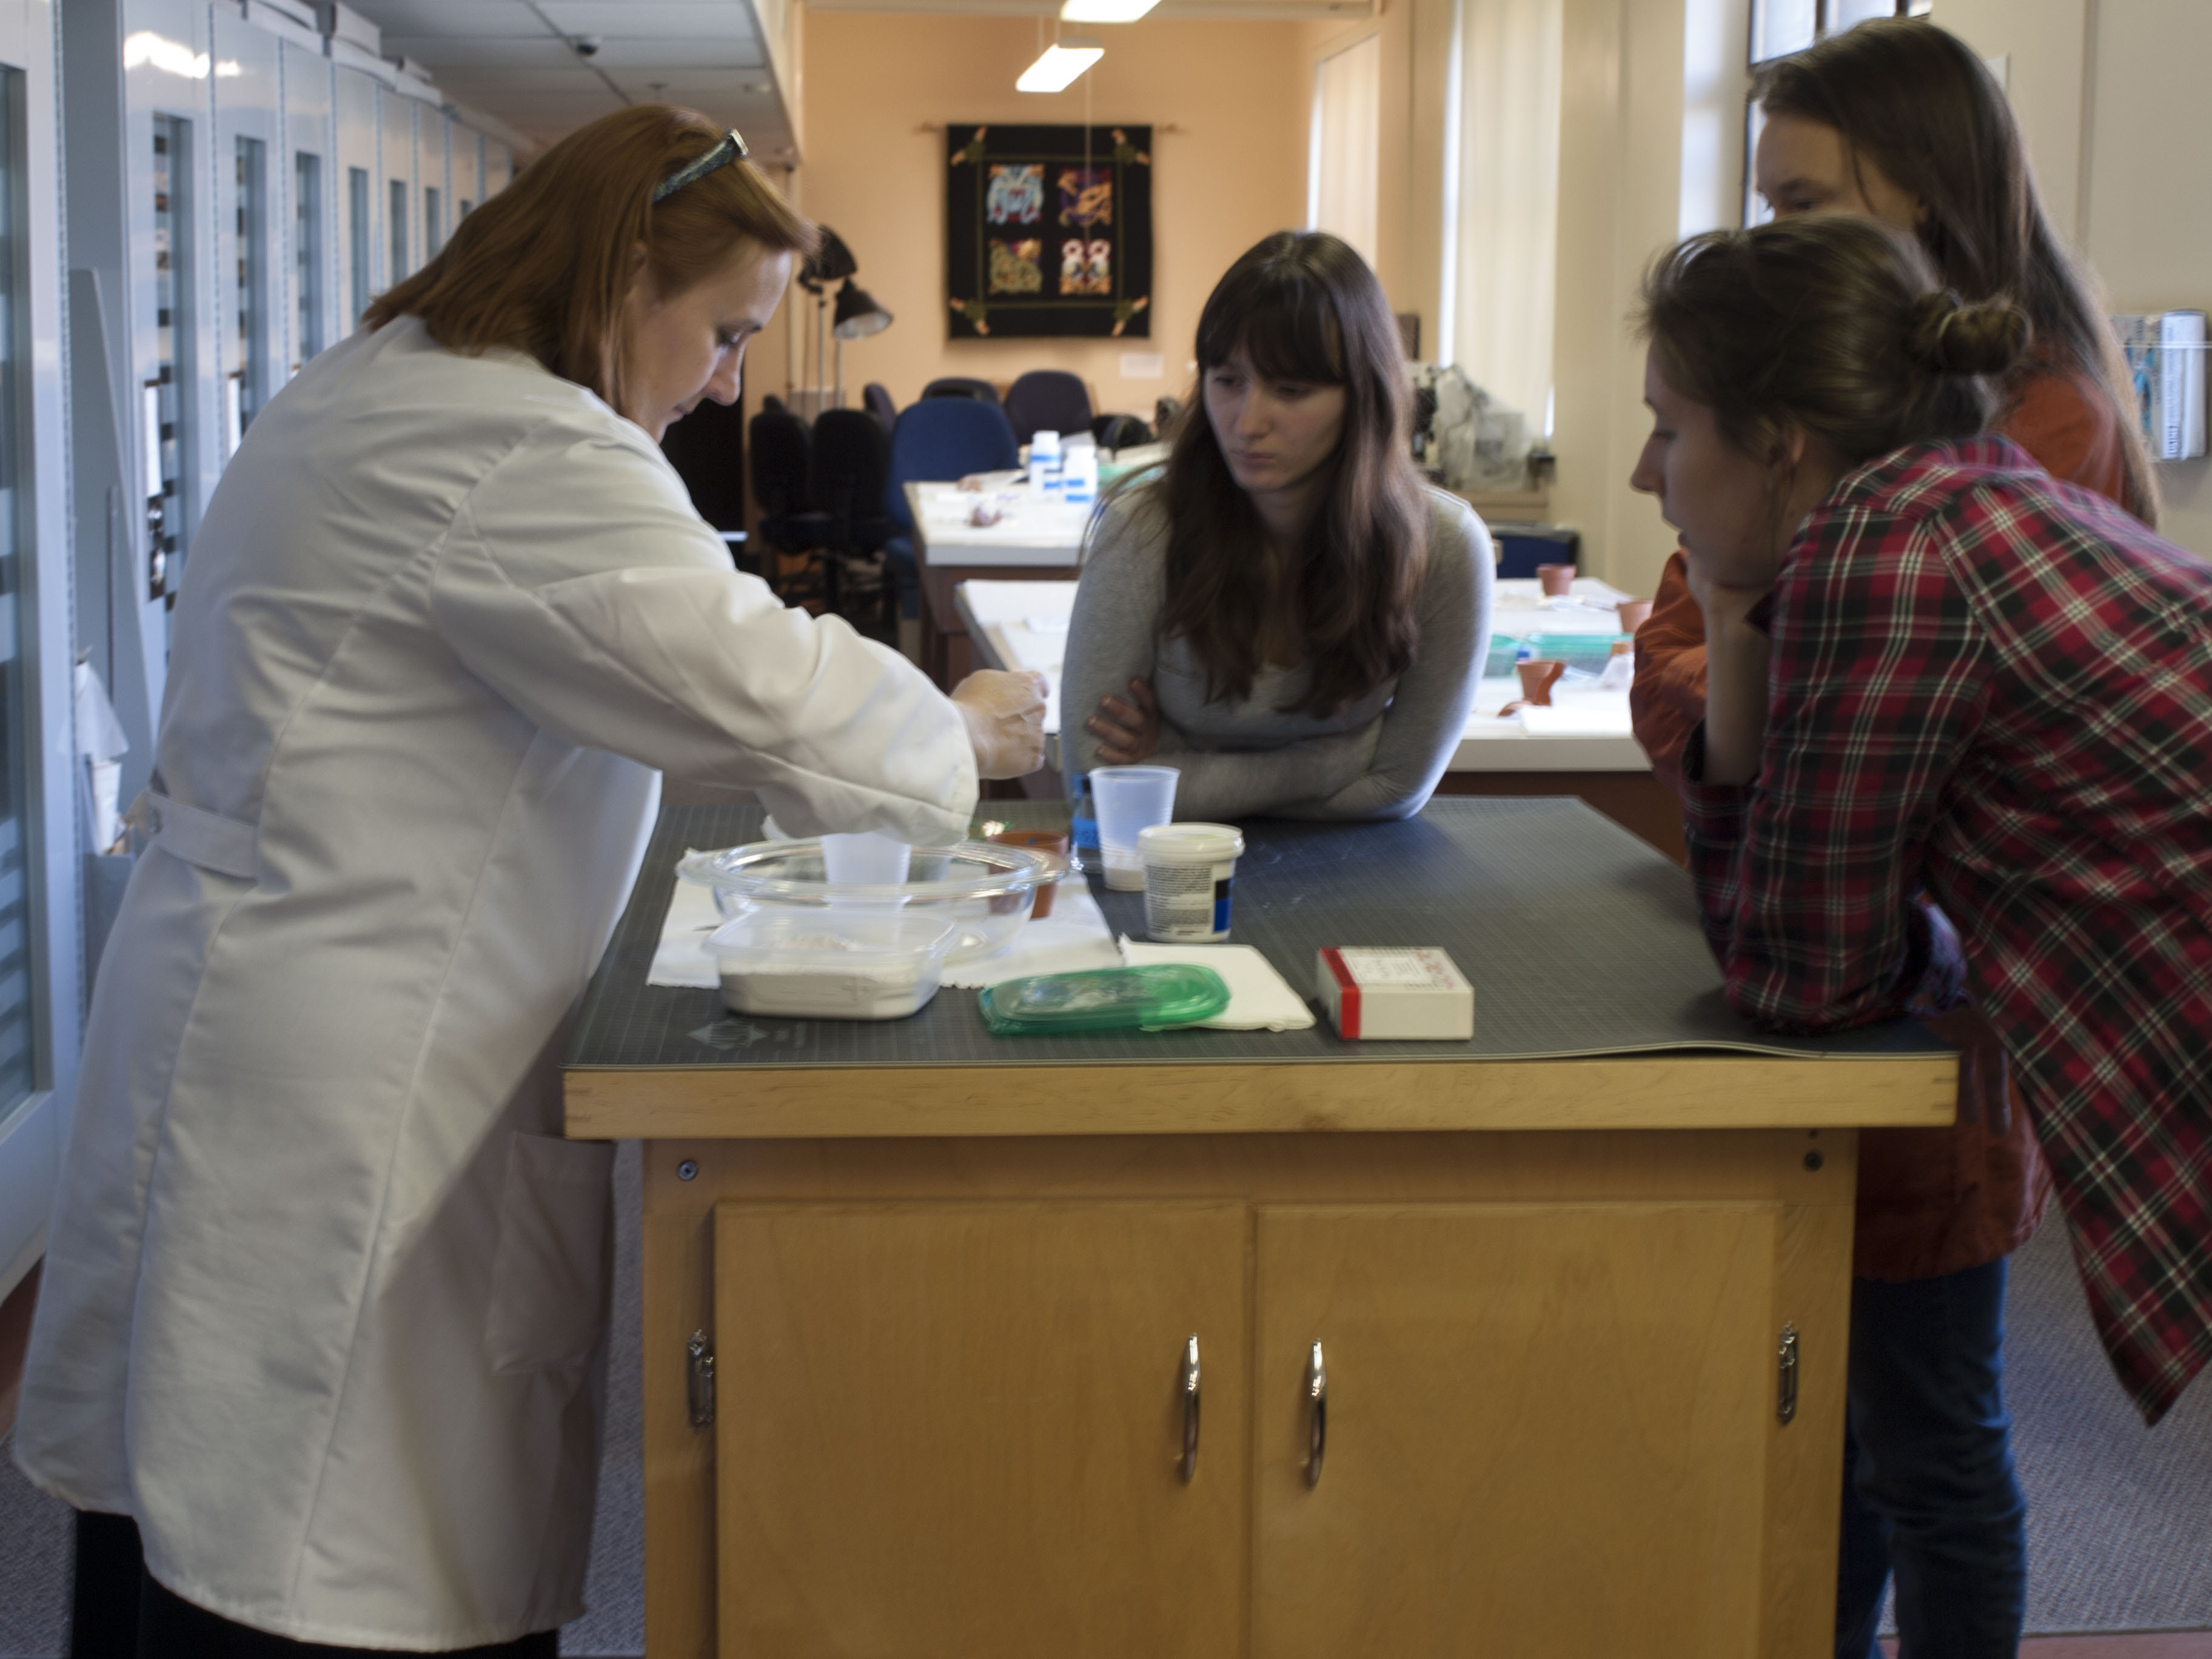
Marianne demonstrating mending glass
Marianne demonstrated mending broken glass with the adhesive Hxtal (NYL-1). She first made repairs to a piece of flat colored glass from a leaded window and then to a drinking glass.
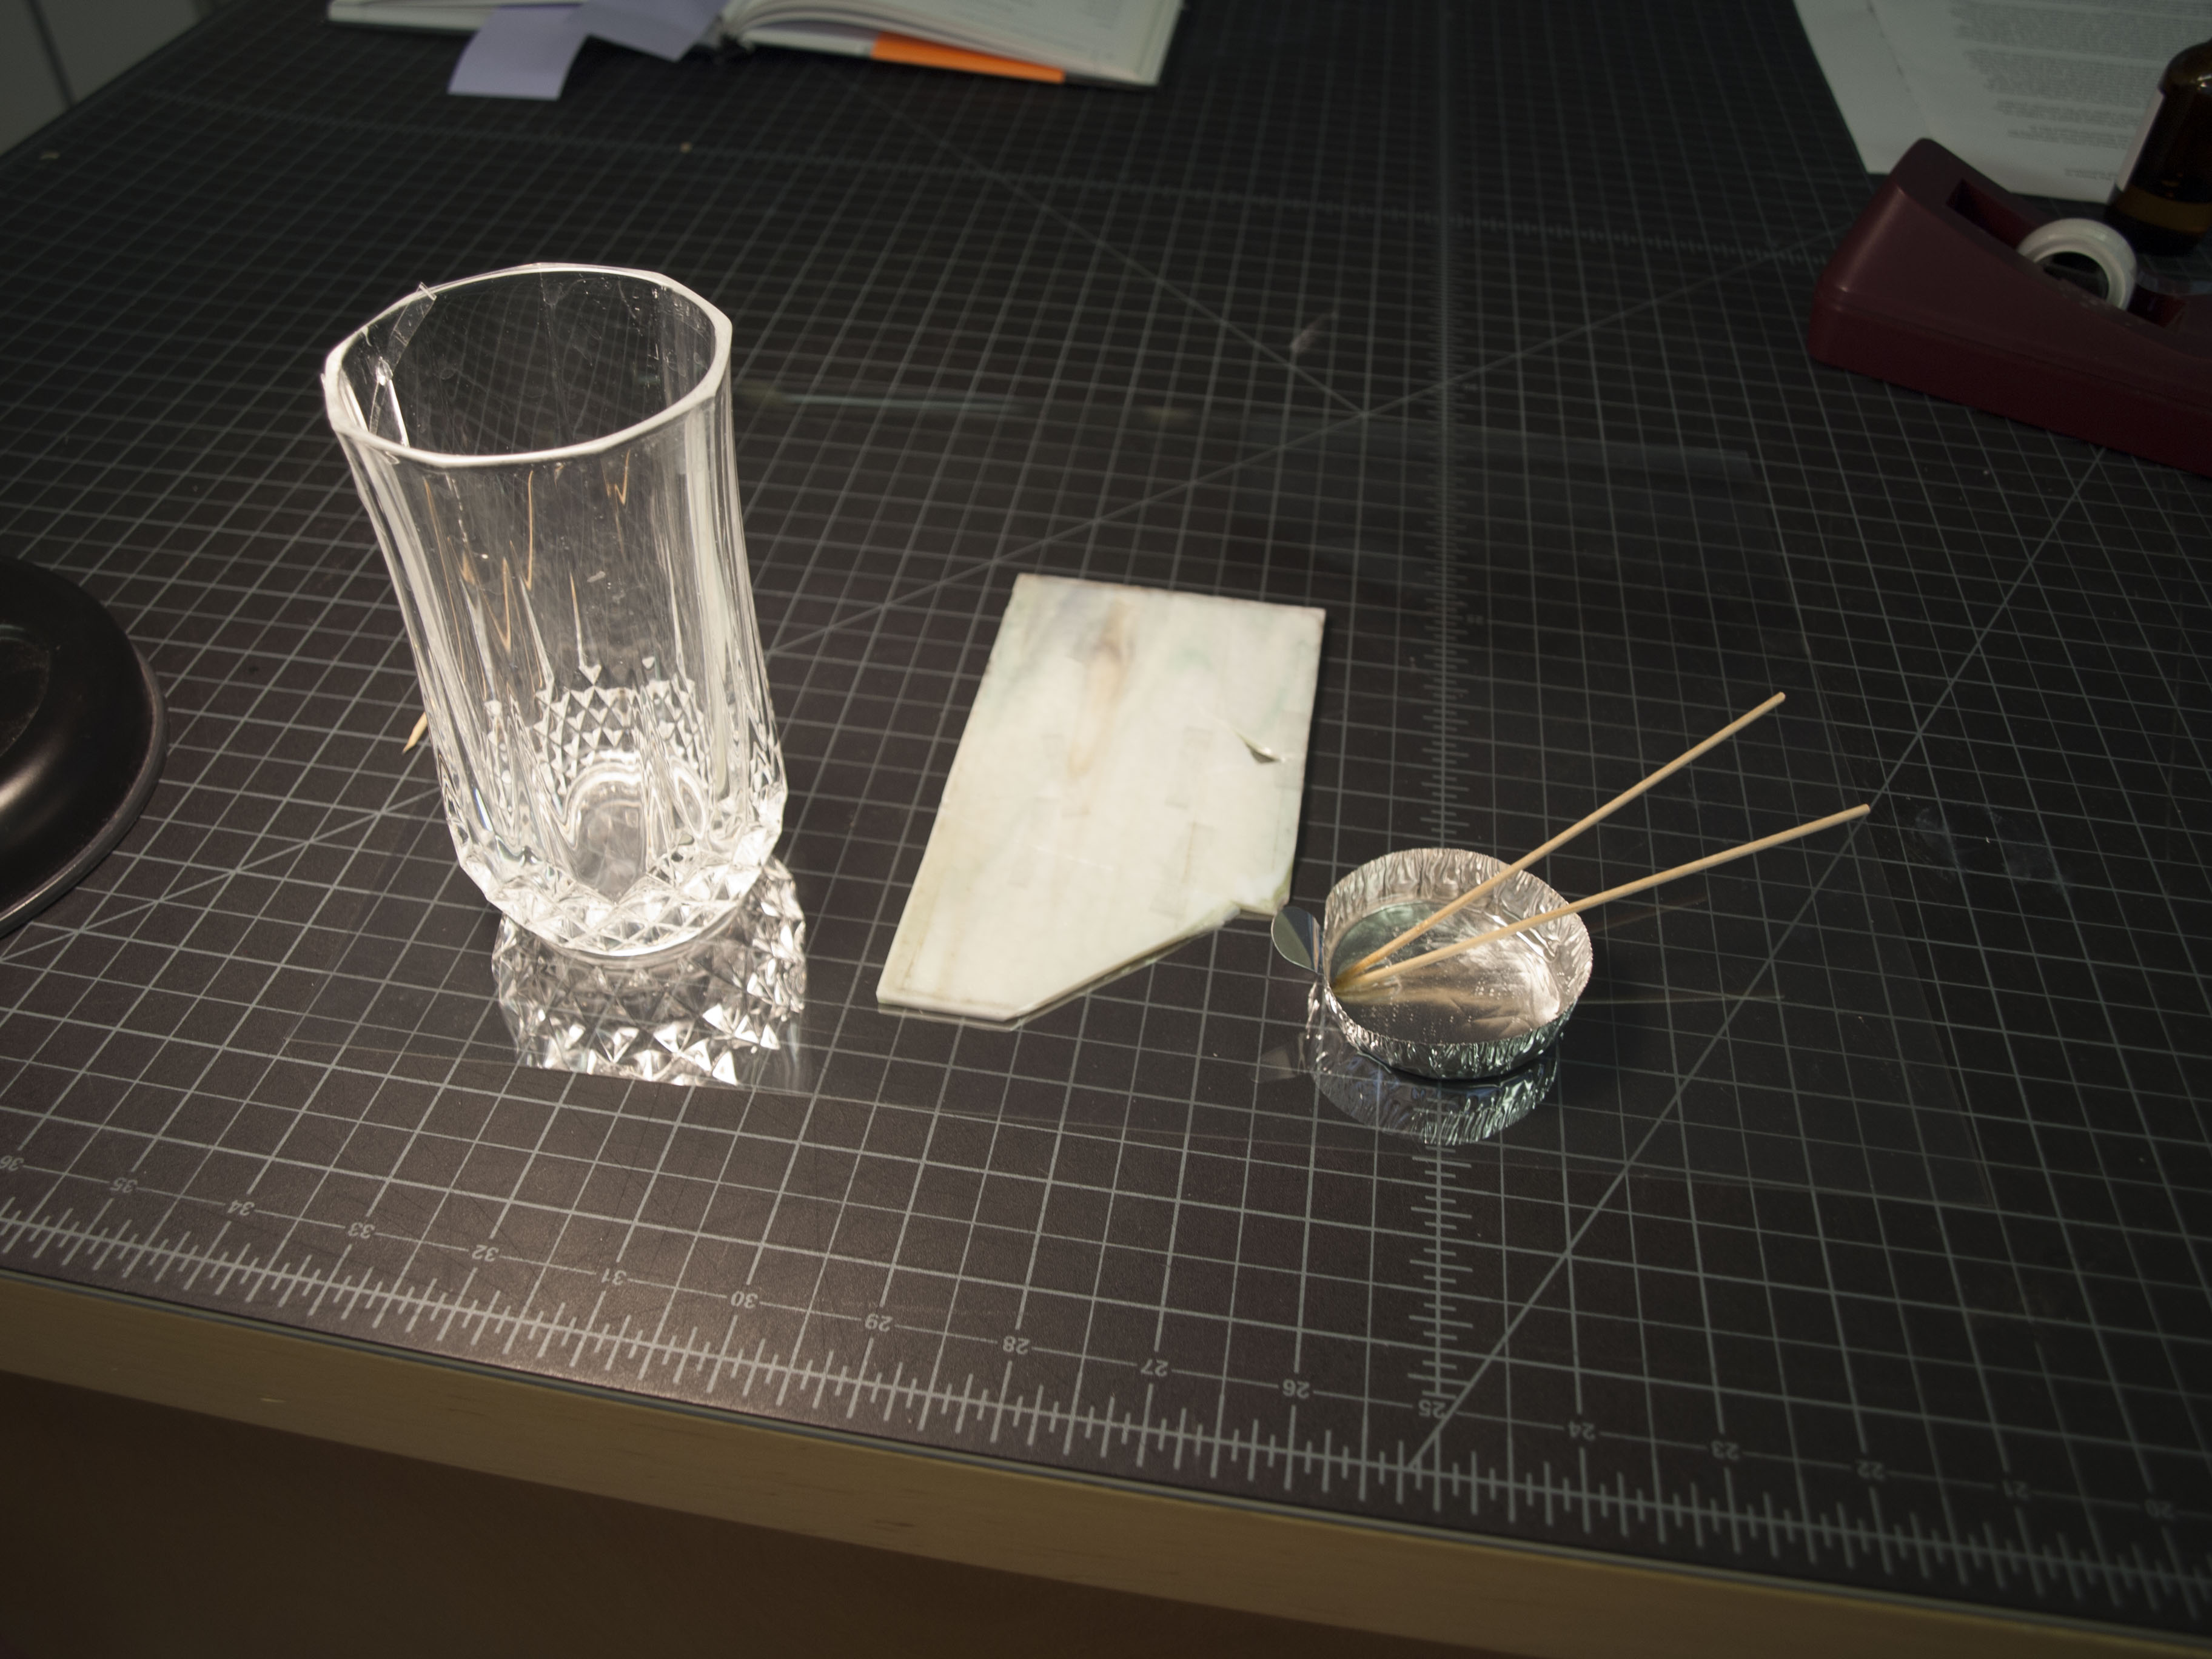
Broken glassware and window glass
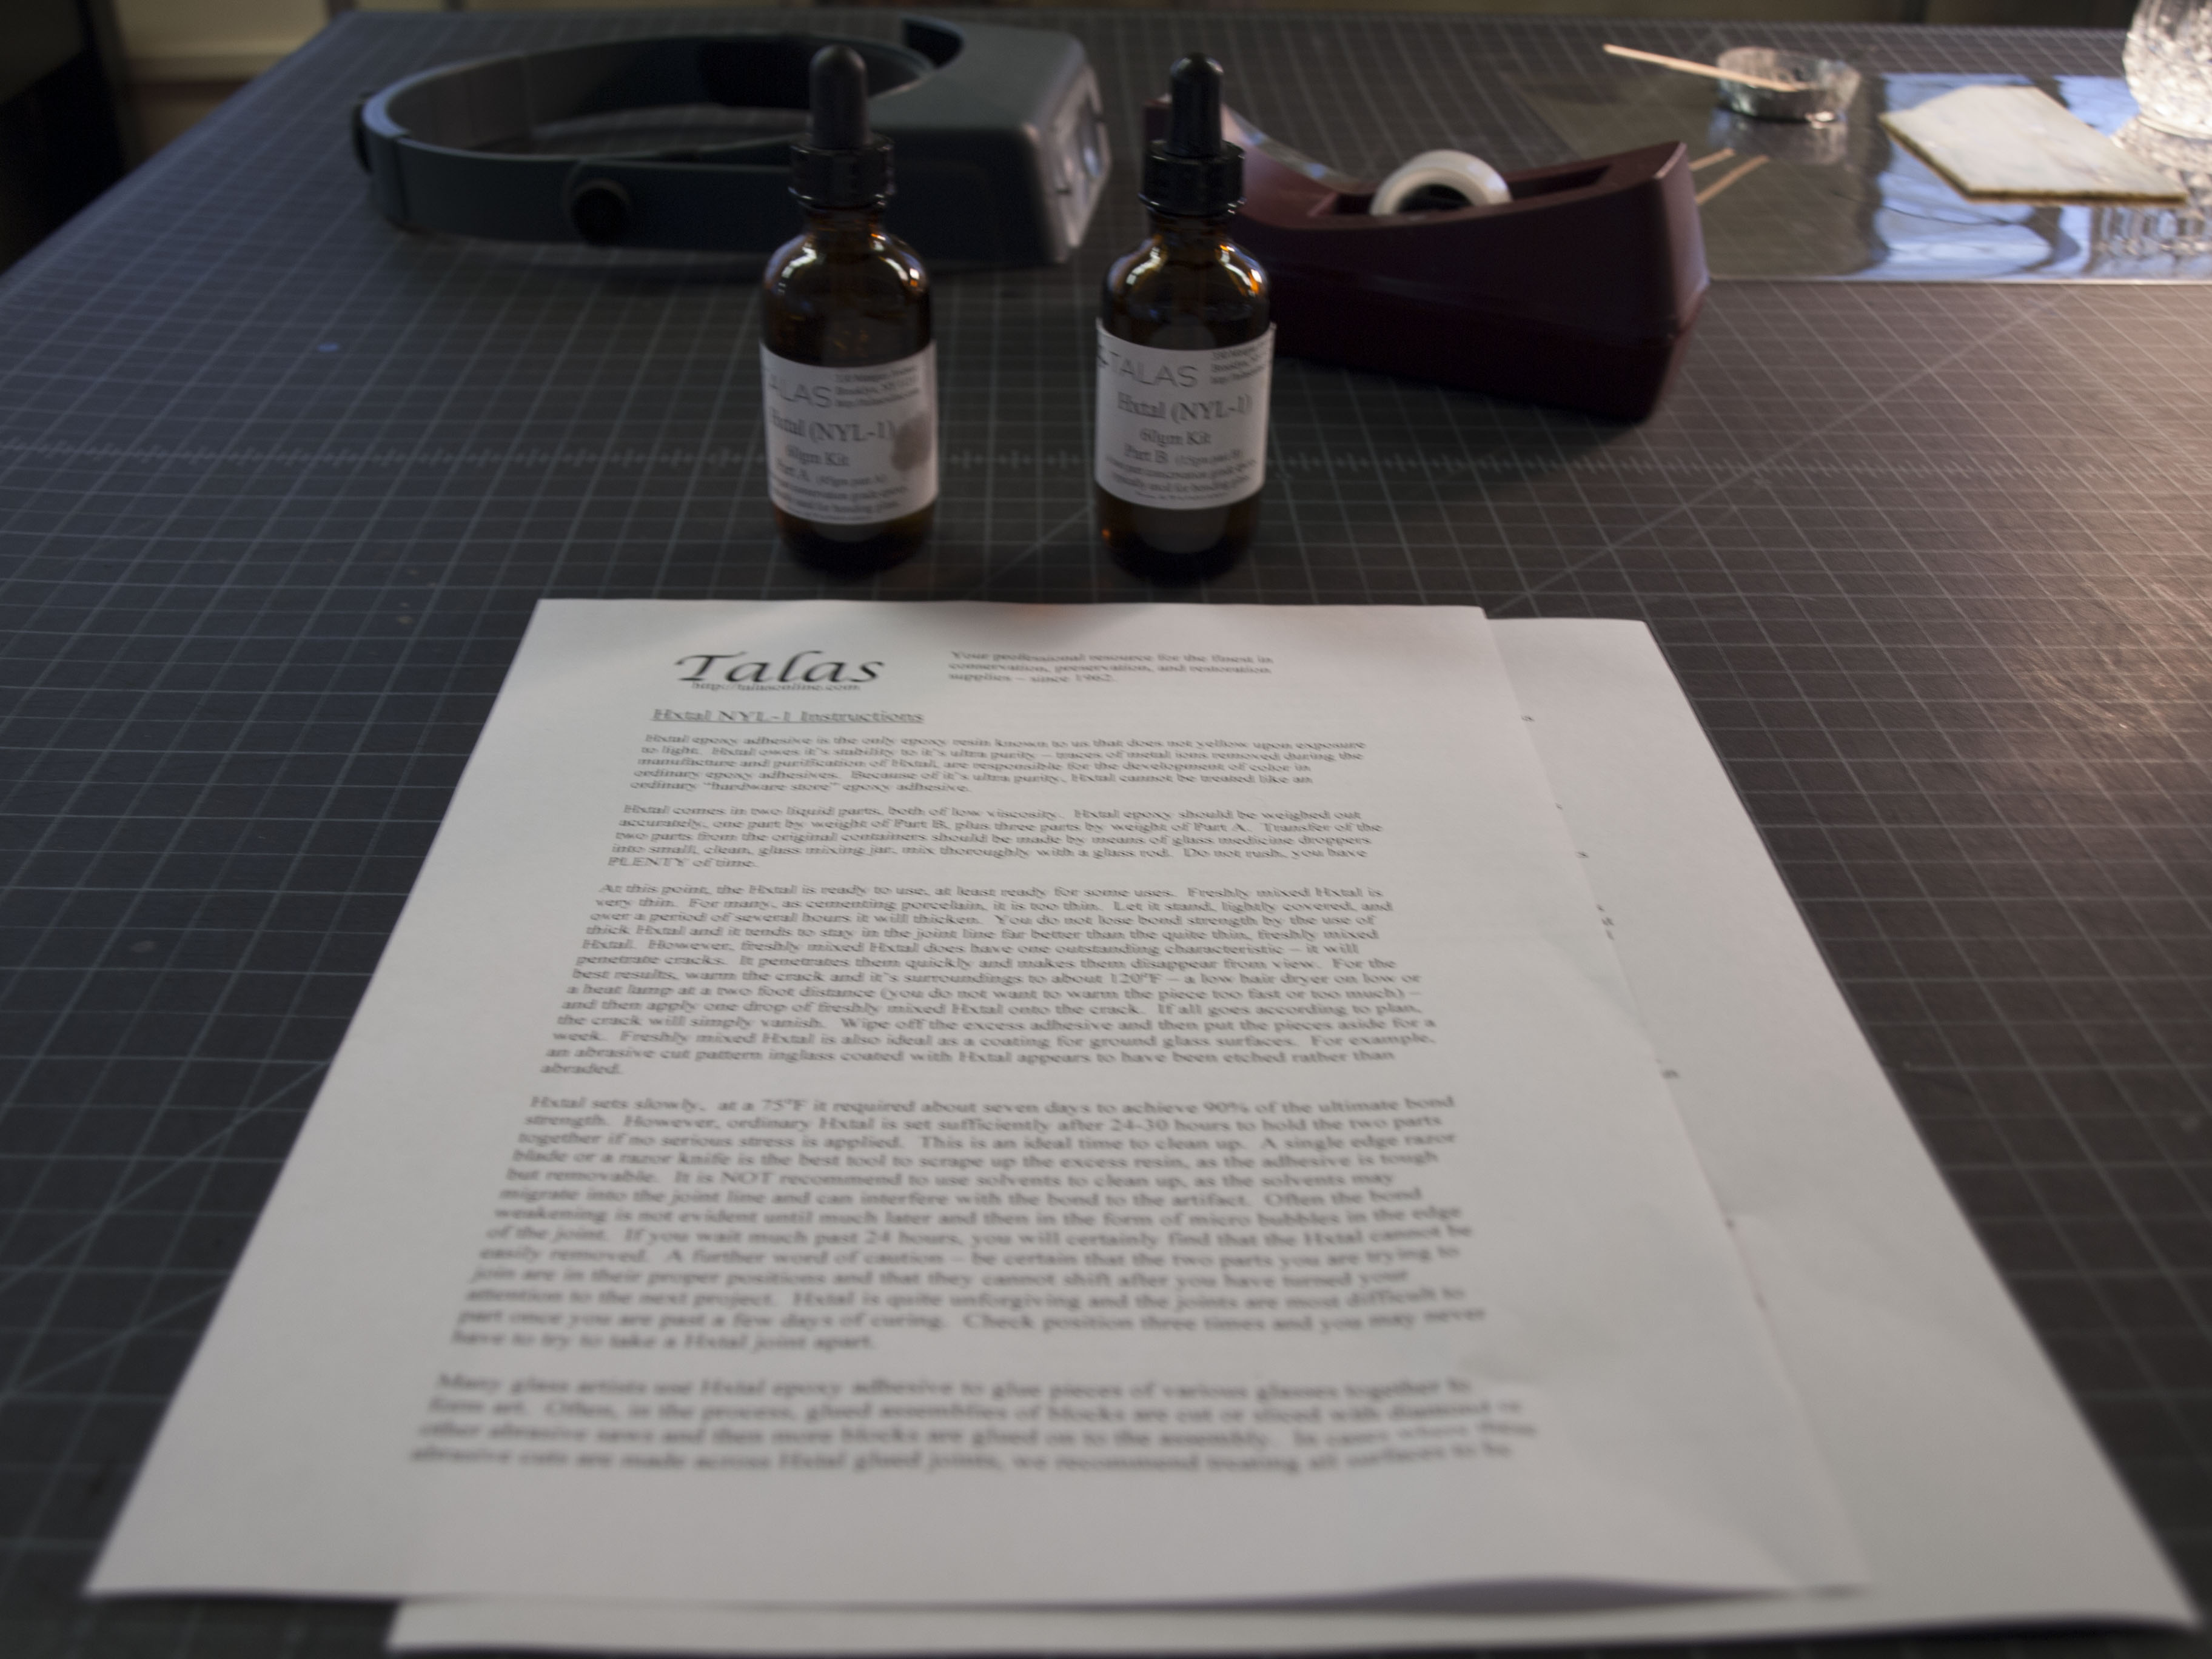
Adhesive, Hxtal (NYL-1)
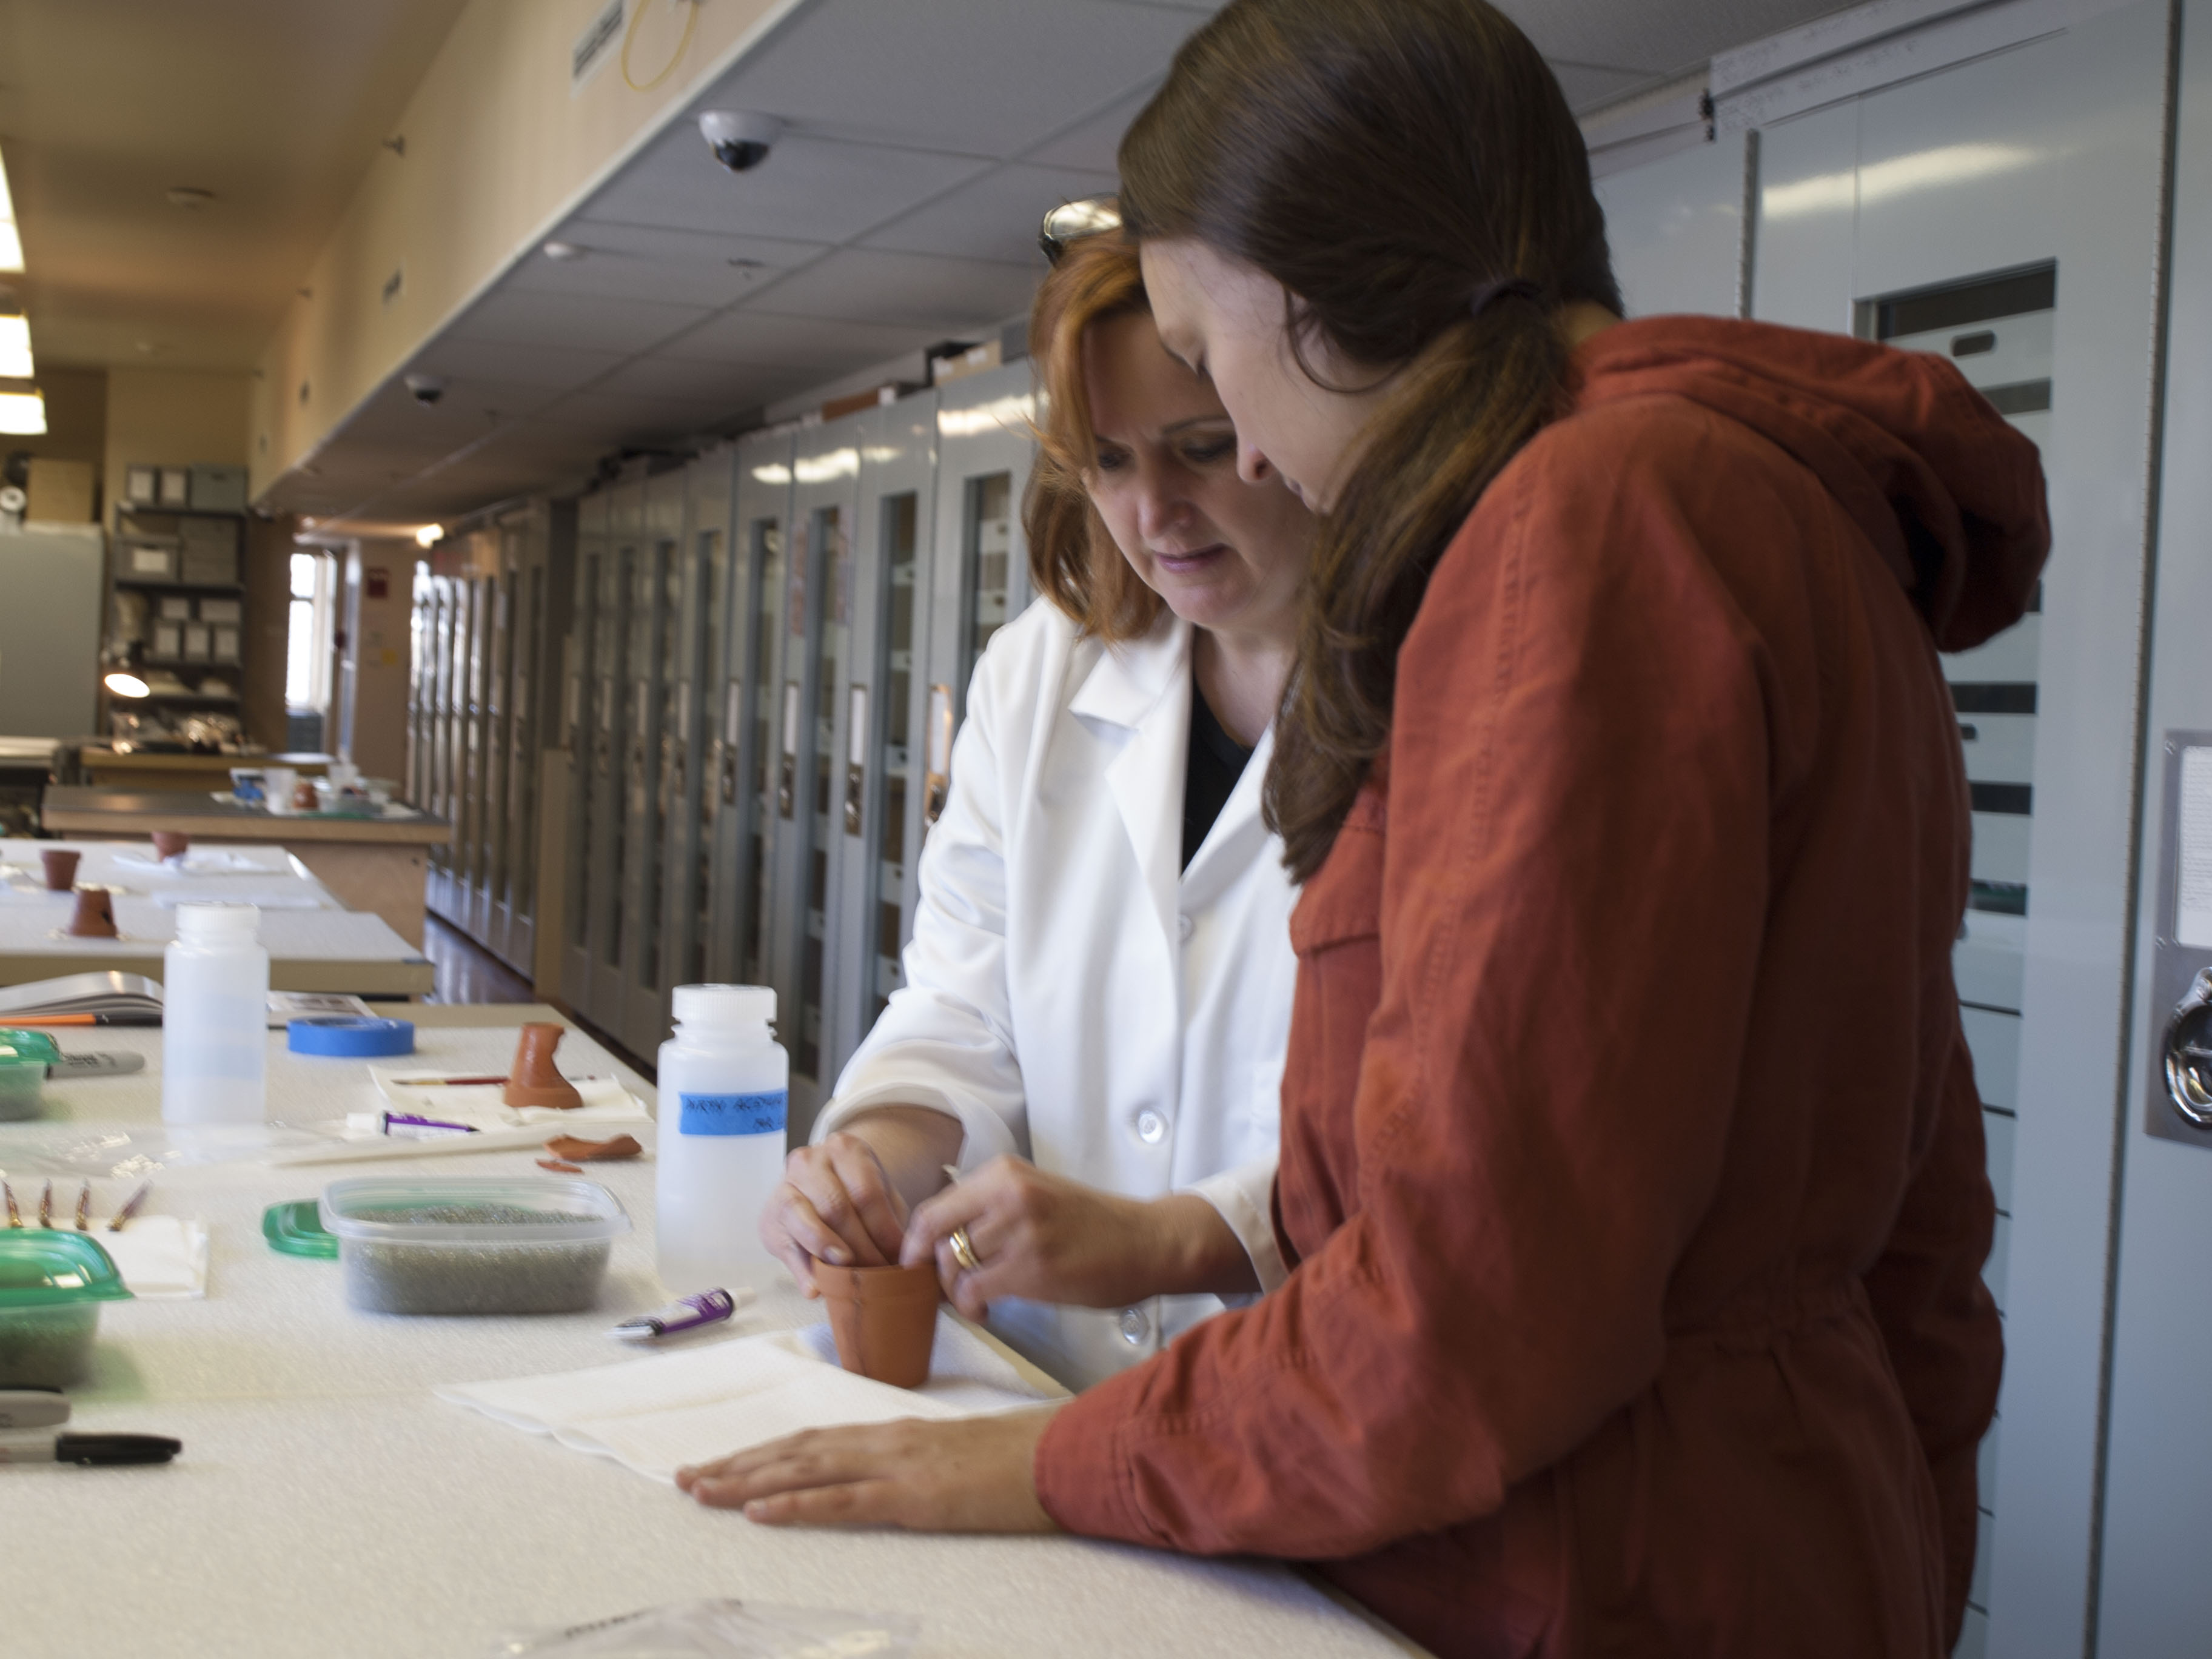
Marianne then showed the students how to create a plaster fill in a terracotta pot. She first placed tape along the inside of the broken pot at the location of the missing piece to act as a backing. This can also be achieved with dental sheet wax. She then applied 10-15% Acryloid B72 in acetone onto the pot in the area to be filled. This will help to prevent the plaster from becoming embedded in the surface of the pot while the fill is being leveled. She then mixed plaster and filled in the loss area.
Marianne creating a plaster infill for a pot
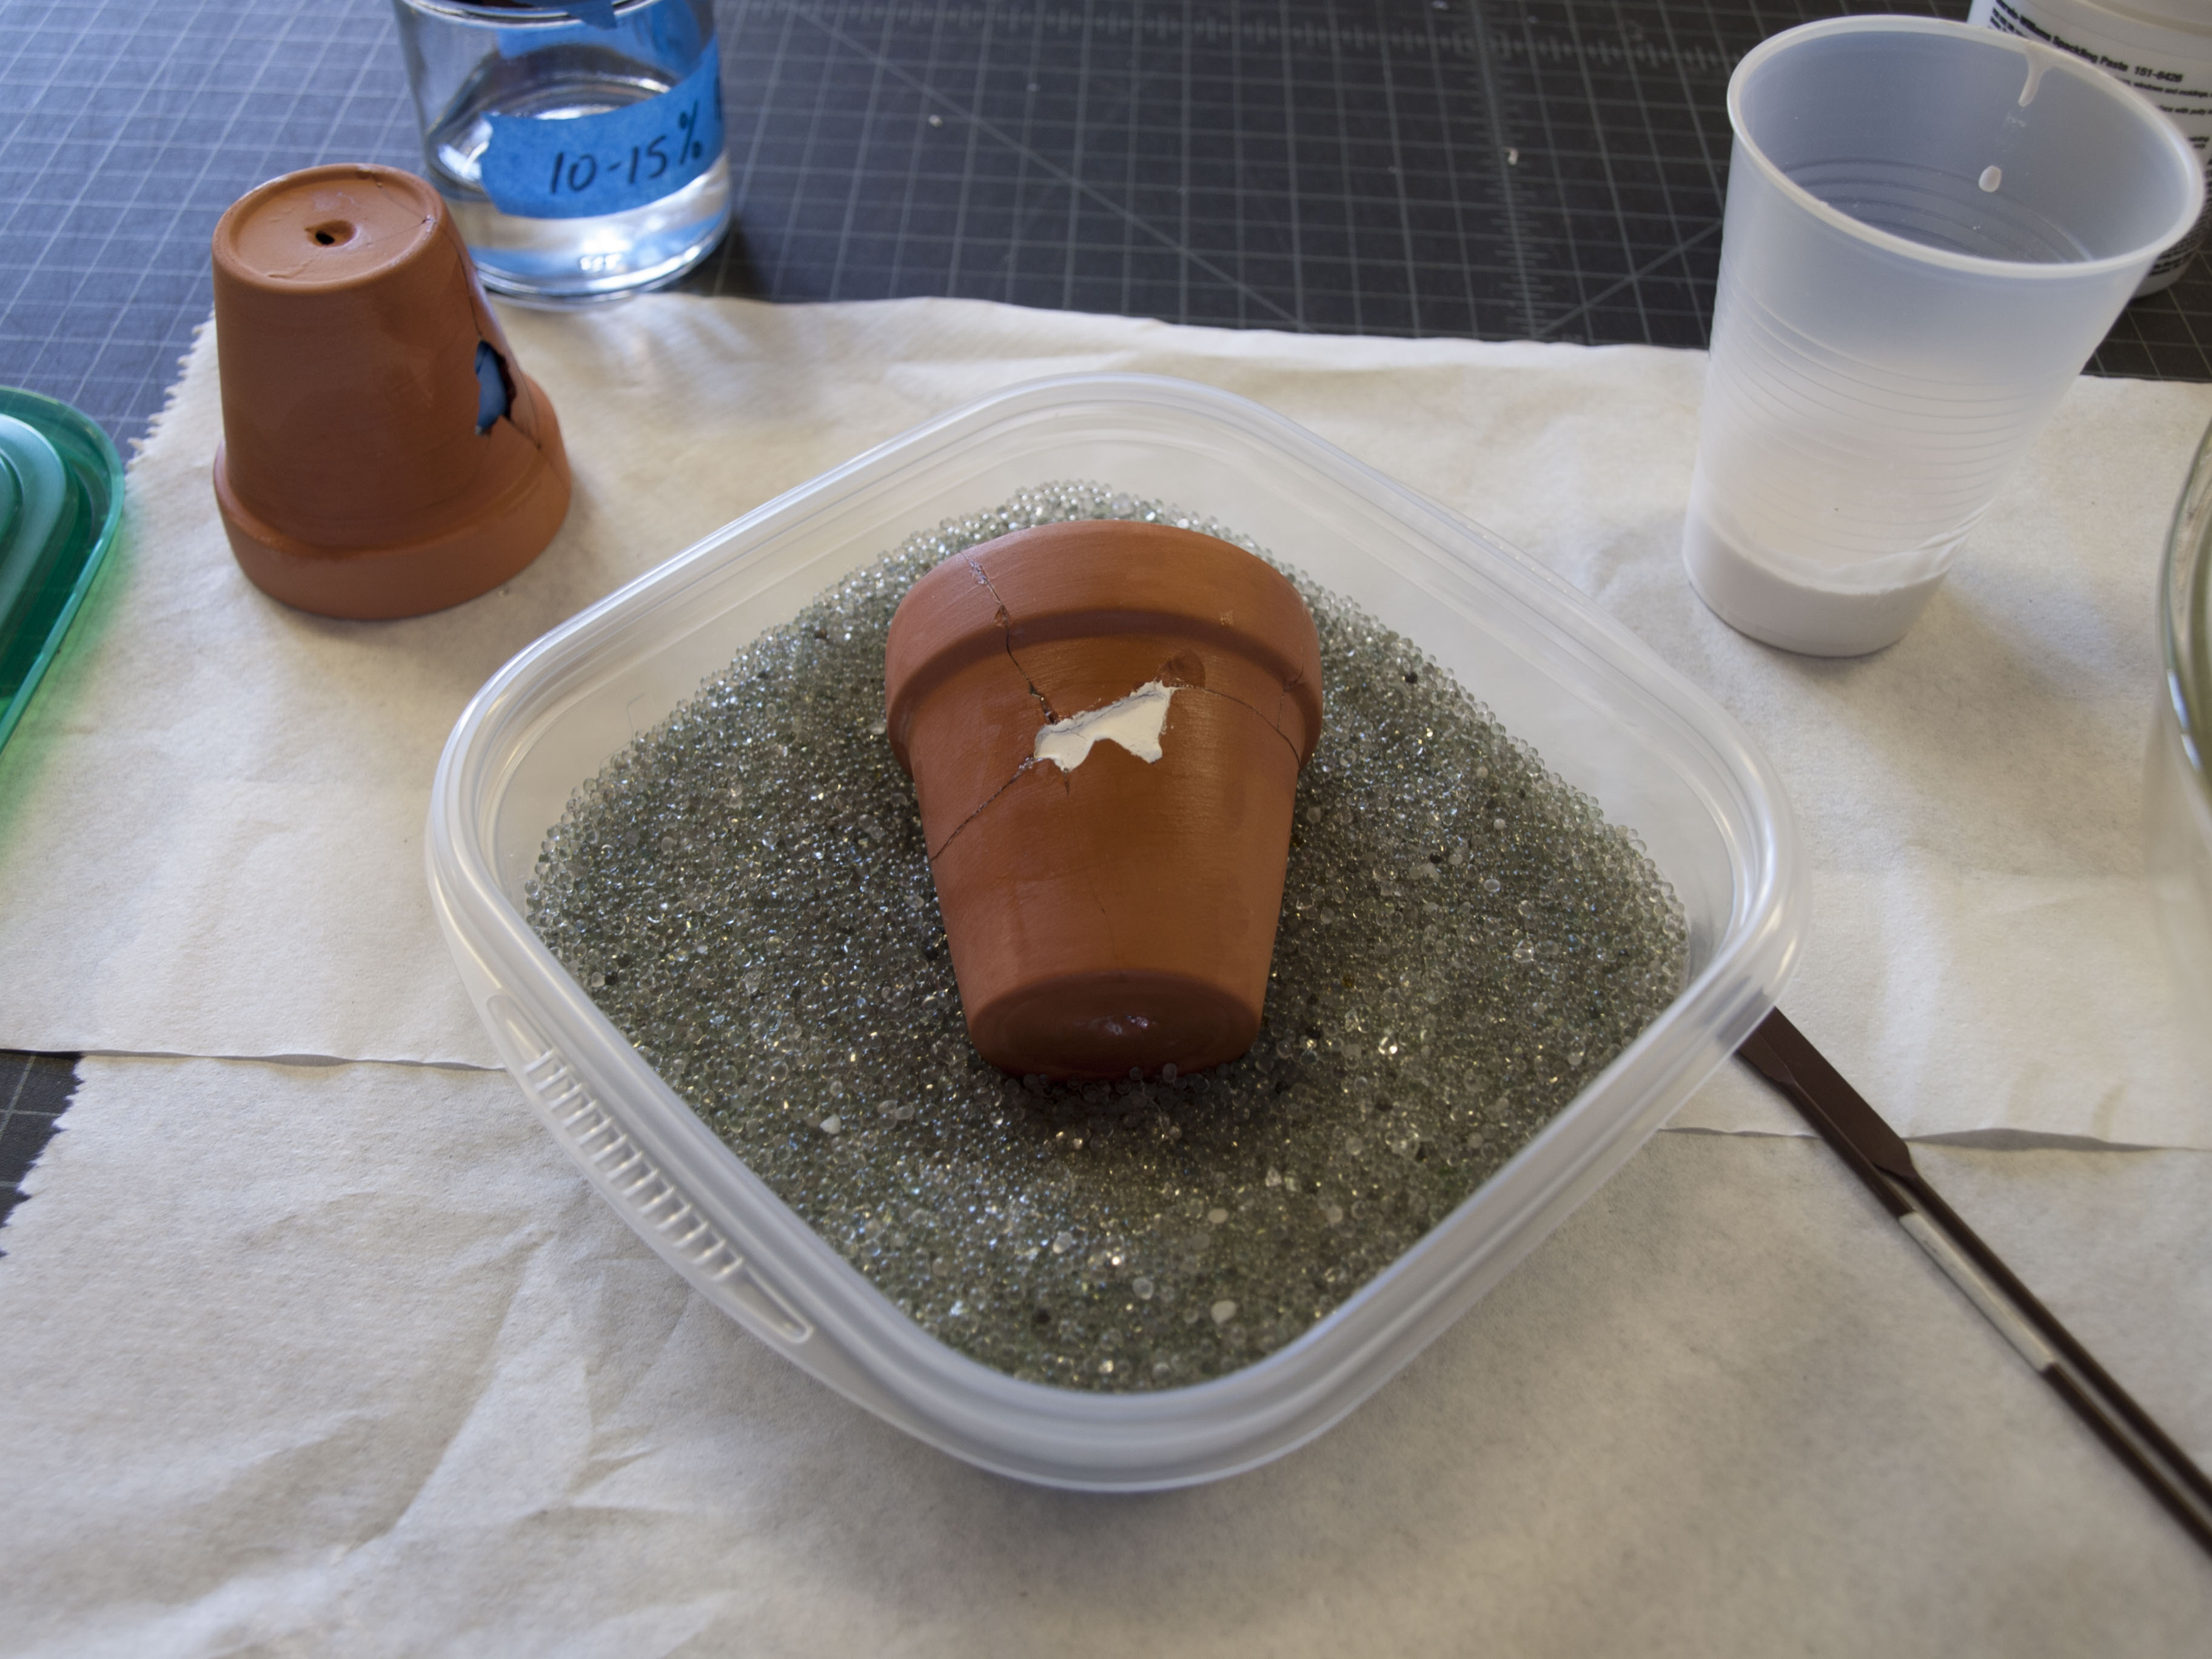
Filled loss
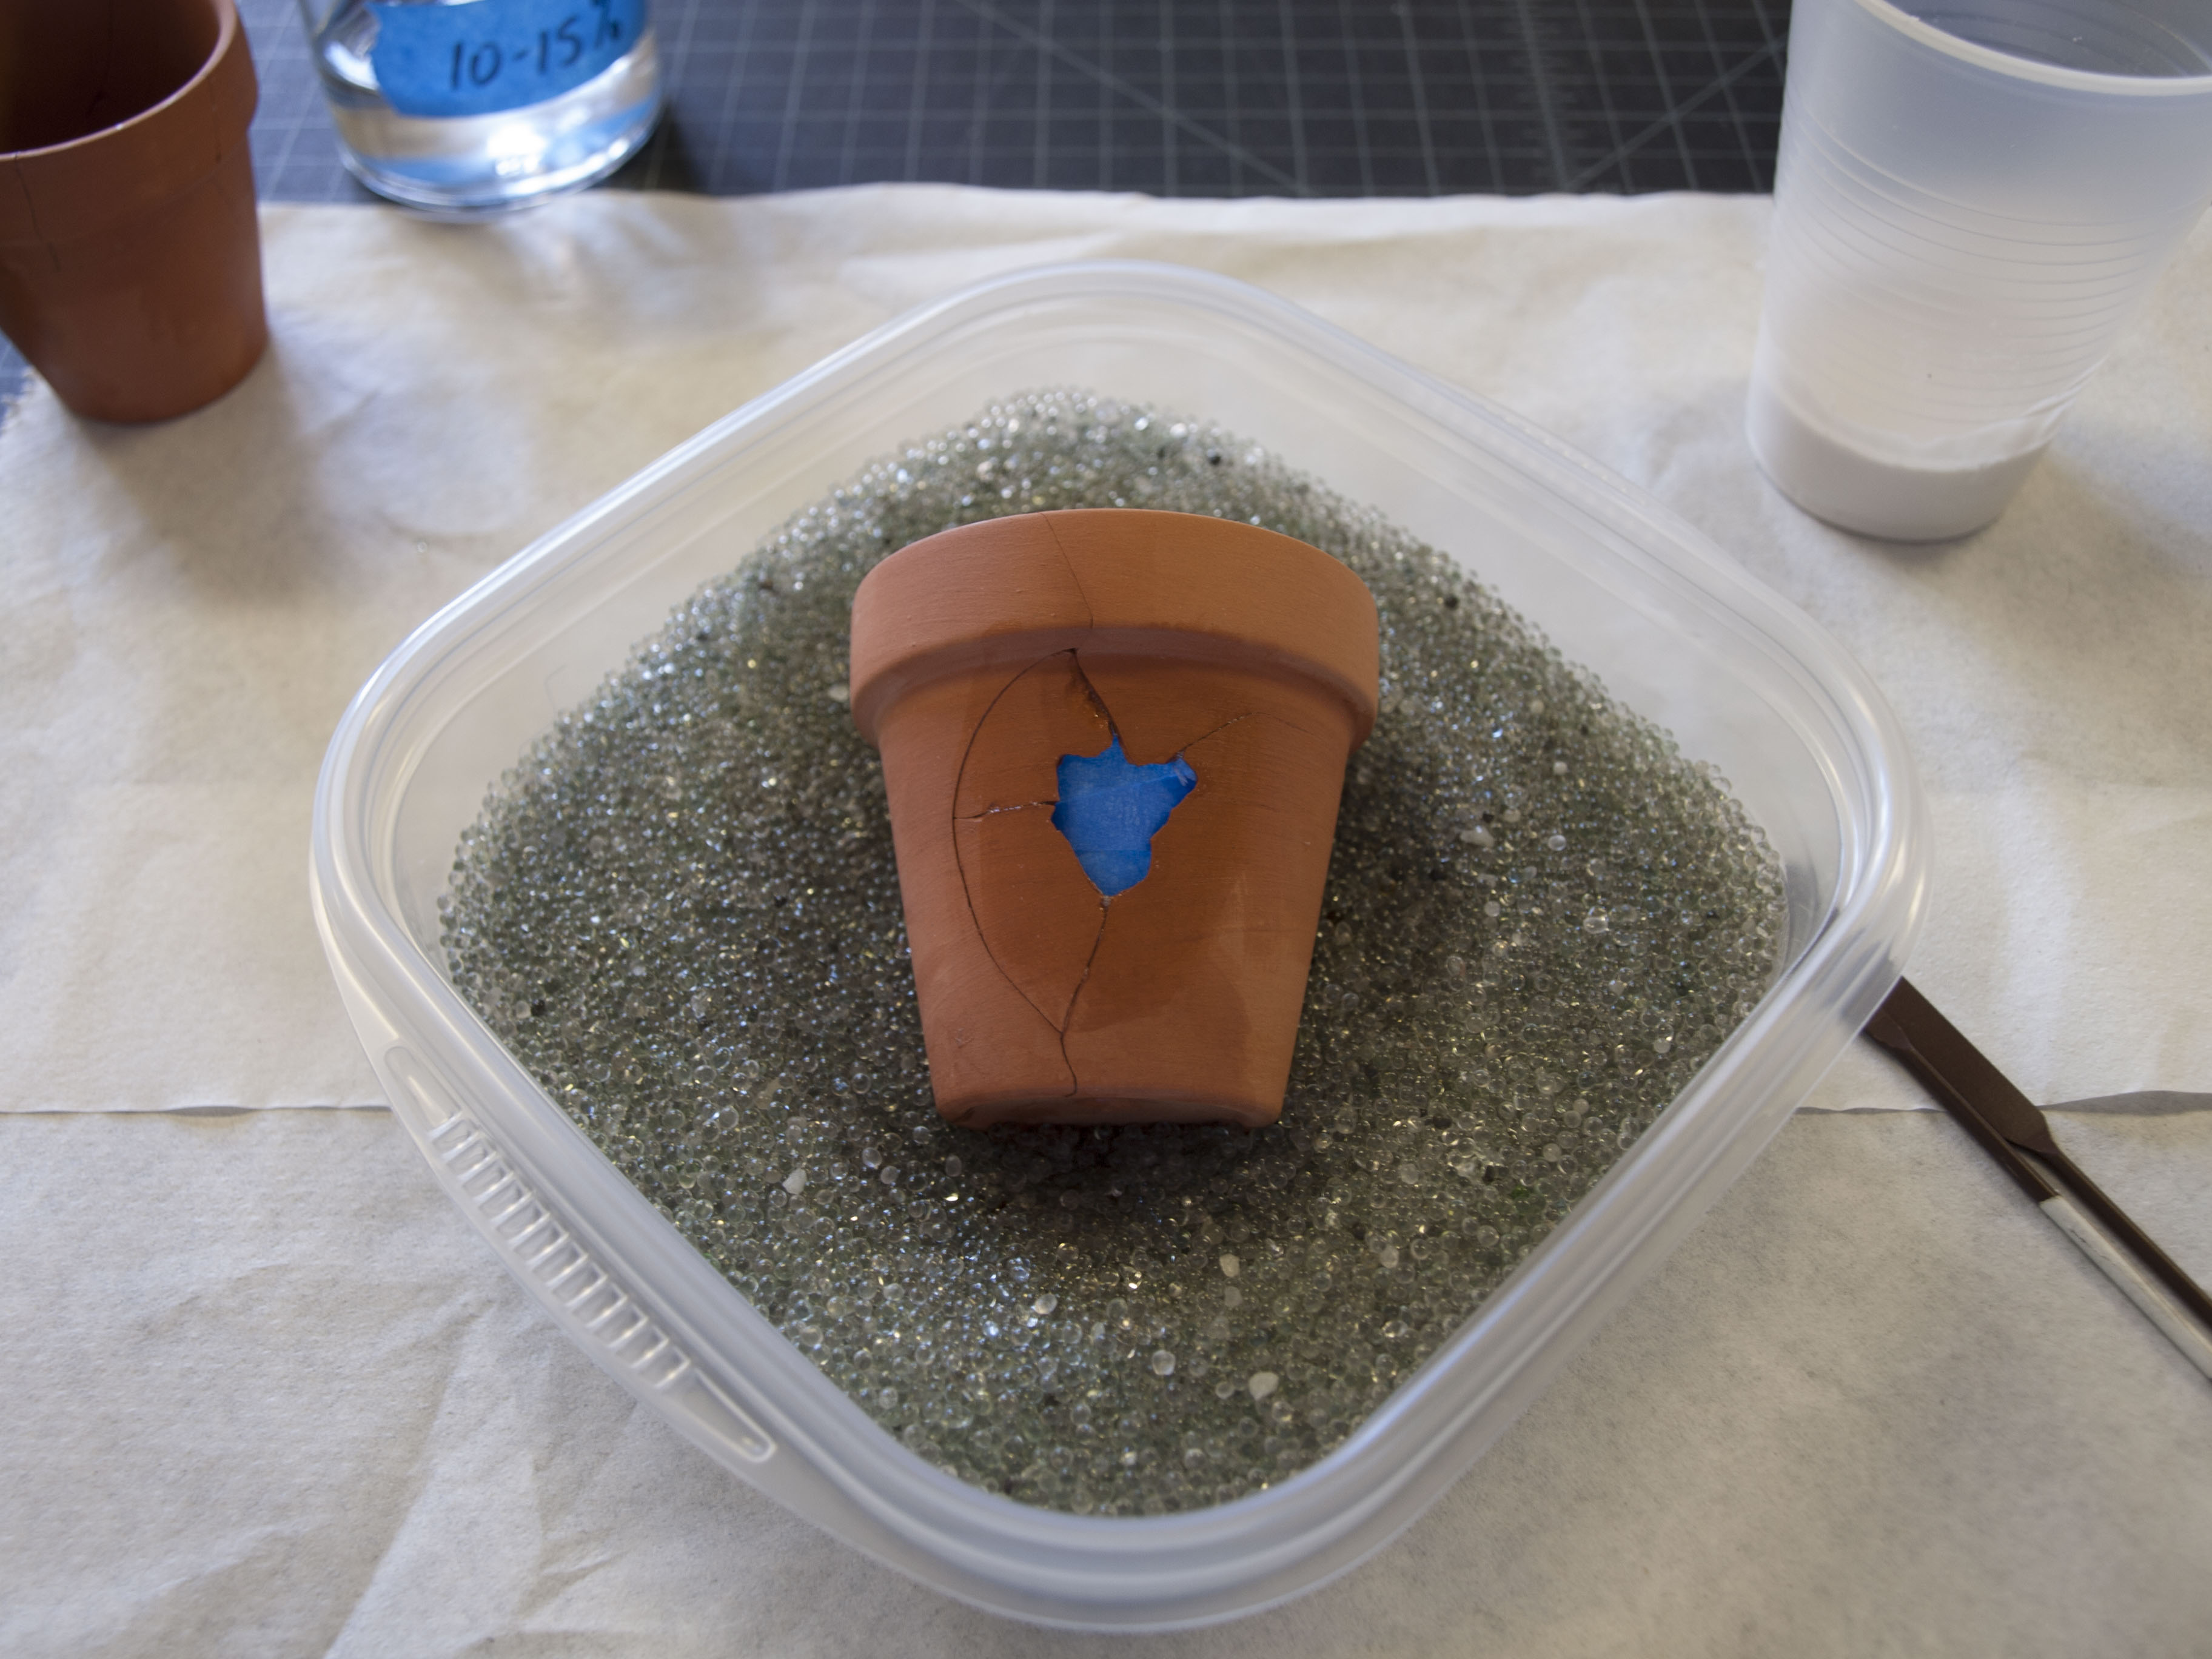
Loss before filling
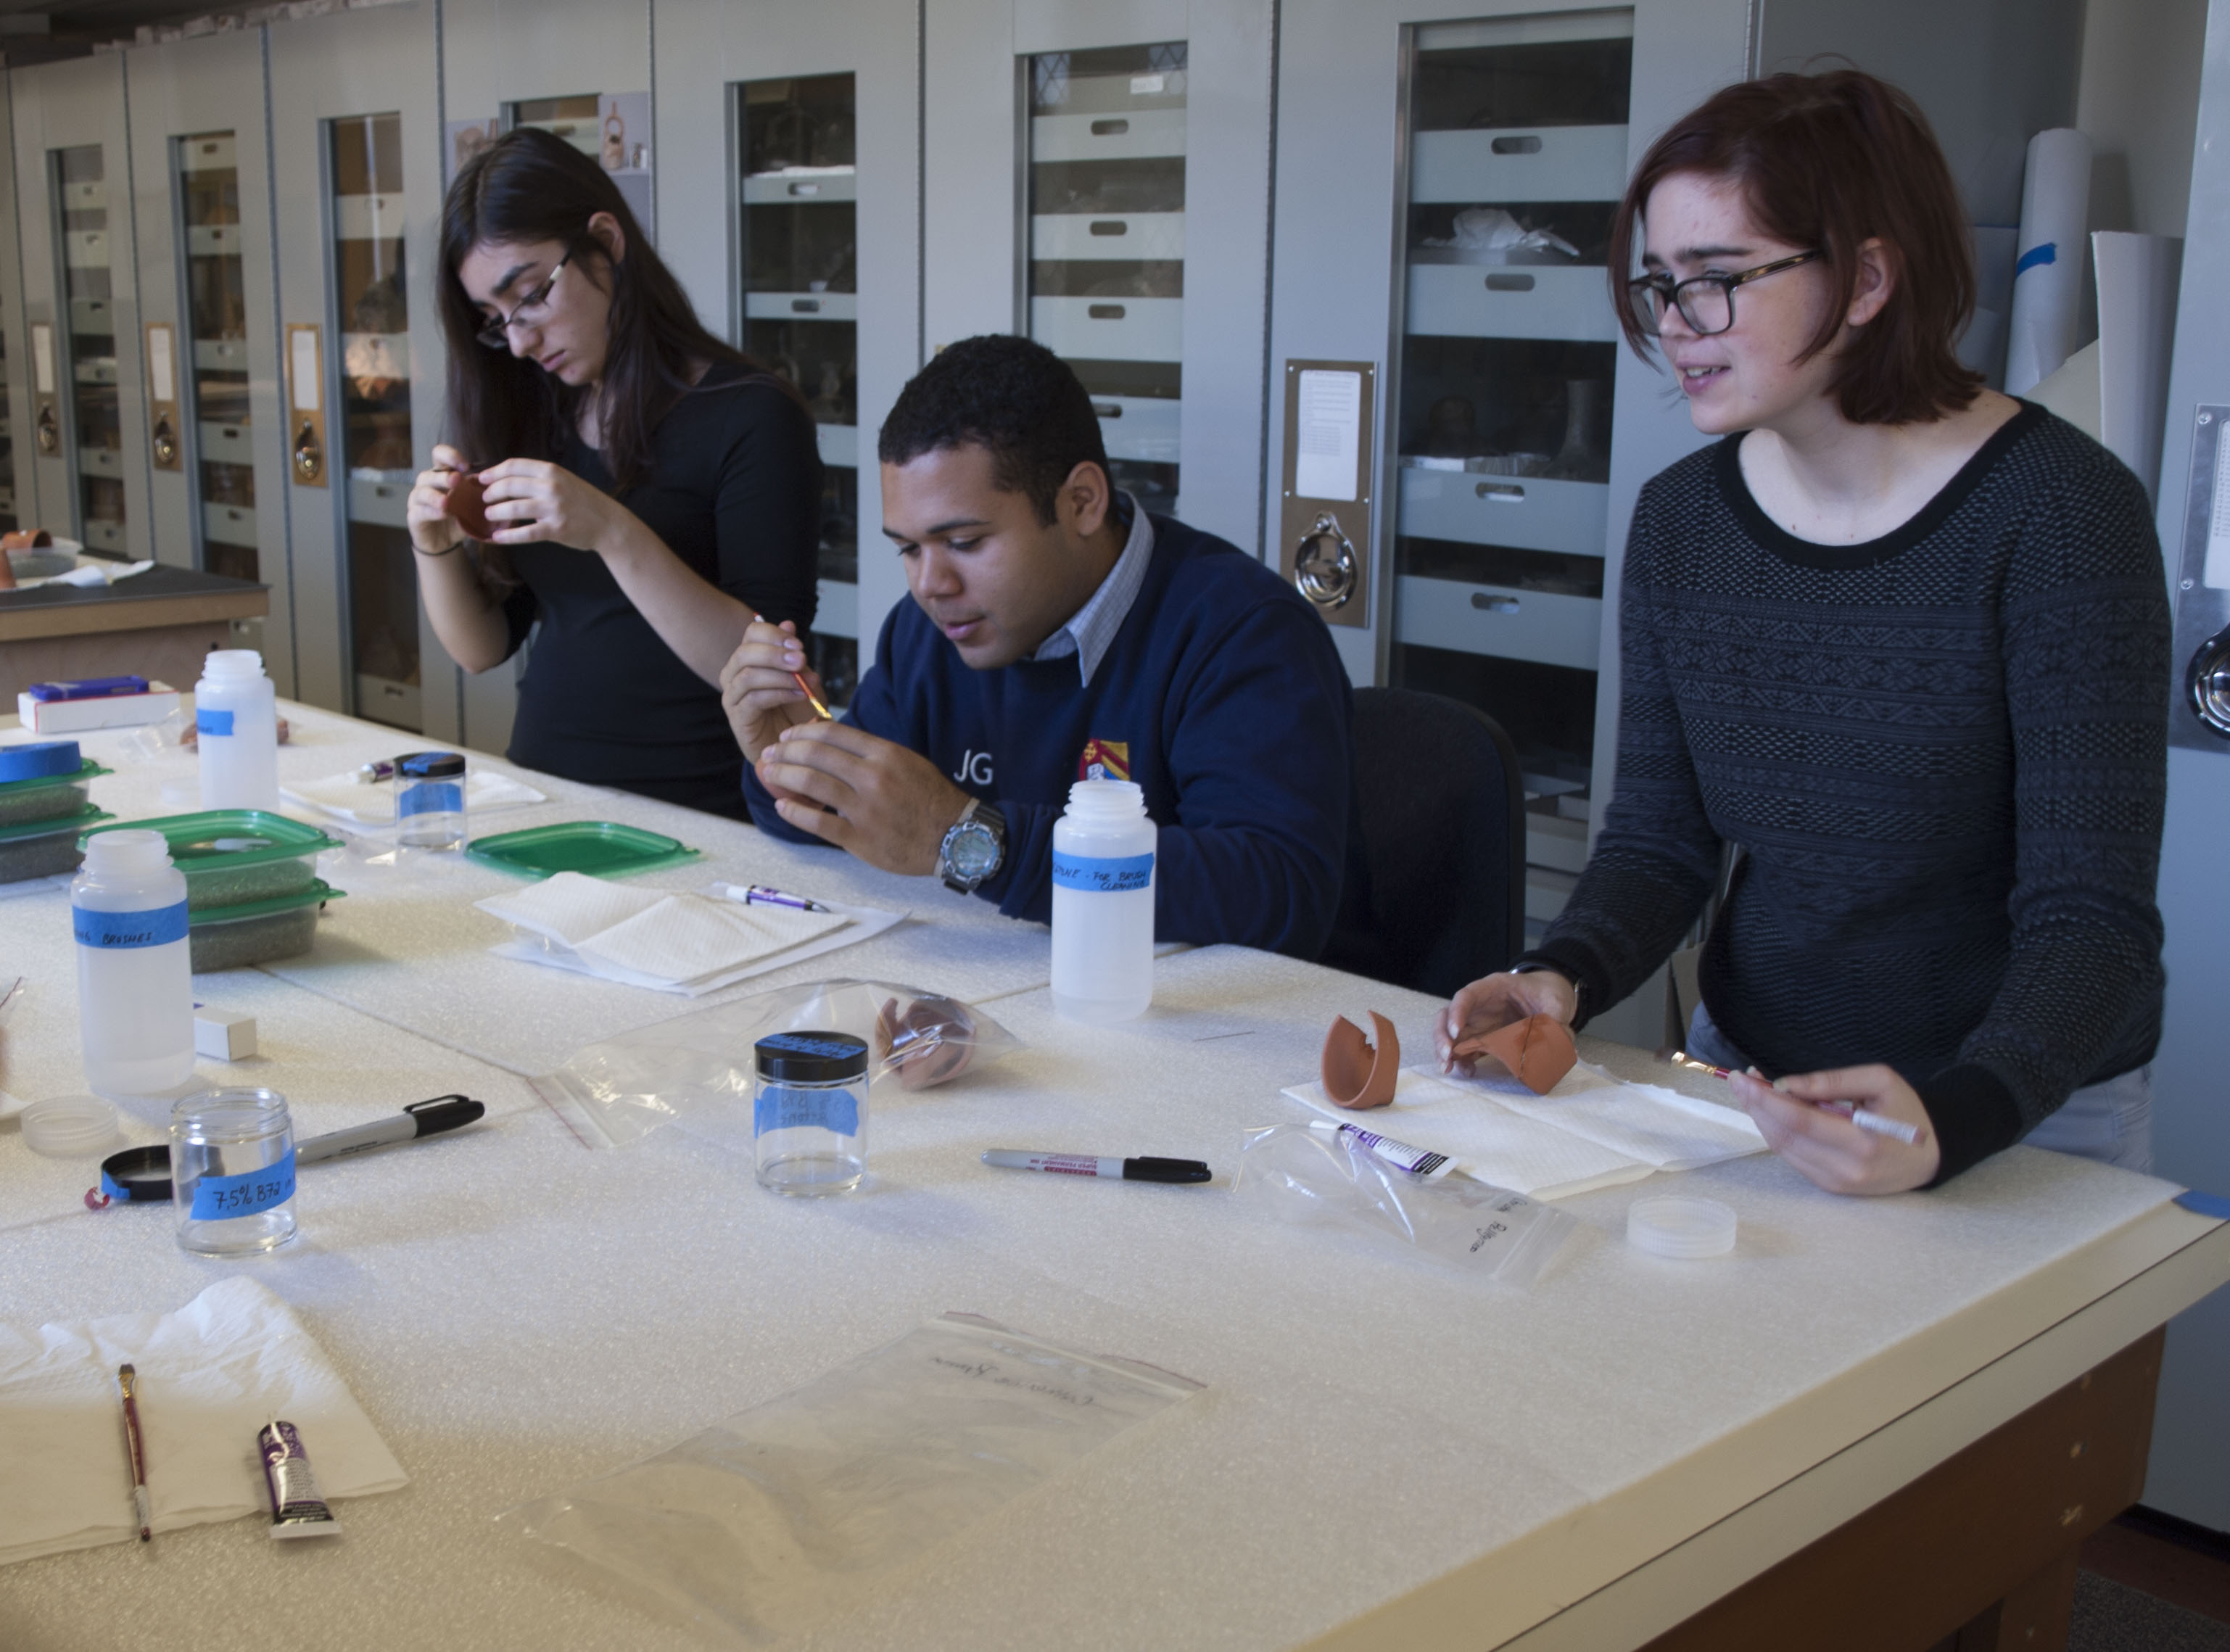
Next, Marianne demonstrated the art of mending broken pottery. Each student was given a broken flower pot (with some pieces missing) and assigned the task of dry-fitting the pieces back together. Then Marianne showed the students the steps involved in mending the pottery following the procedure outlined in: Koob, Stephen, and Tony Sigel. 1997. “Conservation and Restoration under Field Conditions: Ceramics Treatment at Sardis, Turkey.” Objects Specialty Group Postprints: American Institute for Conservation of Historic and Artistic Works, 5: 98–115.
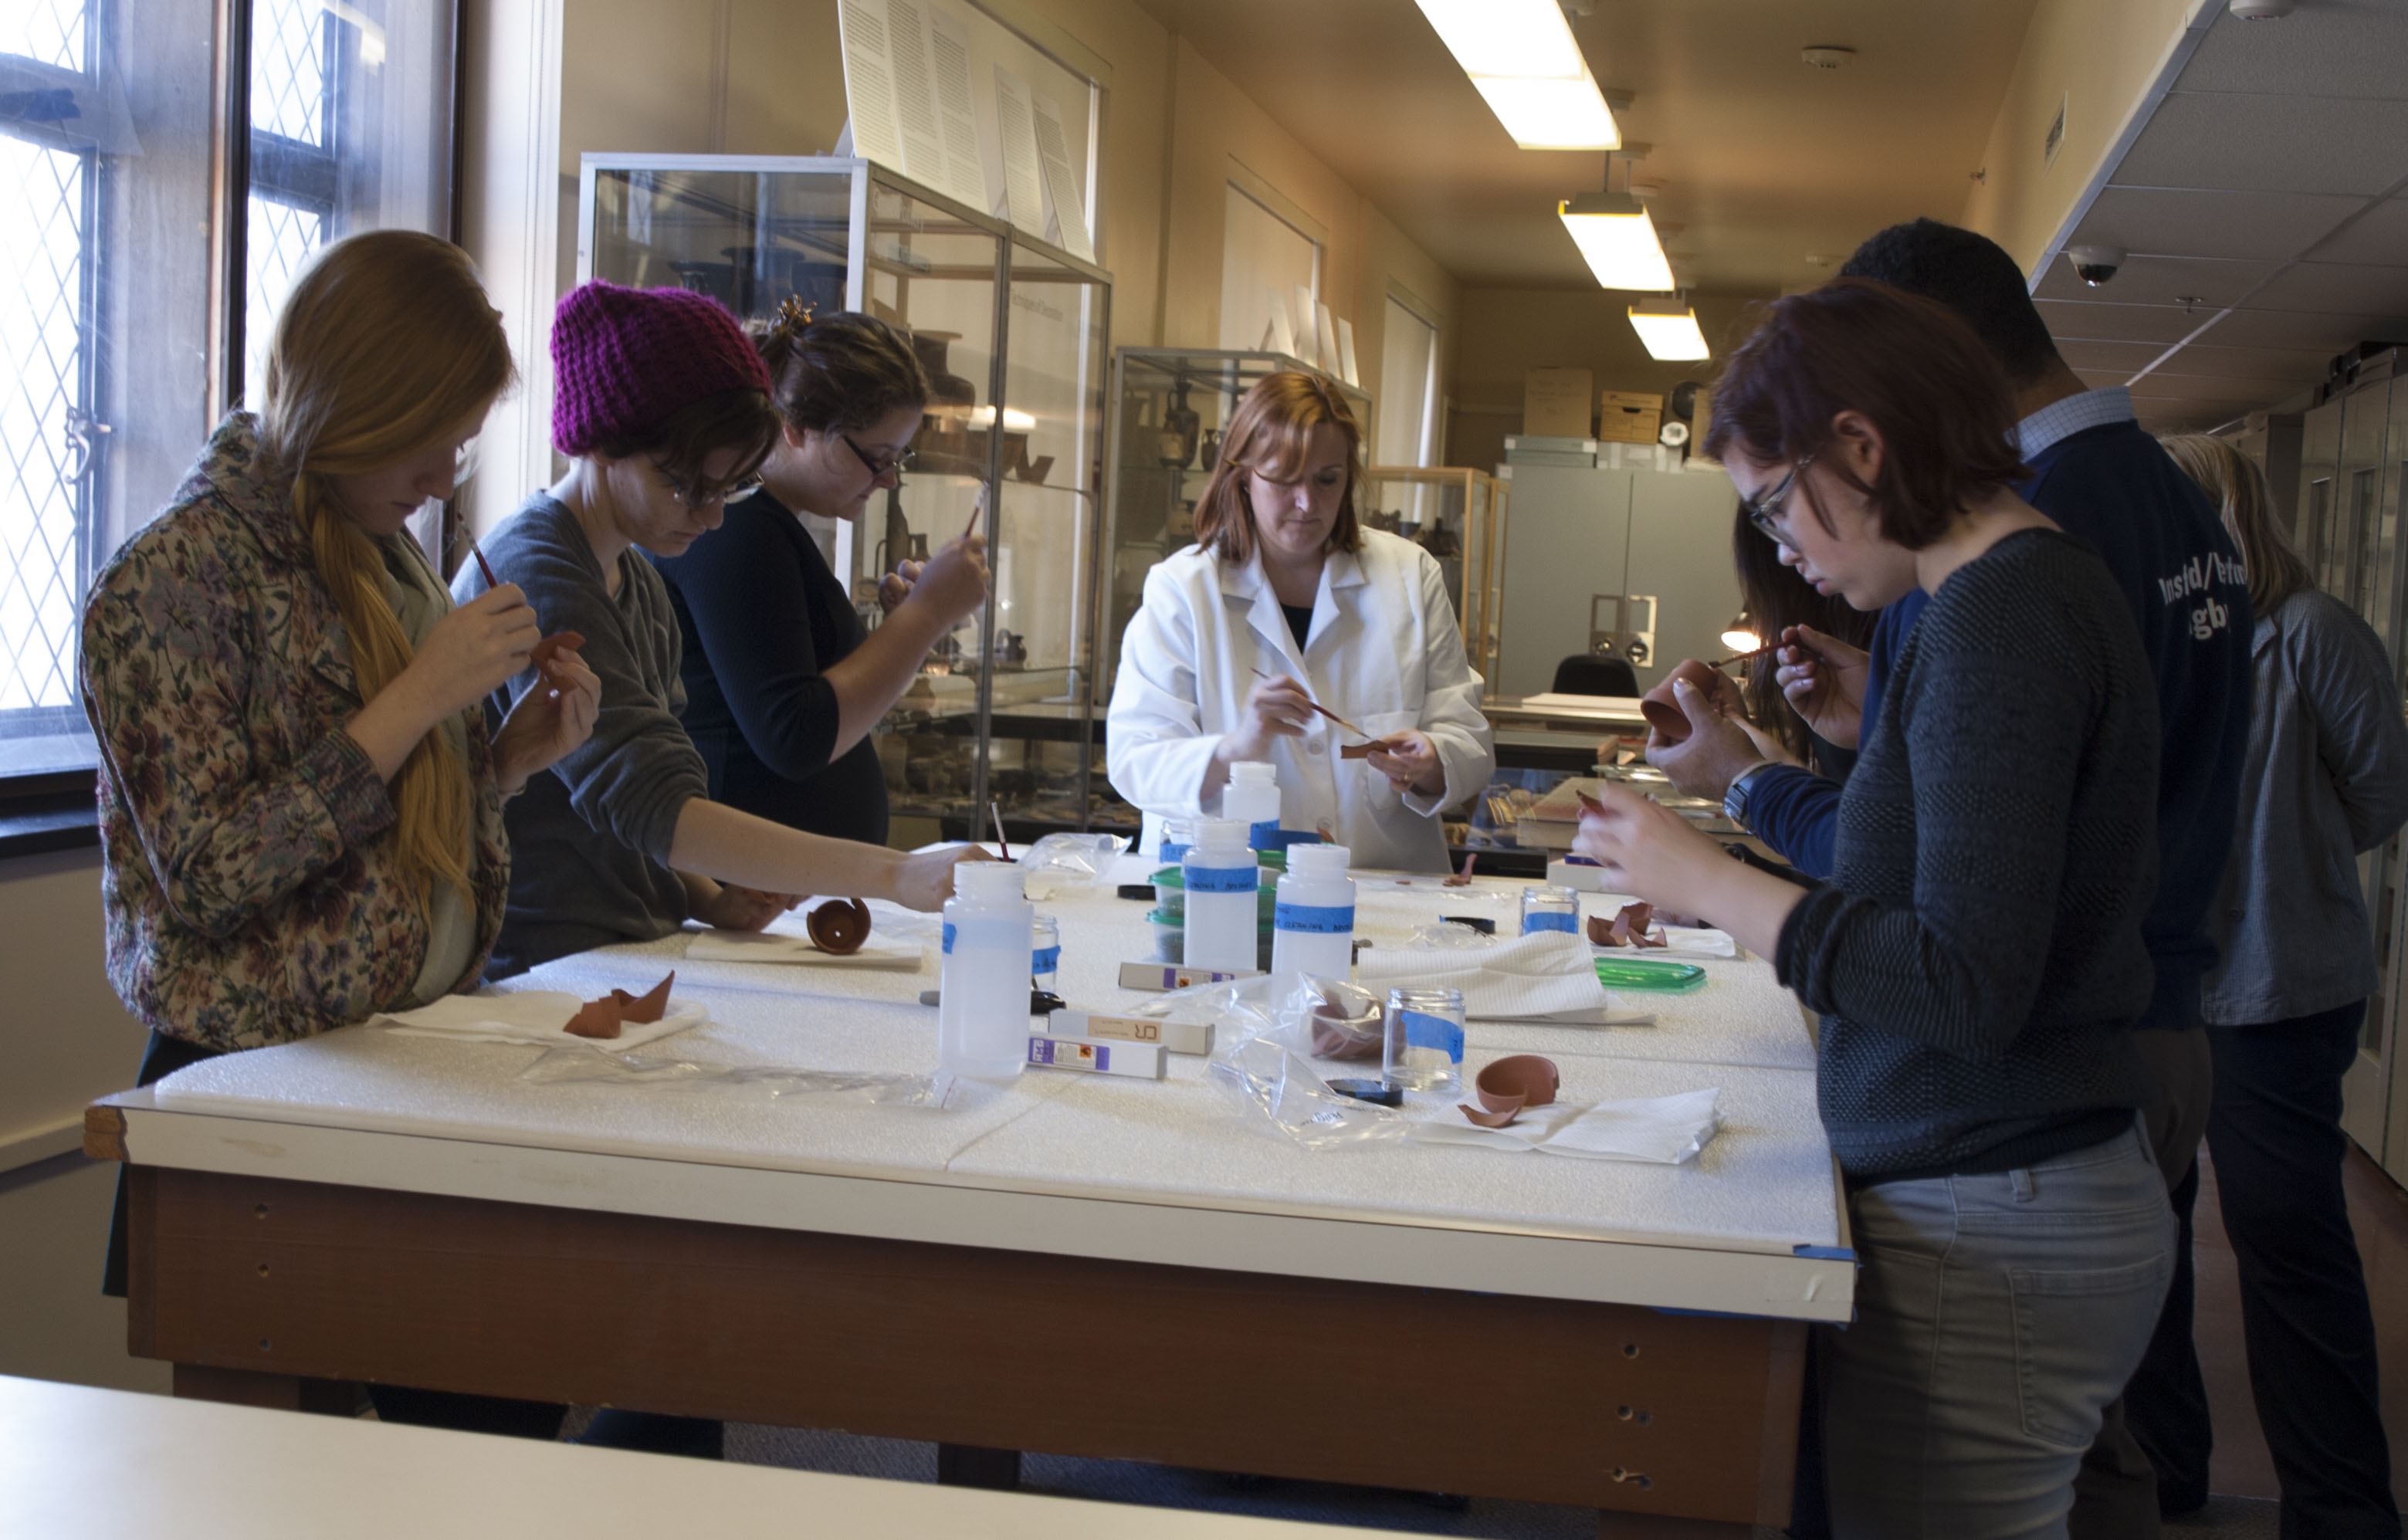
Students mending pottery

Applying Glue
Piecing two halves back together